
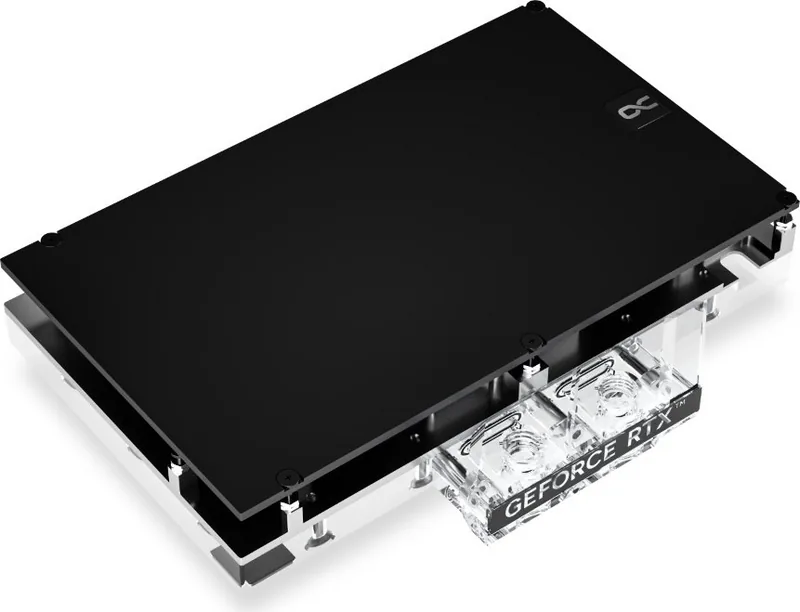
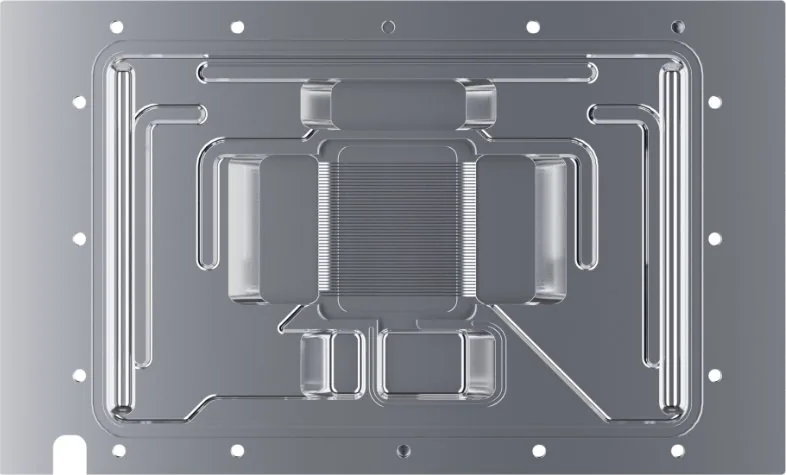
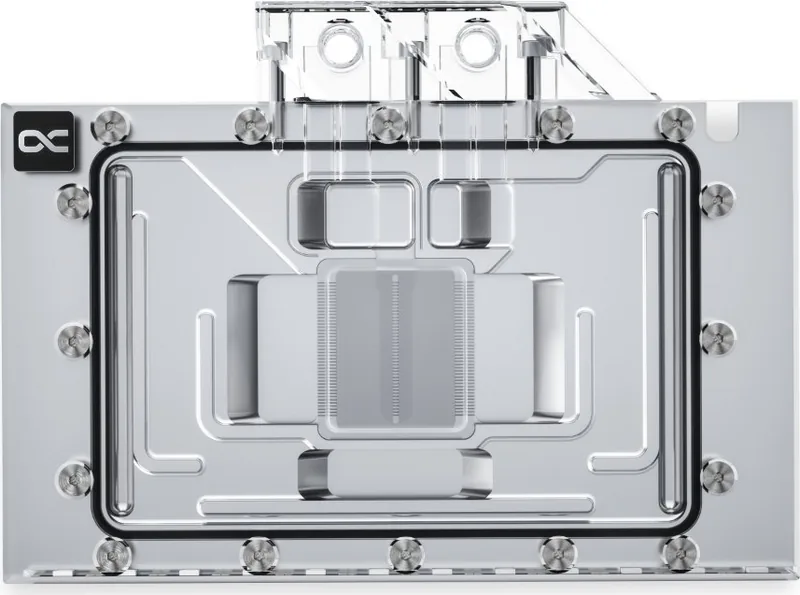
Alphacool Eisblock Aurora Acrylic GPX-N RTX 4080 Strix Manual
PDF manual · 4 Pages
English



Quick check
Incorrect answer, please try again.
Chat with your Alphacool Eisblock Aurora Acrylic GPX-N RTX 4080 Strix manual using AI
Get instant AI answers from your Alphacool Eisblock Aurora Acrylic GPX-N RTX 4080 Strix manual
Ask anything about the Alphacool Eisblock Aurora Acrylic GPX-N RTX 4080 Strix. Answers come from this manual, with the pages they are based on.
Ask a Question
Do you recommend Eisblock Aurora Acrylic GPX-N RTX 4080 Strix?
Yes NoFrequently Asked Questions
The kit includes various thermal pads of different dimensions. You receive pads measuring 3x40x15x1mm and 2x100x8x1mm. There are also 3x8x8x1mm pads and others for specific contact points. This variety ensures you can configure the cooler correctly for your specific graphics card layout.
Is this answer helpful?
The cooler was designed for a special PCB layout. Occasionally, graphics card manufacturers may revise the design slightly. Consequently, the cooler might not fit on all later models. You must compare your PCB number with the configurator to ensure definite identification and fitment before assembly.
Is this answer helpful?
Yes, depending on the structure, you should remove the screws at the back of the card and carefully unhook the fan connector first. This ensures the cooler fits properly. Always place the hardware on an antistatic mat during this process to protect sensitive components.
Is this answer helpful?
Clean the hardware of thermal paste or pad residues with a solvent such as isopropanol alcohol. Ensure you use an appropriate cleaning agent that evaporates quickly. This step is crucial for removing old adhesive or paste before applying the new thermal interface materials.
Is this answer helpful?
Alphacool International GmbH is not liable for assembly errors occurring due to negligence. This includes selecting an incompatible cooler. It is your responsibility to verify compatibility using the available online configurator to avoid damaging your equipment.
Is this answer helpful?
Advantages and Disadvantages
Advantages

- Clear acrylic material provides a superior aesthetic appeal for build showcases.
- Includes multiple thermal pads and screws for versatile installation options.
- ARGB lighting integrates seamlessly with modern motherboard ecosystems.
Disadvantages

- Requires precise PCB layout knowledge to ensure compatibility with revisions.
- Installation demands careful handling due to potential thermal glue on originals.
- Compatibility is not universal across all specific graphics card models.
Product Specification
Type
GPU
Connections
G1/4\
Lighting
LED (RGB)
Features
Voltage regulator with integrated cooling (GPU), including Backplate
Product Description
Alphacool Eisblock Aurora Acryl GPX-N NVIDIA RTX 4080 Cooling Excellence
Upgrading your graphics card requires precise thermal solutions to maintain optimal performance. This cooling solution delivers exceptional thermal management for high-performance GPUs during intense sessions. The Alphacool Eisblock Aurora Acryl GPX-N NVIDIA RTX 4080 Manual details the installation path and specifications clearly. Combined, these elements ensure your system operates at peak efficiency without thermal throttling.
Acrylic Design and RGB Features
Made of clear acrylic, this block offers a stunning visual presentation within your PC case. The Aurora RGB system integrates seamlessly with other components. It allows for customizable lighting effects to match your theme. The block is built to withstand pressure while looking elegant. You should check that your case allows for tubing and blocks of this size. The material reflects light beautifully to enhance the build.
Compatibility and Preparation
Before starting the cooler assembly, compare your card with pictures in the configurator. Visit the support website to search for your graphics card or cooler model. For definitive identification, you can also compare the PCB number. The cooler was designed for a special PCB layout. Occasionally, graphics card manufacturers may revise the design of their card slightly, causing the cooler not to fit on later models. During assembly, please make sure taller parts have enough space around them. It is vital to clean parts thoroughly before mounting.
Assembly Process and Accessories
Put the hardware on an antistatic mat. Begin dismantling the original cooler. Depending on the structure, remove screws at the back of the card. Unhook the fan connector first. If the original cooler uses thermal glue, extreme care should be taken. Pick up all items carefully. Next, clean the hardware of thermal paste or pad residues with a solvent. The package contains multiple thermal pads of varying sizes. An ARGB adaptor ensures compatibility with motherboard headers. Using the included putty tool helps manage installation. These accessories are crucial for a successful mount.
Important Notes
Alphacool International GmbH is not liable for assembly errors occurring due to negligence. Select an incompatible cooler carefully to avoid issues. Ensure safety instructions are read in full. Avoid negligence during assembly to maintain warranty coverage. Contact support if unsure about PCB numbers or fitment. Always prioritize component safety over speed of installation.
Final Thoughts
This solution represents the pinnacle of liquid cooling for Nvidia cards. It combines functionality with visual appeal. The setup is designed for enthusiasts who demand the best cooling performance.
Search for 67,706 Manuals online


Type-in Brand or Model