
Alphacool Eisblock Aurora Acrylic GPX-N RTX 2080/2080Ti FE Manual
PDF manual · 4 Pages
English



Quick check
Incorrect answer, please try again.
Chat with your Alphacool Eisblock Aurora Acrylic GPX-N RTX 2080/2080Ti FE manual using AI
Get instant AI answers from your Alphacool Eisblock Aurora Acrylic GPX-N RTX 2080/2080Ti FE manual
Ask anything about the Alphacool Eisblock Aurora Acrylic GPX-N RTX 2080/2080Ti FE. Answers come from this manual, with the pages they are based on.
Ask a Question
Do you recommend Eisblock Aurora Acrylic GPX-N RTX 2080/2080Ti FE?
Yes NoFrequently Asked Questions
It is constructed for the FE layout shown in the included guidance, but GPU manufacturers can revise designs slightly. Always compare your card to the reference and verify space for taller components before mounting.
Is this answer helpful?
Clean the cooler contact surfaces with alcohol or a similar solvent so they are free of contaminants. Remove the protective foils from the thermal pads and place them on the copper block as shown. Apply thermal paste to the GPU in a thin, even layer under one millimeter.
Is this answer helpful?
Fasten using the included M2x5 screws and tighten crosswise, one turn at a time, by hand. Do not over-tighten, because excessive force can affect uniform pressure and may loosen hardware. Retighten after about 12 hours of use.
Is this answer helpful?
Use the included adapter to connect to your 3-pin female digital - RGB controller (for example, Alphacool Aurora Eiscontrol, not included). You can also connect additional digital - RGB LEDs to the remaining 3-pin male connector.
Is this answer helpful?
Use only distilled water or ALPHACOOL CAPE KELVIN CATCHER in the cooling circuit. Damage from unsuitable coolant is not covered by warranty.
Is this answer helpful?
Yes. A tightness test is recommended before final assembly or installation. Keep loop pressure at a maximum of 0.8 bar during testing, and do not use tools on connectors.
Is this answer helpful?
Ensure coolant flows through the system at all times. Coolers without flowing coolant can become dangerously hot and damage hardware. Also avoid using tools on plastic products and metal threaded connections coupled to plastic parts, since cracking and leaks may not be covered.
Is this answer helpful?
Advantages and Disadvantages
Advantages

- Purpose-built for the RTX 2080/2080Ti FE layout, improving fit when your card matches the reference design.
- Includes thermal pads, thermal grease, mounting screws, and M2 hardware for a complete block swap.
- Digital - RGB adapter support enables lighting control via a compatible 3-pin controller.
- Clear assembly guidance: clean residues, correct pad placement, thin paste layer, and crosswise tightening.
- Retightening after about 12 hours helps maintain consistent contact pressure during early settling.
Disadvantages

- Compatibility can vary across GPU revisions; the block may not fit later card layouts.
- If the original cooler uses thermal glue, removal requires extra care to avoid tearing parts.
- Warranty and protection exclude damages from improper installation, over-tightening, and leaks.
- You must ensure coolant flow; running the system without coolant can destroy hardware.
- Loop coolant must be distilled (or specified ALPHACOOL fluid), or damage may not be covered.
Product Specification
Type
GPU
Material
Copper (nickel-plated), PMMA
Compatibility
NVIDIA GeForce RTX 2080 Founders Edition, NVIDIA GeForce RTX 2080 Ti Founders Edition
Connections
G1/4"
Lighting
LED (RGB)
Dimensions (LxWxH)
10.39x4.69x0.98in
Weight
2.65 lb
Special features
Voltage regulators cooled (GPU)
Product Description
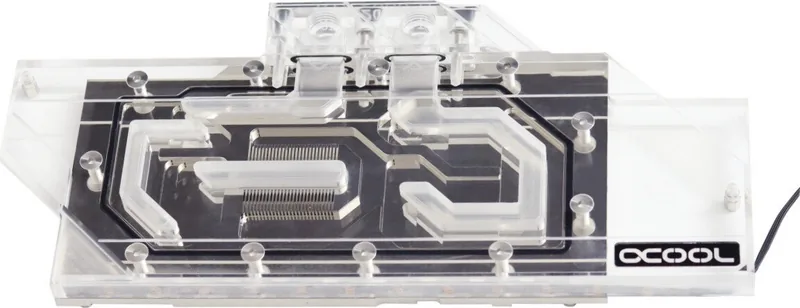
Alphacool Ice Block Aurora Acryl GPX-N for NVIDIA RTX 2080/2080Ti FE - Built for Clean, Cold Performance
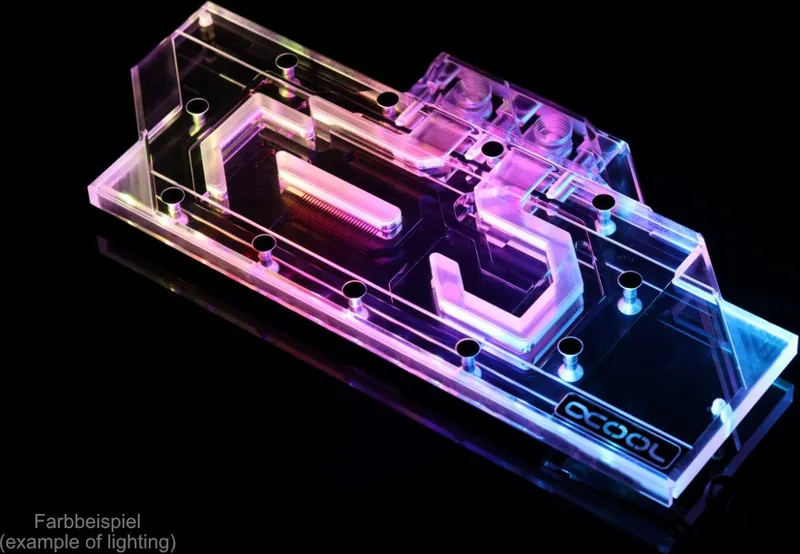
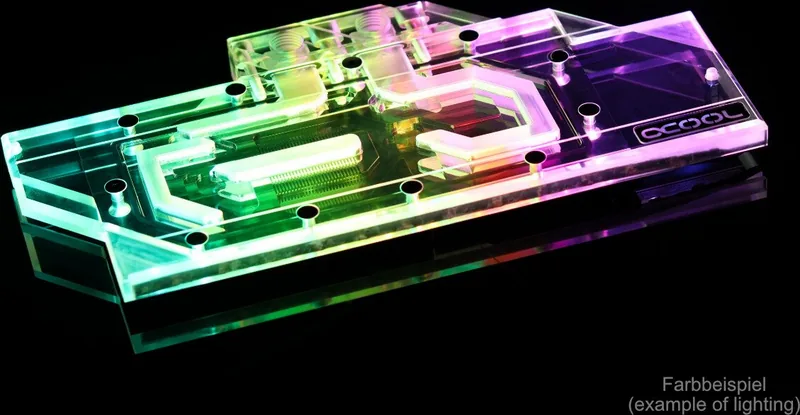
The Alphacool Ice Block Aurora Acryl GPX-N NVIDIA RTX 2080/2080Ti FE is a purpose-built water block that replaces your card's stock cooling for a more direct, liquid-cooled setup. Designed specifically around the FE layout, it uses precisely positioned thermal pads on the copper base and a thin GPU layer of thermal paste to help maximize contact and heat transfer. Its clear acylic style top also highlights the water flow aesthetic that many custom loop builders want.
This upgrade works through a careful swap: you start by placing the hardware on an antistatic surface, dismantling the original cooler, and removing pad or paste residue with a suitable solvent such as alcohol. Because some coolers use thermal glue, the process emphasizes patience to avoid damaging components while detaching the original heatsink.
After cleaning, you place the thermal pads on the copper block exactly as indicated. Then apply a thin, even layer of thermal paste to the GPU using a plastic strip or similar tool. Keeping paste thickness under one millimeter helps prevent unwanted contamination of surrounding parts. Next, position the graphics card onto the prepared block and fasten it using the included M2x5 screws, tightening in a cross pattern, turn by turn. For the slot bracket, an additional M2 nut is used.
To finish, retighten the screws after about 12 hours of use to help maintain even pressure as parts settle. If you want lighting, the included digital - RGB adapter connects to your 3-pin digital - RGB controller, and additional digital - RGB LEDs can be added through the remaining connector.
Notes before you install
- Read safety instructions first and ensure coolant flow. Running a cooler without coolant can cause extreme heat and hardware damage.
- Use only distilled water (or ALPHACOOL CAPE KELVIN CATCHER) in the loop.
- Do a leak and tightness test with water pressure up to 0.8 bar.
- Verify compatibility with your specific card revision, since board layouts can change.
Key results
- Precise pad placement and a thin GPU paste layer improve thermal contact for stable cooling.
- Correct crosswise, step-by-step tightening plus retightening after 12 hours helps maintain even mounting pressure.
- Digital - RGB support adds controller-based lighting without complicating the core cooling setup.
- Using distilled water and performing a pressure test reduces risk of leaks and flow issues.
- Careful dismantling and cleaning helps prevent damage when original coolers are glued.
Search for 67,706 Manuals online


Type-in Brand or Model