
Alphacool Cape Corp Coolplex HF Metal 10 Manual
PDF manual · 12 Pages
English



Quick check
Incorrect answer, please try again.
Chat with your Alphacool Cape Corp Coolplex HF Metal 10 manual using AI
Get instant AI answers from your Alphacool Cape Corp Coolplex HF Metal 10 manual
Ask anything about the Alphacool Cape Corp Coolplex HF Metal 10. Answers come from this manual, with the pages they are based on.
Ask a Question
Do you recommend Cape Corp Coolplex HF Metal 10?
Yes NoFrequently Asked Questions
It serves as an expansion tank for a liquid-cooling loop, helping store coolant, manage flow, and make filling and maintenance easier. It is designed for users who want both utility and a polished look inside the case.
Is this answer helpful?
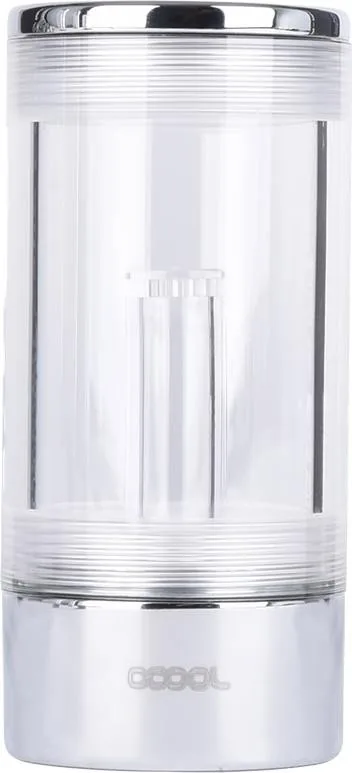
The reservoir combines a brass base, brass lid ring, PMMA tube, an integrated lighttower standpipe, and O-rings. This mix gives it a sturdy build with a clean, transparent chamber for coolant visibility.
Is this answer helpful?
It uses clip brackets with M4 nuts and M4x20 screws. The clip system allows the reservoir to be positioned in available space, which helps when building around other components or tight layouts.
Is this answer helpful?
No. Any unused inlets or outlets should be sealed with the provided plugs. This prevents leaks and keeps the loop properly closed.
Is this answer helpful?
A filling bottle or funnel is recommended. This makes coolant filling cleaner and reduces the chance of spills during setup or maintenance.
Is this answer helpful?
The guidance recommends Alphacool or Aquatuning cooling fluids. Using approved coolant can help support longer component life and more stable performance.
Is this answer helpful?
Advantages and Disadvantages
Advantages

- Chrome finish gives the reservoir a premium, eye-catching appearance.
- Flexible clip mounting makes placement easier in different case layouts.
- Includes mounting hardware and sealing plugs for a more complete setup.
- Clear filling and tubing guidance helps simplify installation and maintenance.
Disadvantages

- Some fittings may be limited by the maximum size specifications.
- The outlet position rule reduces installation freedom slightly.
- Best results depend on using recommended coolant types.
- Requires careful assembly to seal all unused openings properly.
Product Specification
Type
Reservoir
Material
Brass (chrome-plated), PMMA
Capacity
2.71 fl oz
Connections
G1/4"
Pump
N/A
Dimensions
1.93x4.61x1.93in
Color
silver (glossy)
Features
incl. mounting bracket
Product Description
Alphacool Cape Corp Coolplex HF Metal 10: Chrome Reservoir with Smart Mounting Options
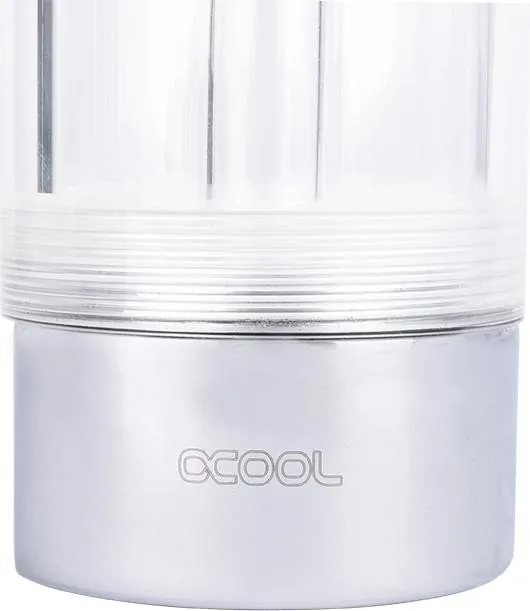
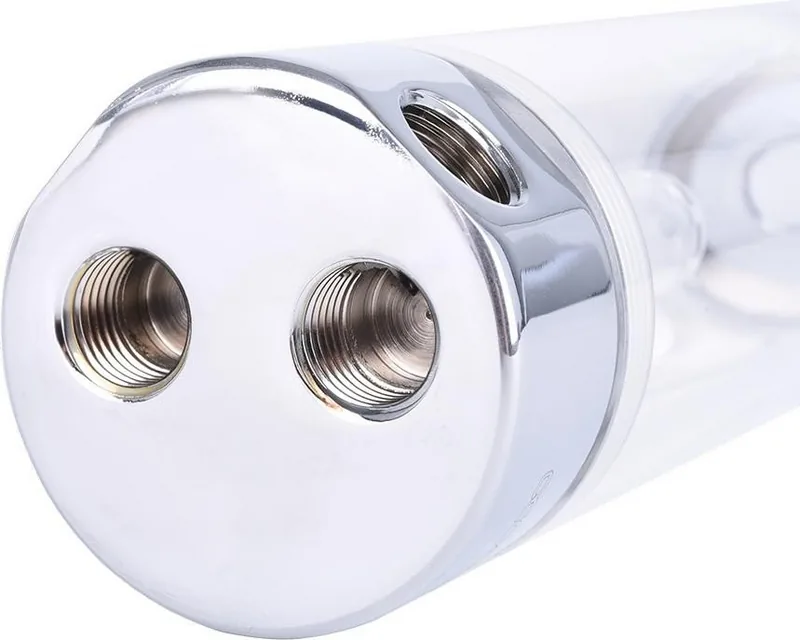
The Alphacool Cape Corp Coolplex HF Metal 10 is an expansion tank designed for water-cooling builds that value both clean aesthetics and practical installation. With its chromed finish, brass base, brass lid ring, PMMA tube, and integrated standpipe, it brings a polished, industrial look to a system while staying focused on function. The structure is reinforced with sealing elements that help support reliable coolant flow and secure operation over time.
What makes this reservoir stand out is its flexible mounting concept. The included clip brackets, M4 nuts, and M4x20 screws let you place it in different locations inside the case, with spacing options that support a wide range of builds. This is especially useful when working around compact layouts, custom tubing runs, or a case interior where space is limited. The manual emphasizes that the reservoir can be mounted where room is available, giving builders more freedom during planning.
The tubing connection process is straightforward and practical. The fitting system uses threaded connectors and coupling nuts, while unused ports should be sealed with the provided plugs to keep the loop closed and tidy. The outlet can be selected according to the setup, but it should never be positioned on top. This detail matters for smooth filling and stable operation, especially in systems where air management is important.
Filling is just as important as installation, and the design supports that with a simple access approach. A filling bottle or funnel is recommended, making coolant top-offs easier and cleaner. The manual also advises using Alphacool or Aquatuning cooling fluids to help protect the components and maintain long-term reliability. With its combination of metal accents, clear installation guidance, and adaptable layout, this expansion tank is well suited for enthusiasts who want a reservoir that looks refined and performs with purpose.
Notes
- Use the included sealing plugs on every unused port.
- Keep the outlet away from the top position during installation.
- Check fitting size compatibility before assembly.
- Follow the coolant recommendations for best longevity.
Search for 67,706 Manuals online


Type-in Brand or Model