
Alphacool Aurora Plexi X4 Manual
PDF manual · 4 Pages
English



Quick check
Incorrect answer, please try again.
Chat with your Alphacool Aurora Plexi X4 manual using AI
Get instant AI answers from your Alphacool Aurora Plexi X4 manual
Ask anything about the Alphacool Aurora Plexi X4. Answers come from this manual, with the pages they are based on.
Ask a Question
Do you recommend Aurora Plexi X4?
Yes NoFrequently Asked Questions
You need Alphacool D-RAM modules mounted on all RAM bars. The text specifically references Alphacool D-RAM with EAN: 4250197172684. Without the correct modules and full bar coverage, the cooler is not set up for the intended thermal contact.
Is this answer helpful?
Place the hardware on an antistatic mat and clean the D-RAM modules to remove finger grease residues using a suitable solvent (for example spirit/alcohol). Then apply thermal paste to the top of the D-RAM modules as shown in the guidance before placing the cooler.
Is this answer helpful?
Remove the protective foil from the copper base, then position the cooler on the D-RAM modules. Insert the screws laterally into the RAM cooler and screw through the provided holes from above. Tighten carefully to maintain uniform pressure and avoid over-tightening.
Is this answer helpful?
Yes, if your motherboard provides the required connection type (the text mentions a VDG connection). Otherwise, you may need an adapter for an ADD header (item 18604) or connect independently via a digital RGB controller.
Is this answer helpful?
The text instructs expanding the lighting chain using the 3-pin male connector after making the initial connection via the 3-pin female connector for supply and control. Follow the chain rules from your setup to keep the lighting behavior consistent.
Is this answer helpful?
The text states that you can connect lighting independently of the mainboard via a digital RGB controller, not included, with item number 15360. If your motherboard cannot control the lighting directly, that controller option is the alternative path described.
Is this answer helpful?
Do not run cooling hardware without the required liquid flow in applicable liquid setups, and ensure the pump is functioning. Avoid using tools to tighten where the guidance discourages it, do not over-tighten screws, and use only appropriate coolant. The text also notes that warranty coverage excludes defects from improper installation.
Is this answer helpful?
Advantages and Disadvantages
Advantages

- Acrylic Aurora housing with a copper base for strong thermal contact to compatible RAM modules.
- Includes thermal grease, M3x8 screws, and hex key to support a complete install kit.
- Clear installation approach: clean, paste, foil removal, seat cooler, then tighten with even pressure.
- Supports digital RGB integration via 3-pin connectors for supply, control, and chain expansion.
- Offers multiple lighting connection options: direct motherboard, ADD adapter (18604), or controller (15360).
Disadvantages

- Requires Alphacool D-RAM modules mounted on all RAM bars (EAN: 4250197172684) for correct coverage.
- Assembly demands careful surface cleaning and correct thermal paste placement to avoid poor contact.
- Over-tightening can cause mounting issues and reduce uniform pressure.
- Guidance includes strict connector and sealing practices; incorrect handling can void warranty coverage.
- Lighting and control depend on correct motherboard headers or an external controller/adapter.
Product Specification
Type
RAM
Material
Copper, PMMA
Compatibility
DDR RAM
Connections
G1/4"
Lighting
LED (RGB)
Dimensions (LxWxH)
5.04x1.77x0.75in
Weight
0.69 lb
Product Description
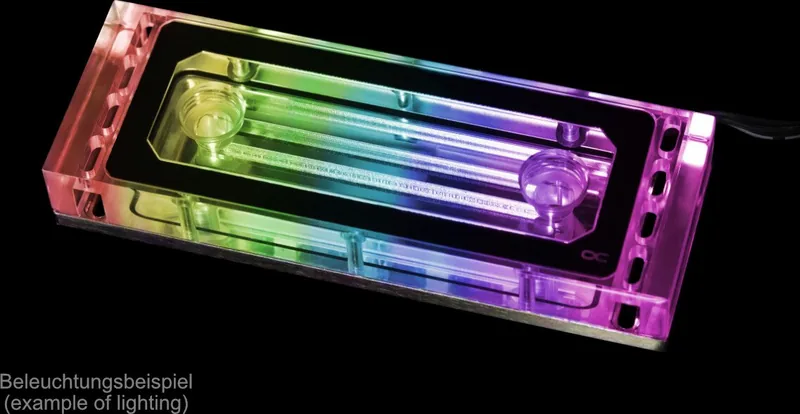
Alphacool Aurora Acrylic X4 D-RAM Manual - a clear acrylic look for RAM cooling
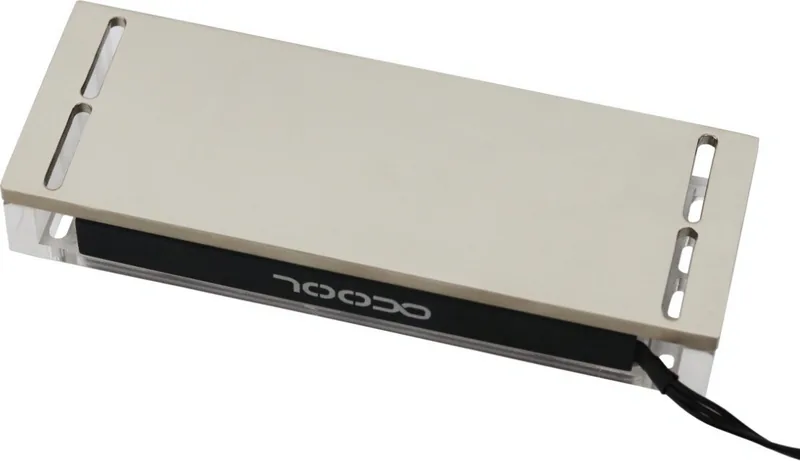
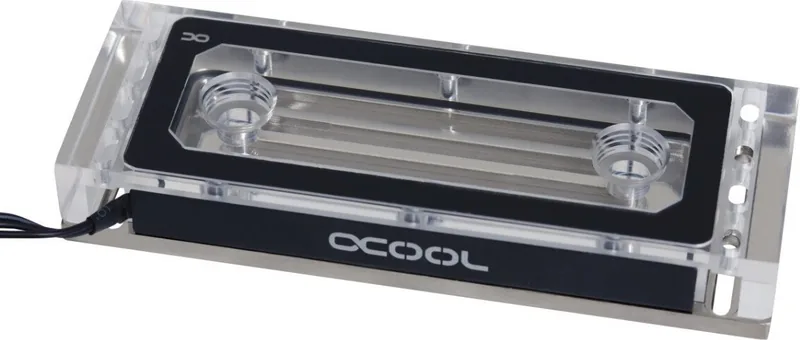
The Alphacool Aurora Acrylic X4 D-RAM pairs a crisp acrylic housing with a copper base designed to spread cooling pressure over compatible RAM modules. It is built for clean integration and a premium visual upgrade, especially when you want your system to look as good as it runs. With the right setup, the Aurora X4 helps bring direct, stable thermal contact to the D-RAM area while showcasing a modern, transparent style.
What makes the kit practical is what it includes. You get the Aurora Plexi X4 D-RAM cooler, thermal grease, M3x8 screws, and a hex key. To get the best results, installation assumes you have Alphacool D-RAM modules mounted on all RAM bars (EAN: 4250197172684). Before mounting, clean away any finger grease using a suitable solvent and an antistatic workspace. Then apply the thermal paste to the top of the D-RAM modules as shown, remove the protective foil from the copper base, and seat the cooler carefully.
Securement matters for performance. Insert the screws laterally into the RAM cooler and tighten them through the provided holes from above. Avoid over-tightening: the system needs even, uniform pressure, and the instructions emphasize not clamping too aggressively. For best system health, also verify the cooling contact footprint on the cooled components and ensure everything is properly aligned.
If you want the visual upgrade, the text also covers digital RGB integration details. Use the 3-pin connectors for digital RGB supply and control, expand the lighting chain as needed, and match your motherboard headers. Depending on your setup, you may connect directly to a compatible motherboard header, use an ADD header adapter (item 18604), or run the lighting independently through a digital RGB controller (not included, item 15360).
Key setup results
- Compatible Alphacool D-RAM modules (EAN: 4250197172684) must be mounted on all RAM bars for proper contact.
- Cleaned D-RAM surfaces plus correctly placed thermal paste supports consistent heat transfer.
- Proper screw technique helps maintain even pressure without stressing the mounting hardware.
- Correct RGB connector and controller/header matching prevents lighting and control issues.
Key operation and safety notes
- Ensure your system uses the correct cooling loop behavior (pump running when required) and suitable coolant for liquid setups.
- Use only approved connectors and seal designs; rely on the included guidance for hand-tight sealing.
- Check tightness before full installation, and follow warranty limits regarding improper assembly.
At the end of the day, the Alphacool Aurora Acrylic X4 D-RAM is about two things: dependable thermal contact for your RAM and a clean, configurable RGB-friendly presentation for a modern build.
Search for 67,706 Manuals online


Type-in Brand or Model
Lucia Kühne
8 months ago
Is the installation of this liquid cooler complicated, especially when mounting the RAM and connecting the DIMMs?
Manual.ly
8 months ago
Installation is a bit fiddly but manageable. The main tip is to mount the RAM on the cooler first, then connect all DIMMs to the motherboard. This way you avoid awkward positioning during wiring. If your case allows it, you can also help by laying the PC on its side to improve access and reduce strain. After everything is seated, do a final check that the RAM is fully clicked in and that the connections are secure before powering on. With careful alignment, the assembly process should go smoothly.