
AeroCool Playa Slim Manual
PDF manual · 2 Pages
English



Quick check
Incorrect answer, please try again.
Chat with your AeroCool Playa Slim manual using AI
Get instant AI answers from your AeroCool Playa Slim manual
Ask anything about the AeroCool Playa Slim. Answers come from this manual, with the pages they are based on.
Ask a Question
Do you recommend Playa Slim?
Yes NoFrequently Asked Questions
It is a good fit for compact desktop builds, office PCs, and simple home systems where space efficiency and basic hardware support are important.
Is this answer helpful?
The layout supports a 5.25-inch optical drive, 2.5-inch SSDs, and 3.5-inch HDDs, so users can combine speed and capacity as needed.
Is this answer helpful?
Yes. The front panel provides USB 3.0 ports along with HD audio and microphone connections for convenient everyday access.
Is this answer helpful?
The build steps are laid out in a straightforward sequence, which makes the case manageable for first-time builders, though some basic PC knowledge helps.
Is this answer helpful?
The LED switch lets users control the lighting mode and can be used to turn the LED off after holding the switch for a short time.
Is this answer helpful?
Yes. The PSU area is designed for standard installation, with guidance to route the power lead before securing the unit.
Is this answer helpful?
Advantages and Disadvantages
Advantages

- Supports a practical mix of ODD, SSD, and HDD mounting options.
- Front I/O includes USB 3.0 plus HD audio and mic connections.
- Compact layout is suitable for space-saving desktop builds.
- Includes clear installation steps for major components.
Disadvantages

- Multilingual instructions can feel crowded and hard to scan quickly.
- Some assembly steps are brief and rely on user familiarity.
- Limited emphasis on advanced cable management features.
- Slim format may not suit larger or highly expandable builds.
Product Specification
External
1x 5.25"
Internal
1x 2.5"/3.5", 1x 2.5"
Ports
2x USB-A 3.0 (5Gb/s), 1x 3.5mm jack (Line-Out), 1x 3.5mm jack (Line-In)
PCI Slots
4 (4x low profile)
Fan (front)
N/A
Fan (rear)
N/A
Fan (left)
N/A
Fan (right)
N/A
Fan (top)
1x 3.15"
Fan (bottom)
1x 3.15" (optional)
Fan (other)
N/A
Motherboard
up to µATX
Supported Motherboards
Mini-ITX (6.7"x6.7")/µATX (9.6"x9.6")
PSU
SFX
PSU Position
top (vertical)
CPU Cooler
max. 3.15" height
Graphics Cards
max. 9.45" (without ODD)
Color
black, interior black
Lighting
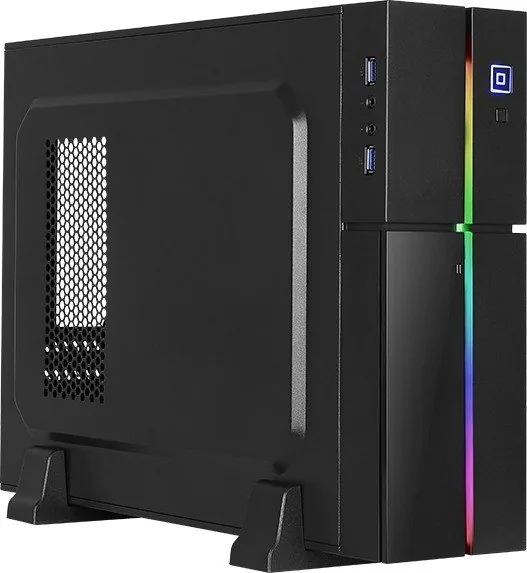
integrated RGB-LED lighting
Dimensions (WxHxD)
4.41"x11.81"x16.54" (standing)
Volume
3.73 gal
Weight
5.73 lb
Case Type
Mini-Tower
Front
closed
Top
partially closed, fan grill front, fan grill rear, dust filter external
Bottom
partially closed, fan grill middle
Left
partially closed, fan grill rear
Right
closed
Rear
partially closed, ventilation slots right, PCI slots bottom (4x low profile horizontal)
Front I/O Position
Case side: left, Height: top, Position: Front
Motherboard Orientation
Motherboard orientation: with case orientation standing: to the left or to the right; with case orientation lying: upwards
Special Features
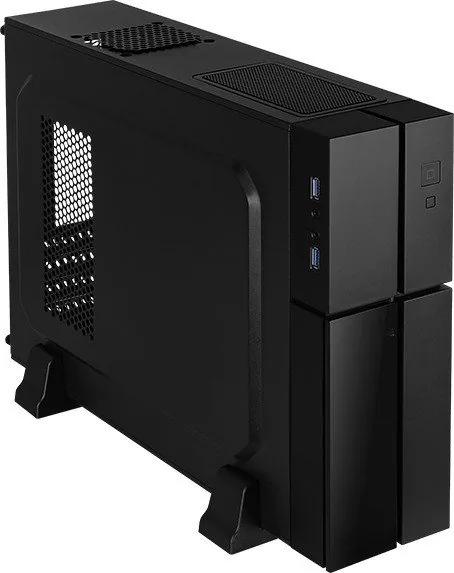
standing/lying
USB Labeling
Link
Product Description
AeroCool Playa Slim: compact design with practical installation in mind
AeroCool Playa Slim is built for users who want a clean, space-conscious PC case without giving up everyday hardware support. Its layout focuses on straightforward assembly, with dedicated mounting points for a motherboard, storage drives, and a power supply, all arranged to keep the build process simple and approachable. The slim profile makes it a sensible choice for compact desktop setups, home workstations, or a modest entertainment PC.
One of the strongest points of the Playa Slim is its flexible drive support. It accommodates a 5.25-inch optical drive bay, 2.5-inch SSD mounting, and 3.5-inch HDD placement, giving builders room to mix modern fast storage with larger capacity drives. That balance is useful for users who still rely on optical media or need extra storage space for files, backups, or media libraries.
The front panel layout is equally practical. With USB 3.0 ports, HD audio, microphone support, power and LED controls, the case keeps the most important connections close at hand. The LED switch is a nice touch for users who want quick control over lighting behavior, making the system feel more customizable without complicating daily use.
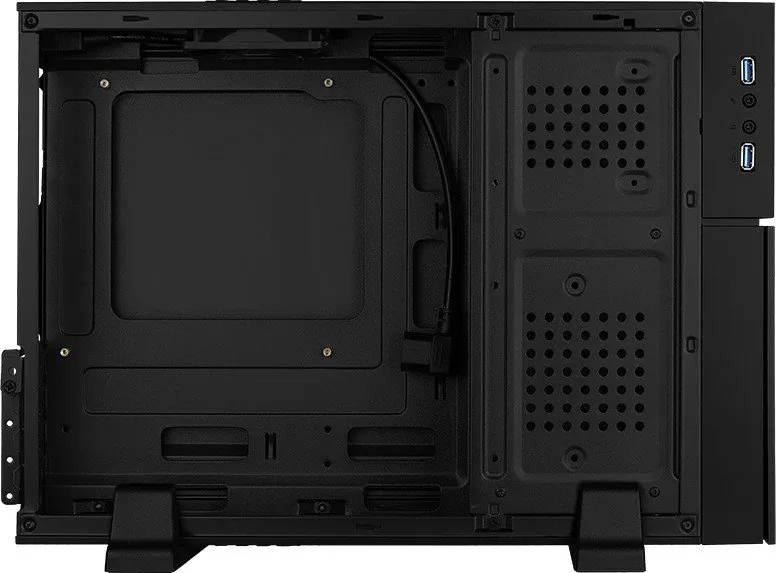
Installation is presented in a step-by-step way, covering the motherboard, drive rack, SSD and HDD mounting, and PSU placement. The internal structure is designed to reduce guesswork, and the included accessory bag suggests support for the standard screws and standoffs needed to complete the build. For first-time builders, that kind of organization can make a big difference.
In everyday use, the AeroCool Playa Slim feels like a case that values function over flash. It does not try to overwhelm the user with unnecessary extras; instead, it offers a dependable chassis layout and a clear path to getting a system up and running. If your priority is a compact machine with sensible hardware compatibility and easy access to key ports, this model fits that brief well.
Notes
- Best suited for compact builds that still need multiple storage options.
- Useful for users who want front USB 3.0 and audio access.
- A good match for straightforward, no-fuss PC assembly.
- LED control adds a small but helpful touch of customization.
Search for 67,706 Manuals online


Type-in Brand or Model
Daniel Weber
10 months ago
Does the slim Aerocool case really only support SFX PSUs and low-profile GPUs? I plan to add an optical drive - will it still fit, and is space tight?
Manual.ly
10 months ago
Yes. This slim mATX design is intended mainly for SFX power supplies, and GPU support is limited to low-profile (LowProfile) models (roughly max length around 24 cm, depending on the exact card and installation). If you install an optical drive, usable space for the GPU can become very tight, so you may lose fit for many cards even if the length seems possible. For best results, check your PSU type and your GPU form factor (LowProfile) and dimensions against the case specs before ordering. We recommend choosing an opt-drive only if you also confirm the remaining clearance for your specific GPU.