- Переконайтеся, що потужність вашого блоку живлення відповідає вимогам вашої
системи та її буде достатньo для повноцінної роботи.
- Переконайтесь в тому, що кабель живлення від'єднано та перемикач живлення
вимкнено.
- Блок живлення не придатний для використання в промислових/виробничих системах,
та має категорію NON-INDUSTRIAL. Блок живлення призначений для настільних
систем, а саме категорії форм фактор Desktop INTEL. Використання блоку живлення з
порушенням зазначених обмежень по застосуванню, включаючи видобуток
криптовалюти, може стати причиною надмірного підвищення температури, що стане
причиною збоїв або пошкоджень вашого обладнання, і призведе до втрати гарантії.
- забороняється застосовувати додаткові адаптери, кабелі та з'єднувальні пристрої, які
не є оригінальними та не входять в комплектацію блока живлення;
- уникайте використання та зберігання блоку живлення в вологих умовах або у вологих
приміщеннях.
- категорично забороняється відкривати корпус блока живлення, так як пристрій працює
із небезпечними напругами та немає необхідності здійснювати керування роботою
блока живлення за допомогою компонентів, що знаходяться всередині пристрою.
- слідкуйте за тим, щоб гарантійна пломба не була пошкоджена, не знімайте її
самостійно. Пошкоджена або відсутня наклейка (гарантійна пломба) позбавляє права
на гарантійне обслуговування блока живлення і його ремонт.
- Детальна інформація стосовно технічних характеристик та умов гарантійного
обслуговування на офіційному веб-сайті вирбника Aerocool www.aerocool.io.
Українська
安裝須知 :
- 安裝前請確定選購的電源輸出功率可以符合系統需求。
- 安裝前需確認電源線必須拔起、開關必須關閉。
- 本電源遵循英特爾電源設計規範僅供桌上型個人電腦使用,不可用於工業電腦、虛擬貨幣挖
礦系統,以及任何超出英特爾電源設計規範之用途,若不當使用會造成系統或電源的損壞且
失去產品保固
- 請不要轉接或分接更多接頭或變換接頭使用。
- 請不要在潮濕的環境使用。
- 內有危險高電壓且內無可替換用的零件,請勿打開電源外殼。
- 請勿撕毀或造成保固貼紙破損,保固貼紙無法辨識會使保固失效。
- 請造訪Aerocool官方網站www.aerocool.io以取得更多的保固資訊。
繁體中文
简体中文
安装须知 :
- 安装前请确定选购的电源输出功率可以符合系统需求。
- 安装前需确认电源线必须拔起、开关必须关闭。
- 本电源遵循英特尔电源设计规范仅供台式机电脑使用,不可用于工业电脑、虚拟币挖矿系统,
以及任何超出英特尔电源设计规范之用途,若不当使用会造成系统或电源的损坏且失去产
品貭保固
- 请不要转接或分接更多接头或变换接头使用。
- 请不要在潮湿的环境使用。
- 内有危险高电压且内无可替换用的零件,请勿打开电源外壳。
- 请勿撕毁或造成质保贴纸破损,质保贴纸无法辨识会使质保失效。
- 请造访Aerocool官方网站www.aerocool.io以取得更多的质保讯息。
POWER SUPPLY USER MANUAL
AERO SERIES
aerocool.io
1. Antes de instalar la fuente de alimentación, desenchufe el cable
de alimentación de CA y asegúrese de que el panel de I / O está
apagado.
Español
1. Avant d’installer l’alimentation, débranchez l’alimentation AC
et soyez sûr que l’objet est sur l’interrupteur « off »
Français
1. Entfernen Sie vor Installation das Stromkabel und vergewissern
Sie sich, dass der Hauptschalter (I/O) ausgeschaltet (O) ist.
Deutsch
1. Prima di installare la PSU, staccare il cavo d'alimentazione AC e
assicurarsi che il pannello I/O sia spento.
Italiano
1. Before installing the PSU, unplug the AC power cord and make sure
the I/O panel is off.
Motherboard 20+4PIN
I/O panel is off
ATX12V 4/8-PIN (by 4+4-PIN)
2.Conecte un conector de 20 + 4 pines a la placa base.
[Aviso] El conector de 4 pines desmontable del 20 + 4-pines no es
adecuado para el conector ATX12V de 4 pines. Una conexión
incorrecta puede causar daños irreversibles.
Español
2. Verbinden Sie den 20+4-pol Stecker mit dem Motherboard.
[Hinweis] Der abtrennbare 4-pol Stecker des 20+4-pol Steckers
ist nicht kompatibel mit dem ATX12V 4-pol Stecker. Inkorrekte
Verbindungen können irreversible Schäden verursachen.
Deutsch
2. Connectez le 20+4 connecteur à la carte mère.
[Remarque] Le 4-pin détachable n’est pas compatible avec le
connecteur de l’ATX12V. Une connexion incorrecte peut mener
à des endommagements permanents.2.
Français
2. Collegare il connettore 20+4 pin alla scheda madre.
[Avviso] La sezione rimovibile a 4 pin del connettore 20+4 pin
non è compatibile con il connettore ATX12V da 4 pin.
Una connessione errata potrebbe causare danni irreversibili.
Italiano
2. Connect 20+4-pin connector to the motherboard.
[Note] The detachable 4-pin connector of the 20+4-pin is not suitable for
ATX12V 4-pin connector. Incorrect connection may cause irreversible damage.
6. Connect PCIe 6-pin or 8-pin (by 6+2-pin) to graphics card.
[Note] Do not connect the PCIe 6+2-pin connector to the ATX12V 8-pin
connector. Incorrect connection may cause irreversible damage.
E
6
8
8
M
S
I
M
C
4
E
6
8
8
M
S
I
M
C
4
E6
8
8
M
S
I
M
C
4
+3.3V+3.3VCOM+5VCOM+5VCOMP.G.+5Vsb+12V+12V+3.3V
13PIN1415161718192021222324
+3.3V-12VCOMPS-ONCOMCOMCOM-----+5V+5V+5VCOM
1PIN23456789101112
PIN13
PIN1
PIN24
PIN12
3. Connect ATX12V (CPU power) 4-pin or 8-pin (by 4+4-pin) to the
motherboard.
4. Conecte ATX12V (CPU power) de 4 o 8 clavijas (por 4 + 4 clavijas)
a la placa madre.
Español
4. Verbinden Sie den ATX 12V Stecker (CPU Strom), 4-pol oder
8-pol (als 4+4-pol) mit dem Motherboard.
Deutsch
4. Connectez l’ATX12V (alimentation CPU) 4 pin ou 8 pin
(en faisant 4+4-pin) sur la carte mère.
Français
4. Connettere ATX12V (alimentazione della CPU) da 4 pin o da 8 pin
(mediante 4+4 pin) alla scheda madre.
Italiano
6.Connectez le connecteur PCIe 6 pin ou 8 pin (en faisant 6+2-pin)
aux cartes graphiques
[Remarque] Le PCIe 8-pin en combinant 6+2-pin n’est pas
compatible avec le connecteur l’ATX12V 8-pin. Une connexion
incorrecte peut mener à des dégâts permanents.
Français
6.Collegare il connettore PCIe da 6 pin o da 8 pin (mediante
6 pin + 2 pin) alla scheda grafica
[Avviso] Non collegare il connettore PCIe da 6+2 pin al connettore
ATX12V da 8 pin. Un collegamento errato potrebbe causare
danni irreversibili .
Italiano
6.Conecte PCIe de 6 pines o 8 pines (por 6 + 2 pines) a la tarjeta
gráfica.
[Aviso] El conector PCIe de 8 pines combinado de 6 + 2 pines no
es adecuado con el conector ATX12V de 8 pines. Una conexión
incorrecta puede causar daños irreversibles.
Español
6.Verbinden Sie den PCIe Stecker 6-pol oder 8-pol (als 6+2-pol)
mit der Grafikkarte.
[Hinweis] Der PCIe 8-pol Stecker als 6+2-pol, ist nicht kompatibel
mit dem ATX12V 8-pol Stecker. Inkorrekte Verbindungen können
irreversible Schäden verursachen.
Deutsch
PCIe 6/8-pin (by 6+2-PIN)
COMCOMCOMCOM
1PIN234
+12V+12V+12VCOM
5PIN678
PIN5
PIN1
PIN8
PIN4
4. Conecte el conector SATA a dispositivos, es decir, HDD/SSD/ODD.
Español
Verbinden Sie den SATA Anschluss mit der vorgesehenen
Hardware, z.B. HDD/SSD/ODD.
Deutsch
Connectez le connecteur SATA aux appareils comme un
HDD/SSD/ODD.
Français
Collegare il connettore SATA ai dispositivi, ad es. HDD/SSD/ODD.
Italiano
4. Connect SATA connector to devices, i.e. HDD/SSD/ODD.
+3.3VCOM+5VCOM+12V
1PIN2345
5. Connect Molex 4-pin connector to devices, i.e. HDD/ODD/case fan.
+12VCOMCOM+5V
1PIN234
PIN1PIN4
Italiano
Cavo alimentazione della scheda madre 20+4 pin
Français
Connecteur carte mère 20+4pin
Deutsch
Motherboard 20+4polStecker
Español
Tarjeta madre 20 + conector 4PIN
Italiano
Cavo alimentazione della scheda video PCIe 6+2 pin
Français
Connecteur carte graphique PCIe 6+2 pin
Deutsch
Graphic card PCIe 6+2polStecker
Español
Tarjeta gráfica Conector PCIe 6 + 2PIN
Italiano
Cavo S-ATA
Français
Connecteur S-ATA
Deutsch
S-ATA Stecker
Español
Conector S-ATA
How to Install / Connector Description
COMCOMCOMCOM
5PIN678
PIN5
PIN1
PIN8
PIN4
+12V+12V+12V+12V
1PIN234
E6
8
8
M
S
I
M
C
4
E
6
8
8
M
S
I
M
C
4
E
6
8
8
M
S
I
M
C
4
E6
8
8
M
S
I
M
C
4
E
6
8
8
M
S
I
M
C
4
E
6
8
8
M
S
I
M
C
4
E6
8
8
M
S
I
M
C
4
E
6
8
8
M
S
I
M
C
4
E
6
8
8
M
S
I
M
C
4
E6
8
8
M
S
I
M
C
4
E
6
8
8
M
S
I
M
C
4
E
6
8
8
M
S
I
M
C
4
E6
8
8
M
S
I
M
C
4
E
6
8
8
M
S
I
M
C
4
E
6
8
8
M
S
I
M
C
4
E6
8
8
M
S
I
M
C
4
E
6
8
8
M
S
I
M
C
4
E
6
8
8
M
S
I
M
C
4
E6
8
8
M
S
I
M
C
4
E
6
8
8
M
S
I
M
C
4
E
6
8
8
M
S
I
M
C
4
E6
8
8
M
S
I
M
C
4
E
6
8
8
M
S
I
M
C
4
E
6
8
8
M
S
I
M
C
4
SSD
ODDHDD
SATA
5. Verbinden sie den Molex 4-pol Stecker mit der vorgesehenen
Hardware, z.B. HDD/ODD/Gehäuse/Lüfter/Kühlvorrichtungen.
Deutsch
5. Conecte el conector Molex de 4 clavijas a los dispositivos,
es decir, los dispositivos de ventilador/refrigeración HDD/ODD/
case.
Español
5. Connectez le connecteur Molex 4-pin aux appareils comme un
HDD/ODD/boitier de ventilateur/appareil de refroidissement.
Français
5. Collegare il connettore SATA ai dispositivi, ad es. HDD/SSD/ODD.
Italiano
Case Fan
ODD
HDD
PATA
Italiano
Cavo periferiche 4 pin
Français
Connecteur périphérique 4pin
Deutsch
Peripheral 4polStecker
Español
Conector 4PIN periférico
Italiano
Cavo alimentazione della CPU ATX12V 4+4 pin
Français
Connecteur CPU 12V 4+4 pin
Deutsch
CPU 12V 4+4polStecker
Español
Conector CPU 12V 4 + 4PIN
/2
%
Quick check
I'm not a robot
Incorrect answer, please try again.
Chat with your AeroCool Aero White ATX 2.4 manual using AI
Get instant AI answers from your AeroCool Aero White ATX 2.4 manual
Ask anything about the AeroCool Aero White ATX 2.4. Answers come from this manual, with the pages they are based on.
Ask a Question
0/1000
Do you recommend Aero White ATX 2.4?
YesNo
Frequently Asked
Questions
A
No, usage outside desktop parameters including mining can cause overheating and void the warranty.
Is this answer helpful?
A
Check all connections, ensure AC cord is plugged, switch main I/O to Off then On, and reset for 5 minutes.
Is this answer helpful?
A
No, the unit operates with hazardous voltages and there are no serviceable components inside. Opening it voids the warranty.
Is this answer helpful?
A
The unit accepts input voltage between 200 to 240 V AC and frequency between 47 to 63 Hz.
Is this answer helpful?
A
No, damage caused by mishandling, accidents, or environmental factors is not covered under the warranty conditions.
Is this answer helpful?
A
No, do not expand connectors through adapters or other means as it may cause irreversible damage.
Is this answer helpful?
A
Check the serial number sticker on the unit. Ensure it is not removed or damaged and keep your proof of purchase.
Is this answer helpful?
M: QW-35-FL
Advantagesand
Disadvantages
Advantages
Standard ATX 2.4 compliance ensures broad motherboard compatibility.
Multiple wattage options allow customization for system power needs.
Clear safety warnings prevent electrical hazards during installation.
Diverse connector types support various storage and graphics devices.
Detailed voltage rails provide stability for different components.
VS
Disadvantages
Unit cannot be opened, voiding warranty on casing breach.
Not suitable for industrial applications or cryptocurrency mining.
Connectors cannot be expanded using third-party adapters.
Warranty invalidated if the safety sticker is damaged or removed.
Operating in wet or damp conditions risks equipment damage.
M: QW-35-FL
Product
Specification
Fan
4.72 in
Cable Management
Fixed
Certificates per 80 PLUS
80 PLUS (230V EU, per 80 PLUS Certificate, Note follows)
Dimensions (WxHxD)
5.91 x 3.39 x 5.51 in
-12V
0.3 A
+5V Standby
2.5 A
Number of 12V Rails
1
PFC
Active
Form Factor
ATX PS/2
Specification
ATX 2.4
Features
ErP Lot 6
Color
Black
Note
Caution regarding 80 PLUS Certificate. Power supplies with different load distributions compared to certified test samples may be available.
Trivia
Warning: Caution regarding 80 PLUS Certificate. Power supplies with different load distributions compared to certified test samples may be available.
M: QW-35-FL
Product
Description
Power Supply Overview
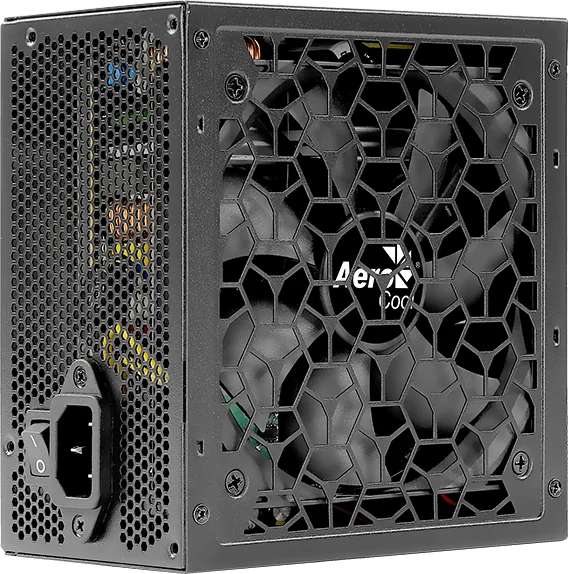
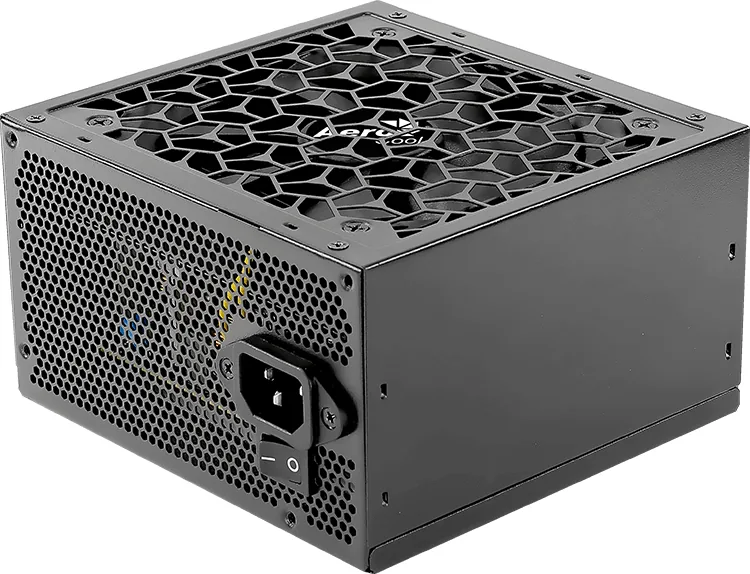
Building a reliable PC setup requires a solid foundation. The AeroCool Aero White ATX 2.4 stands out as a robust choice for desktop enthusiasts looking for stability and safety in their power management. When considering the components for your system, understanding the guidance associated with the AeroCool Aero White ATX 2.4 Manual is crucial for optimal performance. This unit caters to non-industrial desktop systems designed according to Intel platform form factors. It ensures compatibility with standard ATX cases and motherboards.
Safety and Usage Guidelines
The power supply unit delivers consistent voltage across critical rails. It supports multiple connectors including the standard 20+4 pin for the motherboard and options for CPU and graphics cards. Users benefit from the flexibility of PCIe and SATA connections which allow for efficient cable management. It is imperative to avoid using adapters to expand connectors as this creates significant compatibility risks. The safety guidelines emphasize never opening the casing due to hazardous voltages present inside. Tampering with the seal may result in immediate warranty voiding.
Installation and Specifications
Performance metrics indicate various wattage options to suit different build demands. Selecting a 500W or 750W option depends on your specific component load, but efficiency remains a priority for stable operation. It is important to note that this hardware is not intended for cryptocurrency mining or industrial applications. Such misuse can lead to overheating and permanent equipment damage. Proper installation involves disconnecting the power cord before making any physical changes. Ensure the switch is off to prevent electrical hazards during setup. Moisture or wet conditions must be strictly avoided during operation to prevent short circuits.
Notes
Maintenance and longevity depend on following the instructions closely. Keeping the unit in a dry environment protects internal components from moisture damage. Updates on warranty policies are available on the official Aerocool website. By respecting the limitations and usage parameters, users ensure long-term reliability. This approach minimizes risks of malfunction and extends the useful life of the computer system. Product specifications detail precise output rails for system stability. It provides dedicated lines for 3.3V, 5V and 12V power to ensure all parts receive the correct energy levels. Proof of purchase is required to validate any claims for service. Storage and transport should be handled carefully to avoid dust or impact damage. Always dispose of the unit at authorized collection points when discarded. This protects the environment from electronic waste hazards.