
XYZprinting da Vinci Color mini Manual
PDF manual · 19 Pages
English


Quick check
Incorrect answer, please try again.
Chat with your XYZprinting da Vinci Color mini manual using AI
Get instant AI answers from your XYZprinting da Vinci Color mini manual
Ask anything about the XYZprinting da Vinci Color mini. Answers come from this manual, with the pages they are based on.
da Vinci Color mini Maintenance Schedule
Execute the Clean Nozzle function every 60 operating hours to remove accumulated residue and maintain print quality.
Print a test page after installing a new ink cartridge to verify alignment and color quality.
Ask a Question
Do you recommend da Vinci Color mini?
Yes NoFrequently Asked Questions
It prints the 3D structure with fused filament fabrication (FFF) and applies color using three-color (CMY) inkjet cartridges. After installing or changing ink, the printer runs test and calibration steps to align inkjet output for accurate color placement.
Is this answer helpful?
The manual specifies a layer thickness range of about 0.1 mm to 0.4 mm. Actual results can vary based on model complexity, settings, and calibration quality, so running a test page is recommended.
Is this answer helpful?
You can print via USB using the XYZprint workflow, and the printer also supports offline standalone printing after files are prepared and transferred. WiFi is available when you insert the WiFi dongle and configure wireless transmission.
Is this answer helpful?
Use the touch-screen filament load/unload menu. The process includes preparing the filament end (cut at a 45 degree angle), inserting into the feed module for automatic loading, and allowing the print head to reach its operating temperature. Unloading ejects filament once the head is warmed as instructed.
Is this answer helpful?
Run the suggested test page and perform inkjet calibration steps from the touch-screen menu. The printer uses calibration to detect alignment, and you may also apply manual adjustments if you notice color shift after a printed color object.
Is this answer helpful?
The manual recommends using the CLEAN NOZZLE routine roughly every 60 hours of printing to remove accumulated filament residues. Cleaning helps prevent discharge issues and protects print quality. If needed, use the feeding-path or nozzle cleaning tools as described.
Is this answer helpful?
Lift with two people due to the printer weight, do not move the machine when powered on, keep fingers away from moving parts and hot components, and avoid placing the printer in dusty or humid locations. Ventilate the area during printing if odors are noticeable.
Is this answer helpful?
Advantages and Disadvantages
Advantages

- Combines FFF 3D printing with CMY inkjet color for finished-looking models.
- 5-inch touch screen simplifies loading, calibration, and printing controls.
- Auto calibration and auto feeding help reduce setup complexity.
- Supports USB printing and wireless printing with a WiFi dongle.
- Test page and inkjet calibration routines improve color alignment.
Disadvantages

- Ink cartridge handling and guidance procedures require careful maintenance.
- Non-heated print bed means material handling depends on correct workflow.
- Nozzle and feeding-path cleaning is recommended on a schedule (about every 60 hours).
- Ventilation may be needed due to weak odors during printing.
- Some tasks require using specific tools and access procedures (gloves, magnets, calibration steps).
Product Specification
Process
Fused Filament Fabrication FFF
Configuration
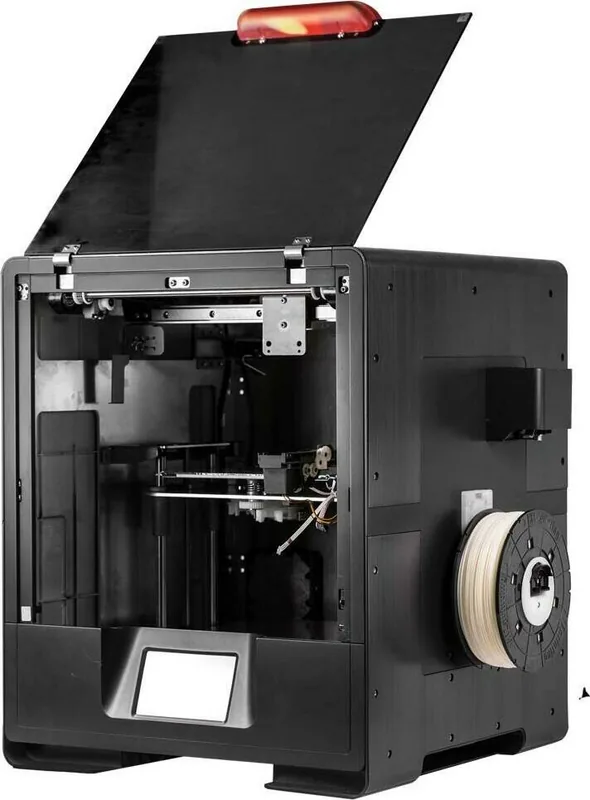
1x movable print head (front/back, left/right), 1x movable print bed (up/down)
Construction
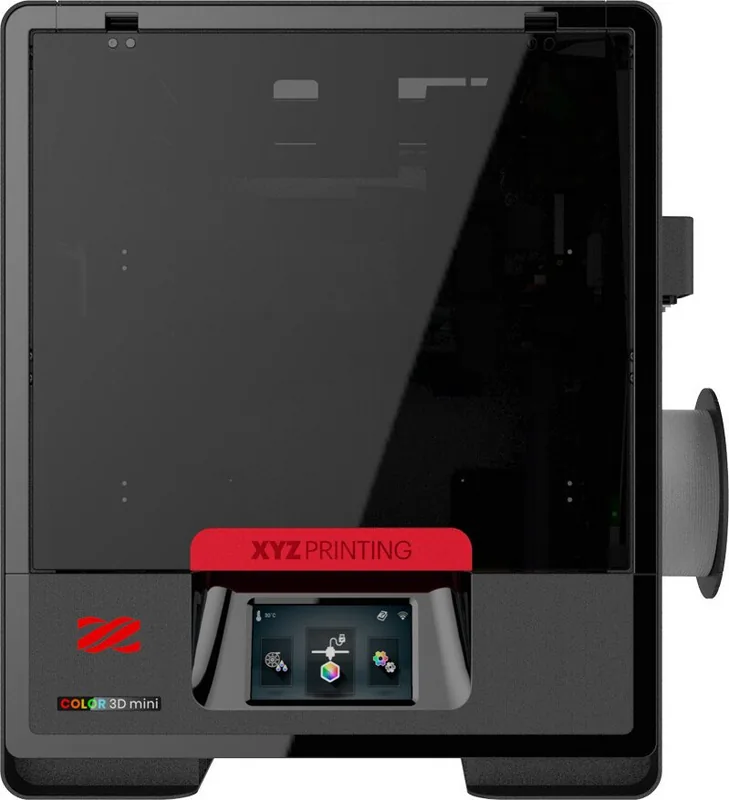
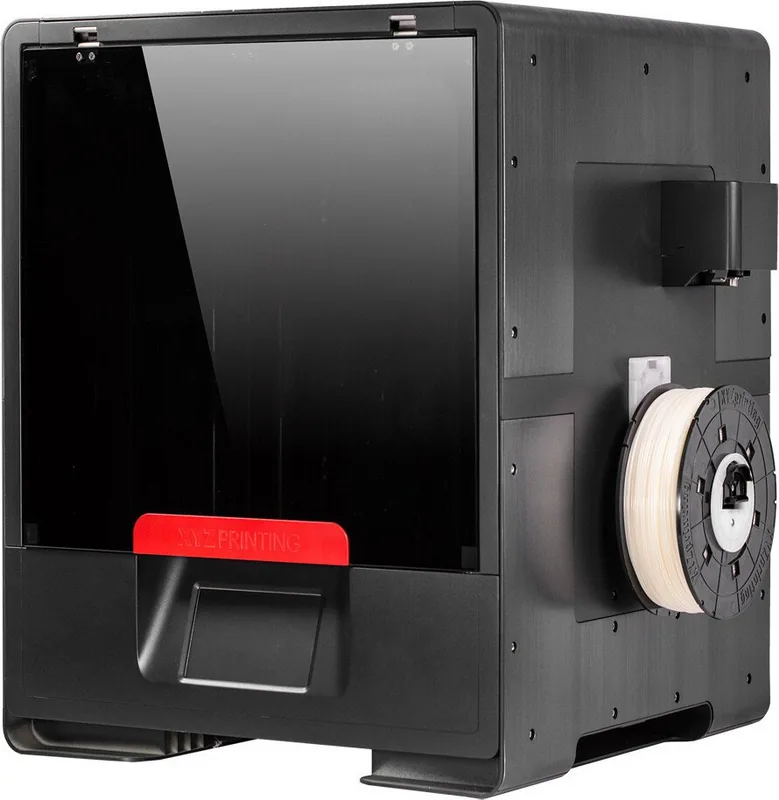
Pre-assembled model, closed print chamber (with viewing window, front door), full metal frame, control unit in device, integrated filament holder
Manufacturer Recommended Materials
1.75mm Filament, closed system (NFC-encoded), Color-Inkjet PLA, PLA, PETG, Carbon
Print Size
5.12x5.12x5.12in (WxHxD)
Extrusion System
1x print head (1x print nozzle with mono-feed, 0.4mm, brass, replaceable), 1x direct extruder (with automatic filament feeding)
Layer Height
0.0039-0.0157in
Accuracy X
0.00049in
Accuracy Y
0.00049in
Accuracy Z
0.00016in
Speeds
1.18-4.72in/s printing (max. 2.36in/s recommended), 7.09in/s travel speed without printing
Print Bed
Rectangular, metal, removable (magnetic closure), automatic print bed leveling
Interfaces
USB-A 2.0 (Host), USB-B 2.0, Wi-Fi (802.11b/g/n)
Additional Features
Inkjet print head (CMYK, simultaneously installed)
Screen
5" diagonal, color, touchscreen
Control
Touchscreen, optional via computer
Power Supply
100-240V, 240W
Operating Environment
59-95°F, 30-60% relative humidity
Dimensions
17.60x21.30x17.60in (WxHxD)
Weight
52.91lb (empty)
Color
Black (housing), black (frame), black (print bed)
Scope of Delivery
1x printer, 1x 600g PLA Filament (Color-Inkjet PLA), tool set, cleaning set, adhesive film for print bed, USB-A 2.0 Wi-Fi adapter
Special Features
Filament sensor, fully colored 3D printing
Manufacturer's Warranty
One year
Product Description
XYZprinting da Vinci Color mini Manual: Colorful 3D Prints Made Simple
A compact printer built for color and convenience
The XYZprinting da Vinci Color mini blends FFF 3D printing with inkjet color, letting you create detailed, vibrant models in a single workflow. It uses fused filament fabrication for the 3D structure and three-color (CMY) inkjet cartridges for color layers, so your prints can look more finished straight from the machine.
Setup, controls, and printing workflow
Designed around a 5-inch color touch panel, the Color mini guides you through core tasks like filament loading, ink handling, and printing settings. It supports auto-feeding and auto calibration, plus offline standalone printing, which means you can prepare jobs and run them from USB without constantly tethering a computer.
For connectivity, you can print via USB or use wireless transmission with the included WiFi dongle. In practice, this makes it easier to manage models, monitor progress, and repeat prints when you want consistent results.
Key capabilities you will notice
- Printing dimensions up to 130 x 130 x 130 mm, with layer thickness typically in the 0.1 mm to 0.4 mm range
- Alignment and bed assistance features such as auto calibration, leveling routines, and Z-offset adjustments
- Compatibility with common file types including AMF, OBJ, STL, and XYZ formats, and supported use through XYZprint and XYZmaker Suite
Maintenance and ink care for reliable color
Color quality depends on keeping both the ink system and the print head in good condition. The workflow emphasizes nozzle cleaning intervals (including a recommended routine every 60 hours), careful ink guidance, and calibration after ink cartridge changes. You will also be prompted to run test pages and inkjet calibration, helping correct issues like color shift and alignment differences.
Safety and practical notes
The printer includes strong safety guidance: use two-person lifting due to weight, avoid placing it in dusty or humid environments, keep fingers away from hazardous moving parts, and be mindful that components can get hot during operation. During printing, weak odors may occur, so ventilation is recommended.
Key takeaways
- Color-inkjet CMY cartridges add vivid output to FFF 3D structures.
- Touch-screen controls and auto calibration simplify everyday operation.
- USB and WiFi options support flexible printing locations.
- Test pages and inkjet calibration help keep color aligned.
- Regular nozzle cleaning supports stable discharge and print quality.
Notes
- Register an account on XYZprinting support to download the latest manual, software, and updates.
- Follow cartridge storage guidance in a room-temperature range and clean the nozzle with alcohol as instructed.
Search for 67,706 Manuals online


Type-in Brand or Model