
Wagner W 100 Manual
PDF manual · 64 Pages
English



Quick check
Incorrect answer, please try again.
Chat with your Wagner W 100 manual using AI
Get instant AI answers from your Wagner W 100 manual
Ask anything about the Wagner W 100. Answers come from this manual, with the pages they are based on.
W 100 Maintenance Schedule
Replace the air filter if it is soiled to prevent dirt from entering the machine. Disconnect plug before changing.
Apply lubricating grease liberally to the O-ring at the gun front part after cleaning to facilitate mounting.
Ask a Question
Do you recommend W 100?
Yes NoFrequently Asked Questions
It is mainly used for spraying wood and metal surfaces with suitable paints, varnishes, primers, stains, and protective coatings. It is a good fit for DIY renovation work, furniture, fences, trims, and other small to medium projects.
Is this answer helpful?
It works best with low-viscosity materials. Some paints may need slight thinning before spraying. The manual recommends adjusting dilution gradually until the material flows correctly and the spray pattern becomes even.
Is this answer helpful?
Yes. You can choose a vertical flat jet, a horizontal flat jet, or a circular jet. This helps adapt the sprayer to horizontal surfaces, vertical surfaces, corners, edges, and hard-to-reach areas.
Is this answer helpful?
A spray distance of about 5 to 15 cm is recommended. Keeping a steady distance helps create a smoother finish and reduces heavy fogging or uneven coating.
Is this answer helpful?
The container, suction tube, nozzle, air cap, nozzle seal, diaphragm, and external surfaces should be cleaned. Regular cleaning prevents clogging and helps maintain reliable spraying performance.
Is this answer helpful?
Yes, but only with strong ventilation and proper safety precautions. You should wear eye protection and respiratory protection, avoid ignition sources, and keep sockets and switches masked from overspray.
Is this answer helpful?
Advantages and Disadvantages
Advantages

- Versatile for many coatings, including varnishes, primers, stains, and suitable paints.
- Three spray patterns help match different surfaces, edges, and detailed areas.
- Adjustable material flow supports better control over finish quality and overspray.
- Compact electric design is practical for home renovation and DIY projects.
Disadvantages

- Requires careful cleaning and maintenance to keep performance reliable.
- Not suitable for every paint type, especially wall paints without the correct logo.
- Spray results depend heavily on correct thinning and surface preparation.
- Noise, overspray, and ventilation needs may limit comfort in small spaces.
Product Specification
Power
280W
Spraying power
65W
Flow rate
110 mL/min
Paint coverage
4.31 ft^2/min
Paint cup
27.05 fl oz
Features
Suction cup (changeable), Soft grip
Weight
2.87 lb
Package contents
Nozzle set, Paint cup (27.05 fl oz)
Product Description
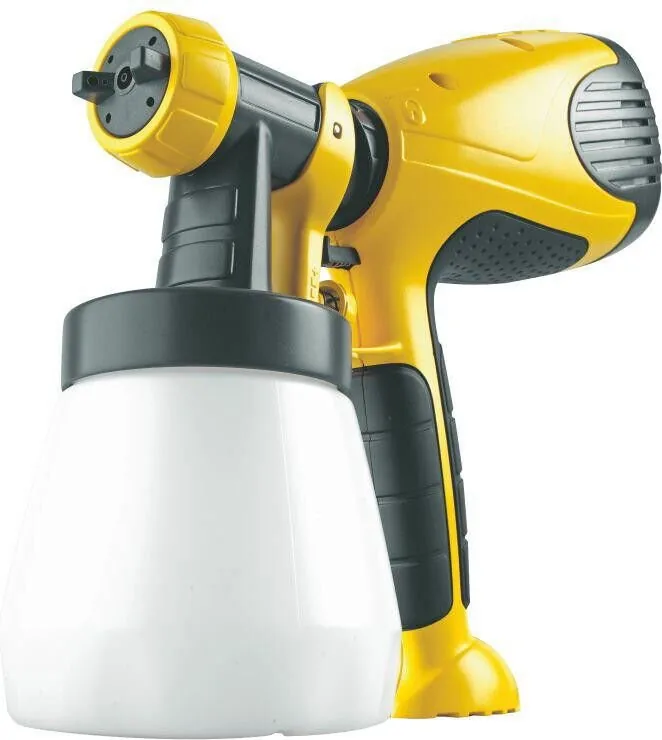
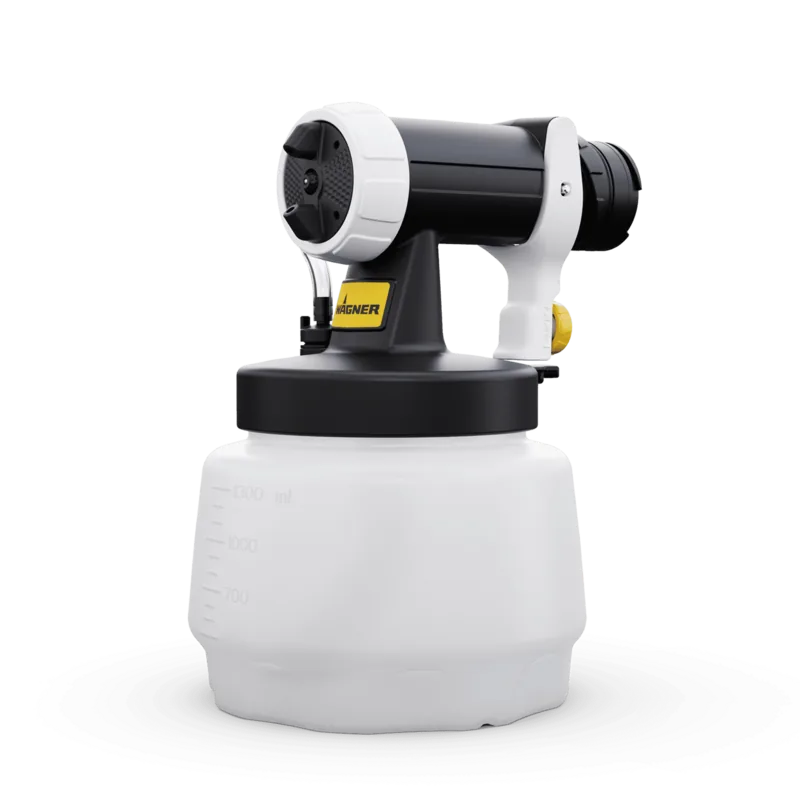
Wagner W100 Wood & Metal Sprayer Electric Paint Spraying System
The Wagner W100 Wood & Metal Sprayer Electric Paint Spraying System is a compact, corded paint sprayer built for home renovation jobs that need a smooth, even finish. It is designed for low-viscosity coatings and is especially useful for woodwork, furniture, fences, trims, doors, and many metal surfaces. For DIY users who want faster coverage than brushing and a more consistent result than rolling, the W100 offers a practical middle ground.
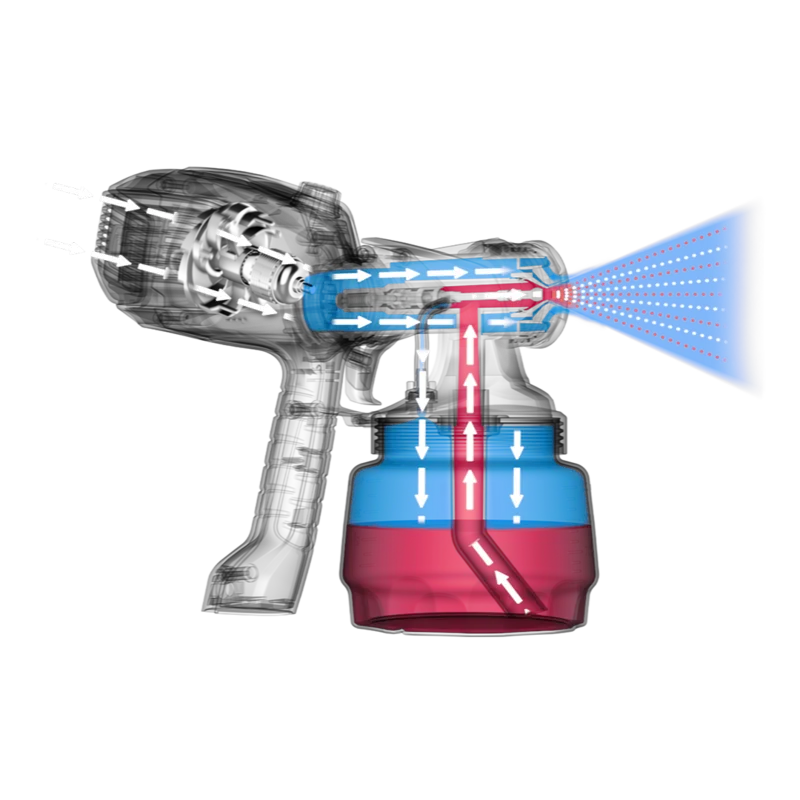
One of the strongest points of this sprayer is its versatility. It can handle water-based and solvent-based paints, varnishes, primers, stains, clear coats, and selected wood protection products. The unit uses a simple trigger system with two stages: the first stage starts the turbine, while the second stage begins material flow. That makes the spray process more controlled and easier to manage, especially for users who are still learning spray techniques.
The adjustable spray pattern is another highlight. Depending on the surface and direction of work, you can switch between a vertical flat jet, a horizontal flat jet, and a circular jet. This helps you cover broad panels, vertical surfaces, corners, and edges with better precision. The material volume can also be tuned, making it easier to balance speed, finish quality, and overspray.
Preparation matters with the W100, and the manual emphasizes it clearly. Surfaces should be clean, dry, and protected before spraying, and the coating material may need slight dilution depending on viscosity. The recommended spray distance is around 5 to 15 cm, which helps produce a more even coat and reduces fogging. Good ventilation, protective gear, and careful masking are essential for safe operation.
Maintenance is straightforward but important. The sprayer should be cleaned thoroughly after use, especially when working with two-component coatings. Filters, nozzle seals, the diaphragm, and the air cap all need inspection and occasional replacement. Proper cleaning helps preserve performance and extends the life of the tool.
Notes
- Best suited for wood, metal, trims, and similar renovation tasks.
- Not ideal for wall paints without the proper Perfect Spray marking.
- Keep the nozzle seal, air filter, and diaphragm in good condition.
- Always clean the device promptly after use to avoid clogging and wear.
Search for 67,706 Manuals online


Type-in Brand or Model