
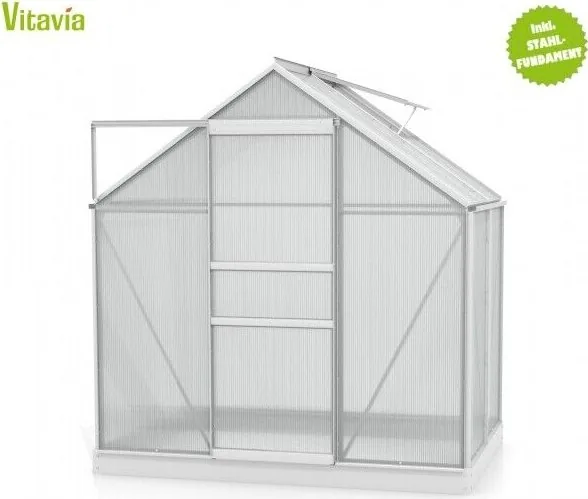

Vitavia Planet 2500 Manual
PDF manual · 52 Pages
English



Quick check
Incorrect answer, please try again.
Chat with your Vitavia Planet 2500 manual using AI
Get instant AI answers from your Vitavia Planet 2500 manual
Ask anything about the Vitavia Planet 2500. Answers come from this manual, with the pages they are based on.
Planet 2500 Maintenance Schedule
Thoroughly wash the greenhouse occasionally using a gentle detergent that does not react aggressively with aluminium or glass fixing clips.
Ensure that the upper and lower door tracks are cleaned regularly to avoid a build up of debris.
In the event of heavy snowfall, clear the roof of the building or take suitable measures to support the roof.
In the event of high winds, close all doors and vents.
Ask a Question
Do you recommend Planet 2500?
Yes NoFrequently Asked Questions
You will need screwdrivers for normal and crosshead PH2 tasks, a 10 mm socket spanner or wrench, a measuring stick, and a spirit level. An accu-drill with adjustable torque is highly recommended for efficiency.
Is this answer helpful?
It is recommended to select a location sheltered from wind. However, if placed in a windy spot, you must drill through the profile at the base and connect it securely to the steel base using nuts and bolts.
Is this answer helpful?
No, a zinc-coated steel base is available as an accessory. You can construct your own stone or concrete foundation following the specified diagrams provided in the documentation.
Is this answer helpful?
Wash it occasionally with a gentle detergent that does not react aggressively with aluminium or fixing clips. Clean door tracks regularly to avoid debris build-up.
Is this answer helpful?
You must connect side bars and top bars depending on glass thickness. Place bolts in prepared holes then slide glass into tracks before connecting bottom bars securely.
Is this answer helpful?
Over tightening can damage threads or components. Max tightening torque is limited to 3Nm to ensure structural integrity without causing failure.
Is this answer helpful?
Advantages and Disadvantages
Advantages

- Durable aluminum frame resistant to corrosion and rust
- Flexible ventilation options with roof vents for temperature control
- Sliding door system allows easy access with large equipment
- Suitable for both glass and polycarbonate glazing choices
- Detailed installation guidance ensures proper construction steps
Disadvantages

- Requires two people for safe and accurate assembly
- Must purchase separate foundation materials like concrete base
- Maximum torque limit of three Nm restricts overtightening
- Regular maintenance needed to prevent track buildup of debris
- High winds necessitate manual closure of all openings
Product Specification
Glazing
Polycarbonate 0.24" (Hollow Chamber Sheets)
Frame
Aluminum
Color
Silver
Area
26.91 sq ft
Features
Roof Window, Gutter, Lockable
Door
Sliding Door
Dimensions (LxWxH)
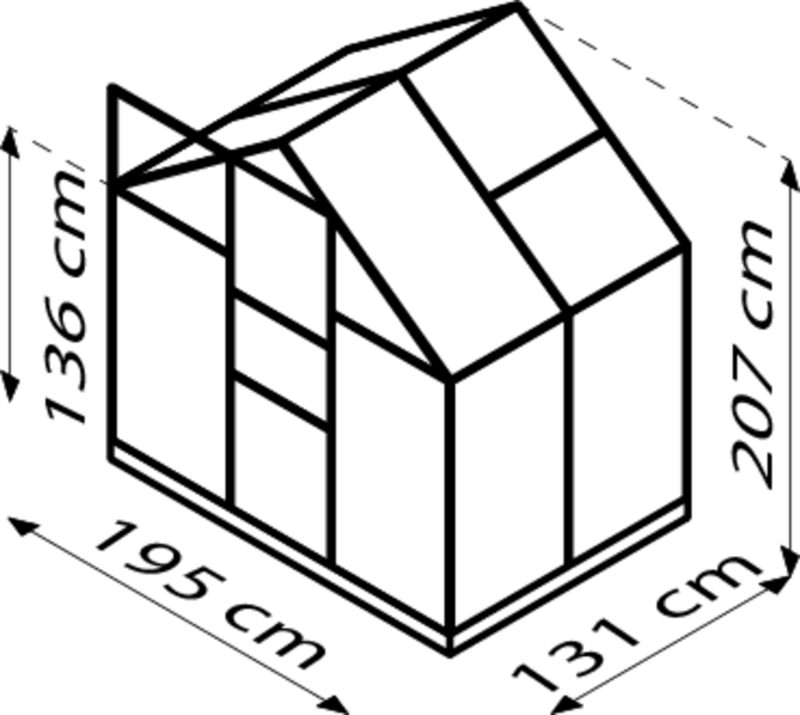
76.77 x 51.57 x 81.50 in
Weight
62.39 lbs
Package Contents
Steel Base
Product Description
Welcome to Premium Gardening Solutions
Cultivating Your Own Garden
Gardening enthusiasts understand that a reliable structure is essential for year-round growth. When considering durable options, the Vitavia Planet 2500 HKP 6mm Aluminium Greenhouse Manual highlights the importance of material quality. This specific model features a robust aluminum frame designed to withstand various weather conditions while providing ample light for plants. The construction prioritizes longevity, ensuring that the investment serves gardeners for many seasons.
Material Composition and Design
Aluminum is preferred over wood because it does not rot or warp over time. The greenhouse comes with pre-cut profiles that simplify the building process. Users typically choose between clear glass or polycarbonate sheets for glazing. Polycarbonate offers superior insulation properties compared to standard glass panes. Ventilation is crucial for plant health, and this unit includes roof vents that regulate temperature effectively. Automatic openers can be added to adjust these vents based on heat changes throughout the day.
Assembly Requirements and Setup
Proper foundation work ensures stability during high winds. A level surface made of concrete or timber beams is necessary for the base. Instructions recommend using a spirit level to verify alignment before tightening bolts. Two individuals should handle the assembly to maintain safety and accuracy. Tools required include crosshead screwdrivers and wrenches capable of meeting torque specifications. Nuts should be tightened to a maximum of three Newton meters to prevent damaging the threads.
Features and Functionality
Access to the interior is managed through a sliding door mechanism located on one of the gables. This track system allows for wide entry points suitable for wheelbarrows and large potted plants. Weather seals are integrated into the door frame to maintain warmth. Roof vents provide airflow to prevent overheating in summer months. Regular maintenance involves washing the exterior with gentle detergents that do not harm the finish.
Safety and Long-Term Care
Snow accumulation poses risks to the structure if left unchecked. It is advisable to clear heavy loads from the roof promptly during winter. High winds require closing all doors and windows to protect the integrity of the frame. Anchoring the base to the ground is mandatory to prevent displacement. Consider insuring the structure as part of property coverage for complete peace of mind.
Search for 67,706 Manuals online


Type-in Brand or Model