
Vitavia Osiris 5200 Manual
PDF manual · 40 Pages
English



Quick check
Incorrect answer, please try again.
Chat with your Vitavia Osiris 5200 manual using AI
Get instant AI answers from your Vitavia Osiris 5200 manual
Ask anything about the Vitavia Osiris 5200. Answers come from this manual, with the pages they are based on.
Osiris 5200 Maintenance Schedule
Remove debris from both door tracks to prevent buildup.
Thoroughly wash with a gentle detergent that does not react aggressively with aluminium or glass fixing clips.
Ask a Question
Do you recommend Osiris 5200?
Yes NoFrequently Asked Questions
The base must be exactly square and level. You can use a zinc-coated steel base accessory or construct a stone/concrete foundation following the manual’s dimensions. Treated wooden battens (min 18 mm thick) should sit between foundation and aluminium frame; foundations should extend below frost level.
Is this answer helpful?
The UV-resistant side is marked by a plastic film and printing on the panel edge. That side must face outside. Leave the protective film in place until the pane is positioned in the greenhouse to avoid contamination and to allow visual confirmation during installation.
Is this answer helpful?
Yes. A double door can be positioned in any two adjacent front fields except corner fields. Single doors can be fitted to the front or sides in various combinations (two single doors on both sides shown as 'SDS'). Follow the assembly diagrams for proper bracing and runner placement.
Is this answer helpful?
Required tools include flat and PH2 screwdrivers, 10 mm spanner/socket, knife, tape measure, spirit level and an accu-drill with adjustable torque. Specified nuts (1002) have a maximum tightening torque of 3 Nm to avoid over-tightening.
Is this answer helpful?
Polycarbonate panels use glazing seals and spring clips; roof panels use wind-fixing strips. For extra stability, panels can be fixed to the bottom aluminium profile in the middle of each pane with a screw and washer (drill a 2 mm hole through pane and profile). Glass uses spring clips and retaining clips with overlapping panes on walls.
Is this answer helpful?
Wash the greenhouse occasionally with a gentle detergent that won’t attack aluminium or glazing clips. Clean upper and lower door tracks regularly to prevent debris buildup. Remove snow from the roof if heavy snowfall occurs and close vents/doors during strong winds.
Is this answer helpful?
In exposed locations, bolt through both the greenhouse base profile and the optional steel base, or anchor the structure to a proper foundation. Close all doors and vents during strong winds. Clear heavy snow from the roof or provide roof support to avoid dangerous snow load.
Is this answer helpful?
Advantages and Disadvantages
Advantages

- Aluminium frame for corrosion resistance and long service life.
- Flexible door placement (single or double sliding configurations).
- Supports both polycarbonate and clear glass glazing options.
- Roof vent and gutter/downpipe system for ventilation and water management.
- Detailed assembly steps and parts identification for organized build.
Disadvantages

- Assembly requires two people and a fair amount of tools and time.
- Foundation must be exactly square and level; additional work if concrete base used.
- Polycarbonate panels require careful orientation of UV side and delayed film removal.
- In exposed locations additional anchoring or steel base recommended.
- Some fasteners and fixing materials (wall plugs, foundation bolts) are not supplied.
Product Specification
Frame
Aluminium
Area
55.93 sq ft
Special features
Roof window, Gutter, Lockable
Door
Double sliding door
Dimensions (LxWxH)
79.13x103.15x87.40 in
Weight
104.17 lb
Product Description
Vitavia Osiris 5200 Greenhouse — Overview and Manual Guide
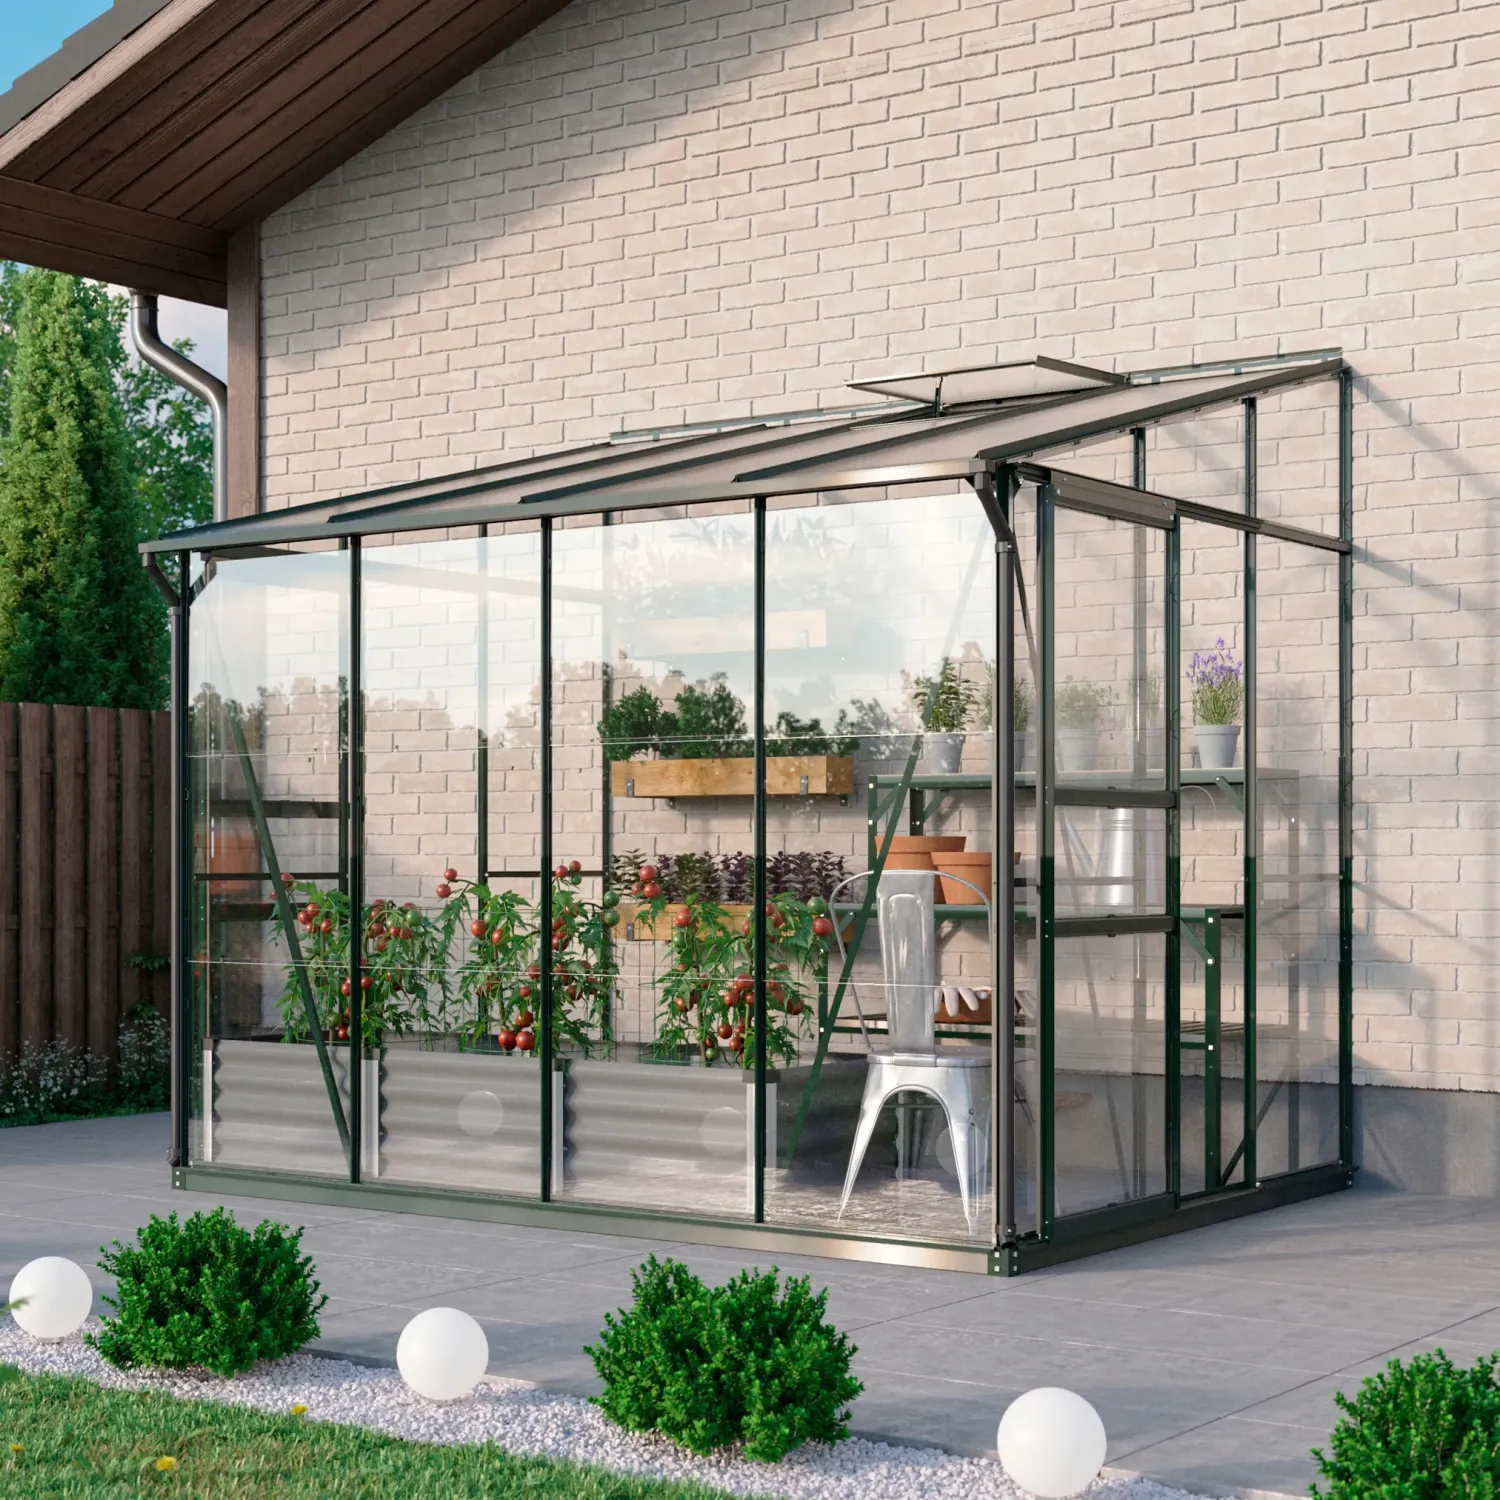
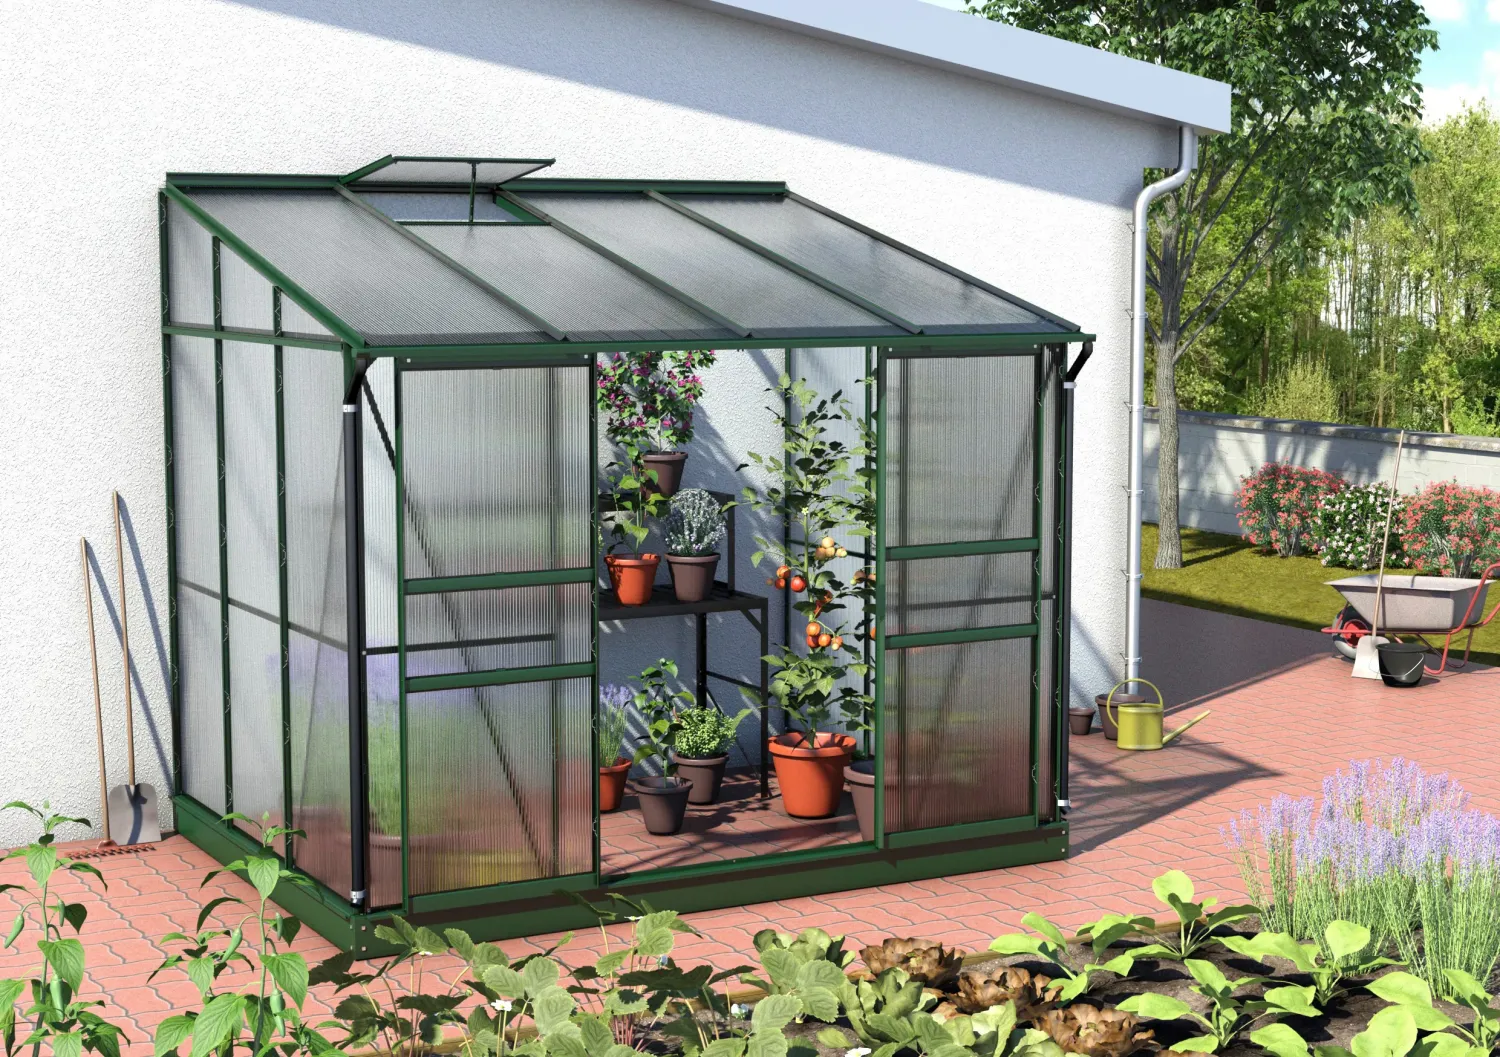
The Vitavia Osiris 5200 Greenhouse is a robust, versatile greenhouse designed for serious home gardeners and hobbyists who want reliable structure and generous growing space. Built with aluminium framing and available glazing options (polycarbonate or clear glass), the Osiris 5200 balances durability, light transmission and thermal performance. The greenhouse features a pitched roof with ridge glazing bars, configurable door placements (single or double sliding doors), roof vents, guttering and downpipes — all intended to support efficient ventilation, water management and year-round use.
Assembly is modular and methodical: parts are packed in bundles, each clearly numbered and identified. A stepwise approach covers base/foundation requirements (exactly square and level), front and side assemblies, roof installation, wall mounting and final glazing. There are clear instructions to place treated wooden battens between a stone/concrete foundation and the aluminium frame, or to use an optional zinc-coated steel base for exposed, windy sites. Anchoring the greenhouse to the foundation and/or wall fixing is emphasized for safety.
Doors and access are flexible: a double door can be fitted to any two adjacent front fields (not corners) or single doors arranged front/side (SDS = single doors both sides). Door assemblies use gliders, rollers and runner bars with brush seals; adjustment instructions ensure smooth sliding operation. Roof vents and a manual opener integrate into the ridge with prepared bolt channels and strengthening strips for proper alignment and secure mounting.
Glazing options and handling guidance are detailed. Polycarbonate panels are UV-marked (film on the treated side must face outwards) and marginally undersized to allow thermal expansion. Seals and glazing clips secure panels; for extra stability, polycarbonate panes may be screwed to the lower aluminium profile through a pre-drilled 2 mm hole using supplied washers. Clear glass on walls uses spring clips and retaining clips, while roof glazing benefits from wind-fixing strips. Instructions stress leaving the protective film on polycarbonate until installation is complete.
Maintenance and safety tips include regular washing with a mild detergent that won't attack aluminium or clips, periodic cleaning of door tracks, removal of snow or supporting the roof under heavy loads, and closing vents/doors in high winds. Use protective equipment during assembly and tighten nuts to a recommended torque (max 3 Nm for specified nuts). The manual also advises recording the greenhouse model label on the door bar for future spare parts orders and recommends insuring the structure.
Notes:
- Follow the parts list and organize bundles before assembly.
- Use two people for assembly and appropriate hand/personal protection.
- Check foundations, squareness and vertical alignment before final tightening.
- Keep protective film on UV side of polycarbonate until fully installed.
Search for 67,706 Manuals online


Type-in Brand or Model