
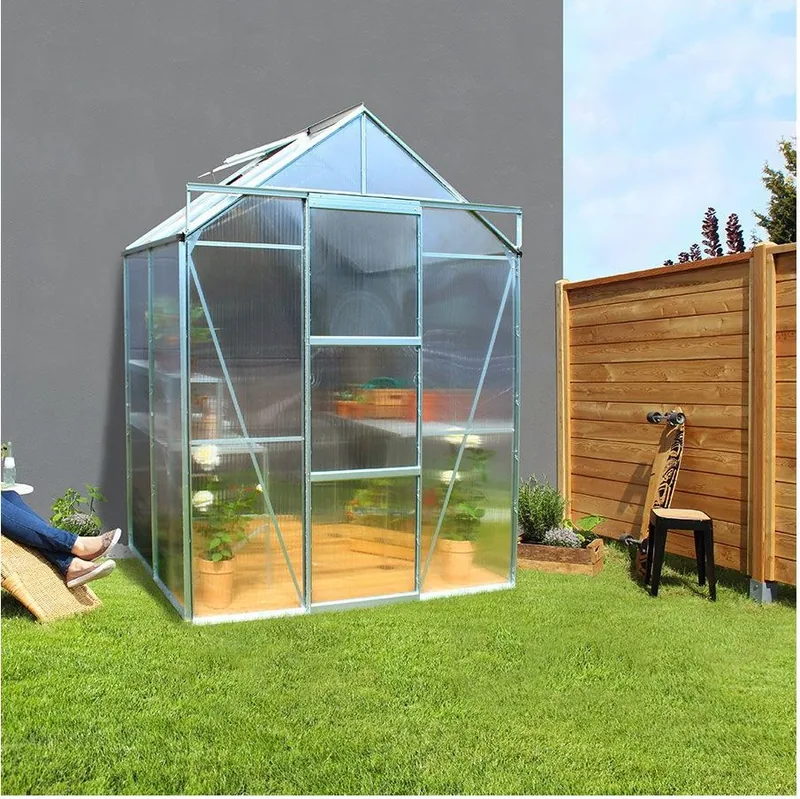
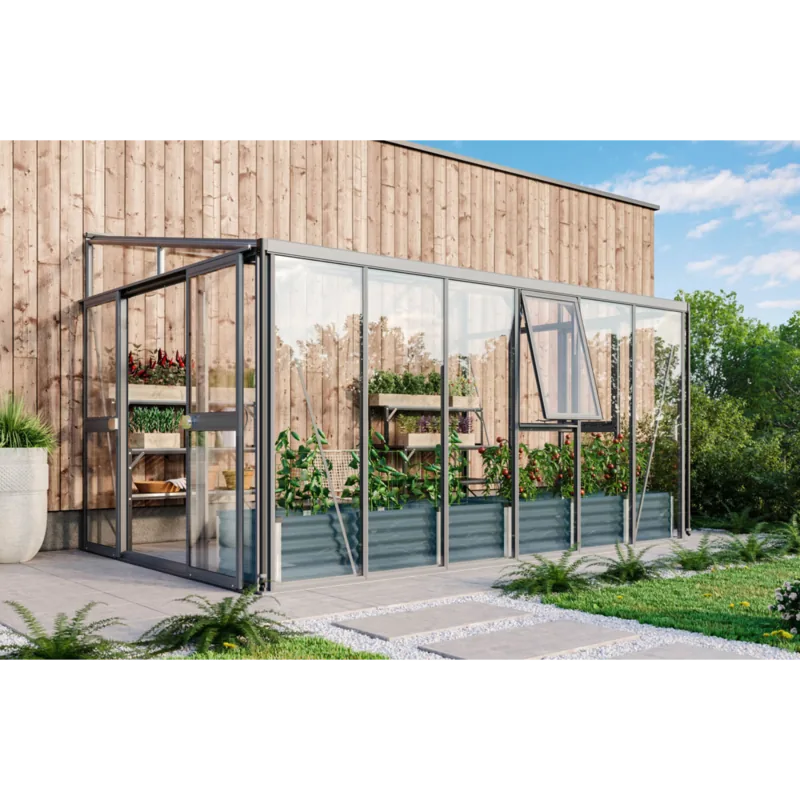
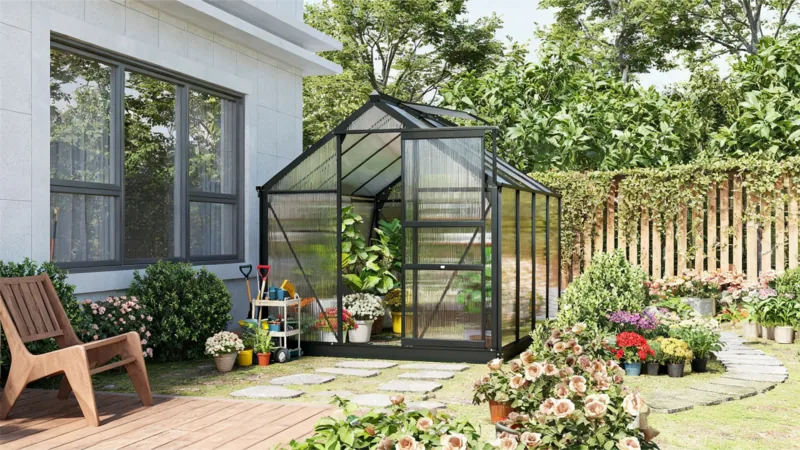
Vitavia Flora 3800 Manual
PDF manual · 16 Pages
English



Quick check
Incorrect answer, please try again.
Chat with your Vitavia Flora 3800 manual using AI
Get instant AI answers from your Vitavia Flora 3800 manual
Ask anything about the Vitavia Flora 3800. Answers come from this manual, with the pages they are based on.
Flora 3800 Maintenance Schedule
Clean with a gentle detergent. Ensure the detergent does not react aggressively with aluminium or glass fixing clips.
Clean upper and lower door tracks regularly to avoid debris buildup.
Ask a Question
Do you recommend Flora 3800?
Yes NoFrequently Asked Questions
It is well suited for seedlings, herbs, tender plants, and extending the growing season. The lean-to layout makes it especially practical for compact gardens and sheltered wall spaces.
Is this answer helpful?
Yes. The structure uses aluminum, which keeps it lightweight and helps resist corrosion. That makes it a strong choice for long-term garden use with relatively low maintenance.
Is this answer helpful?
This model uses 4mm glazing. That thickness is a good balance for daylight, basic insulation, and general plant protection while still keeping the structure practical and manageable.
Is this answer helpful?
Yes. A square, level, and secure base is important for proper installation. The manual also stresses anchoring the structure correctly to improve stability and everyday safety.
Is this answer helpful?
It can perform well when installed correctly, but a sheltered location is best. In strong wind, doors and vents should be closed, and the greenhouse must be firmly anchored.
Is this answer helpful?
The assembly is detailed rather than overly complicated. It is best approached step by step, with two people if possible, especially when aligning the frame, wall fixings, and glazing.
Is this answer helpful?
Advantages and Disadvantages
Advantages

- Lightweight aluminum frame is corrosion-resistant and easier to handle during installation.
- 4mm glazing offers a practical mix of daylight, protection, and everyday growing comfort.
- Lean-to design saves space and works well against a stable wall.
- Roof vents and door design help support airflow and easier temperature control.
Disadvantages

- Assembly is detailed and can take time if you are not used to greenhouse kits.
- A perfectly level base and accurate wall fixing are essential for best stability.
- Two people are recommended for installation, so solo setup is not ideal.
- It performs best in a sheltered spot and needs regular care in harsh weather.
Product Specification
Glazing
Polycarbonate 4mm (twin-wall sheets)
Frame
Aluminum
Color
silver
Area
40.91 sq ft
Special features
Roof window, Gutter
Door
Sliding door
Dimensions (LxWxH)
76.77x79.29x70.87in
Weight
63.93 lbs
Product Description
Vitavia Flora 3800 HKP 4mm Lean-to Greenhouse Aluminum Manual
The Vitavia Flora 3800 HKP is a smart lean-to greenhouse choice for gardeners who want a compact growing space without sacrificing performance. Designed to sit neatly against a wall, it makes efficient use of the available area while creating a sheltered environment for young plants, herbs, and delicate crops. The aluminum frame keeps the structure light, durable, and low-maintenance, which is a strong advantage for everyday garden use.
Its 4mm glazing helps deliver the brightness plants need while still offering dependable protection from the elements. That balance is especially useful in a greenhouse of this style, where light, warmth, and wind protection all work together to support steady growth. Whether you are starting seedlings in spring or extending the season into cooler months, the Flora 3800 HKP provides a practical space that feels organized and manageable.
The manual for this model highlights how important careful assembly really is. A level base, precise alignment, and secure anchoring are essential for getting the best results. Once the frame is properly installed, the lean-to design benefits from the support of the building wall and can offer excellent stability when maintained correctly. Door movement, roof vent placement, and glazing fit all matter, so the instructions encourage a patient, step-by-step approach.
Another advantage of this greenhouse is its thoughtful ventilation. Roof vents help regulate temperature and airflow, which makes it easier to avoid overheating on sunny days and to maintain healthier growing conditions overall. Combined with the clean look of aluminum and the space-saving layout, the greenhouse feels like a natural extension of the home or garden wall rather than an extra structure added on.
For gardeners who value function first, the Vitavia Flora 3800 HKP offers a dependable blend of style, structure, and plant-friendly design. It is a compact solution with enough versatility for propagation, overwintering, and protecting tender plants throughout the year. With regular cleaning and proper care, it can remain a useful part of the garden for many seasons.
Notes
- Best results come from a square, level base and secure wall fixing.
- Keep tracks, seals, and vents clean for smoother daily use.
- In strong wind or heavy snow, close openings and clear the roof as needed.
- Use gentle cleaners to protect aluminum and glazing components.
Search for 67,706 Manuals online


Type-in Brand or Model