
Vitavia Eos Manual
PDF manual · 32 Pages
English



Quick check
Incorrect answer, please try again.
Chat with your Vitavia Eos manual using AI
Get instant AI answers from your Vitavia Eos manual
Ask anything about the Vitavia Eos. Answers come from this manual, with the pages they are based on.
Eos Maintenance Schedule
Thoroughly wash with a gentle detergent occasionally. Ensure the detergent does not react aggressively with aluminium or glass fixing clips.
Clean the upper and lower door tracks regularly to avoid a build-up of debris.
Ask a Question
Do you recommend Eos?
Yes NoFrequently Asked Questions
A square, level foundation is essential. You can use a concrete or stone foundation or an optional galvanized steel base. If building your own foundation, follow the manual's specified dimensions and place treated wooden battens between the foundation and the aluminum frame. Foundations must be below frost level.
Is this answer helpful?
The UV-resistant side of hollow polycarbonate panels is marked by a plastic film or edge printing. That marked side must face outward. Remove the protective plastic film before fitting the panels to ensure correct UV protection and clarity.
Is this answer helpful?
Initially assemble all components loosely so the frame can be squared. Only tighten all bolts after glazing is complete. Do not over-tighten — the manual specifies a maximum tightening torque for nuts (1002) of 3 Nm to avoid deforming profiles.
Is this answer helpful?
The manual recommends assembly by two people, especially when handling long aluminum profiles and glazing. Two people make aligning, sliding panes, and securing roof sections safer and easier.
Is this answer helpful?
Wash the greenhouse occasionally with a gentle, neutral detergent that won’t attack aluminum, plastic parts or glazing clips. Regularly clean upper and lower door tracks to prevent debris build-up. Inspect seals and fixings periodically and clear snow from the roof to prevent overload.
Is this answer helpful?
Yes. The Eos supports roof vents with dedicated sill profiles and an opener mechanism. The manual describes positions for roof vent sills, fixers, and how to install the vent and opener for proper airflow and temperature control.
Is this answer helpful?
Wear protective glasses, gloves, sturdy footwear and head protection when handling aluminum and glazing. Clear up broken glass immediately and carefully. Anchor the greenhouse properly, avoid using force when fitting parts, and follow instructions for door and vent closure during high winds and heavy snow.
Is this answer helpful?
Advantages and Disadvantages
Advantages

- Modular aluminum frame offers corrosion resistance and lightweight strength.
- Multiple sizes and glazing options (glass or UV-marked polycarbonate) for flexibility.
- Clear step-by-step assembly with numbered parts and spare bolt strategy.
- Optional roof vents and door configurations (swing or sliding) for ventilation.
- Low maintenance when cleaned with neutral detergent and regular track cleaning.
Disadvantages

- Assembly requires two people and time to correctly square and secure the frame.
- Some parts require cutting (plastic H-profiles) and precise fitting of glazing.
- Max tightening torque 3 Nm may be lower than some installers expect.
- Exposed installations need an anchored foundation or optional steel base.
- Snow load and high wind require active management (clear snow, close vents).
Product Specification
Frame
Aluminum
Door
Sliding door
Scope of delivery
Steel foundation
Product Description
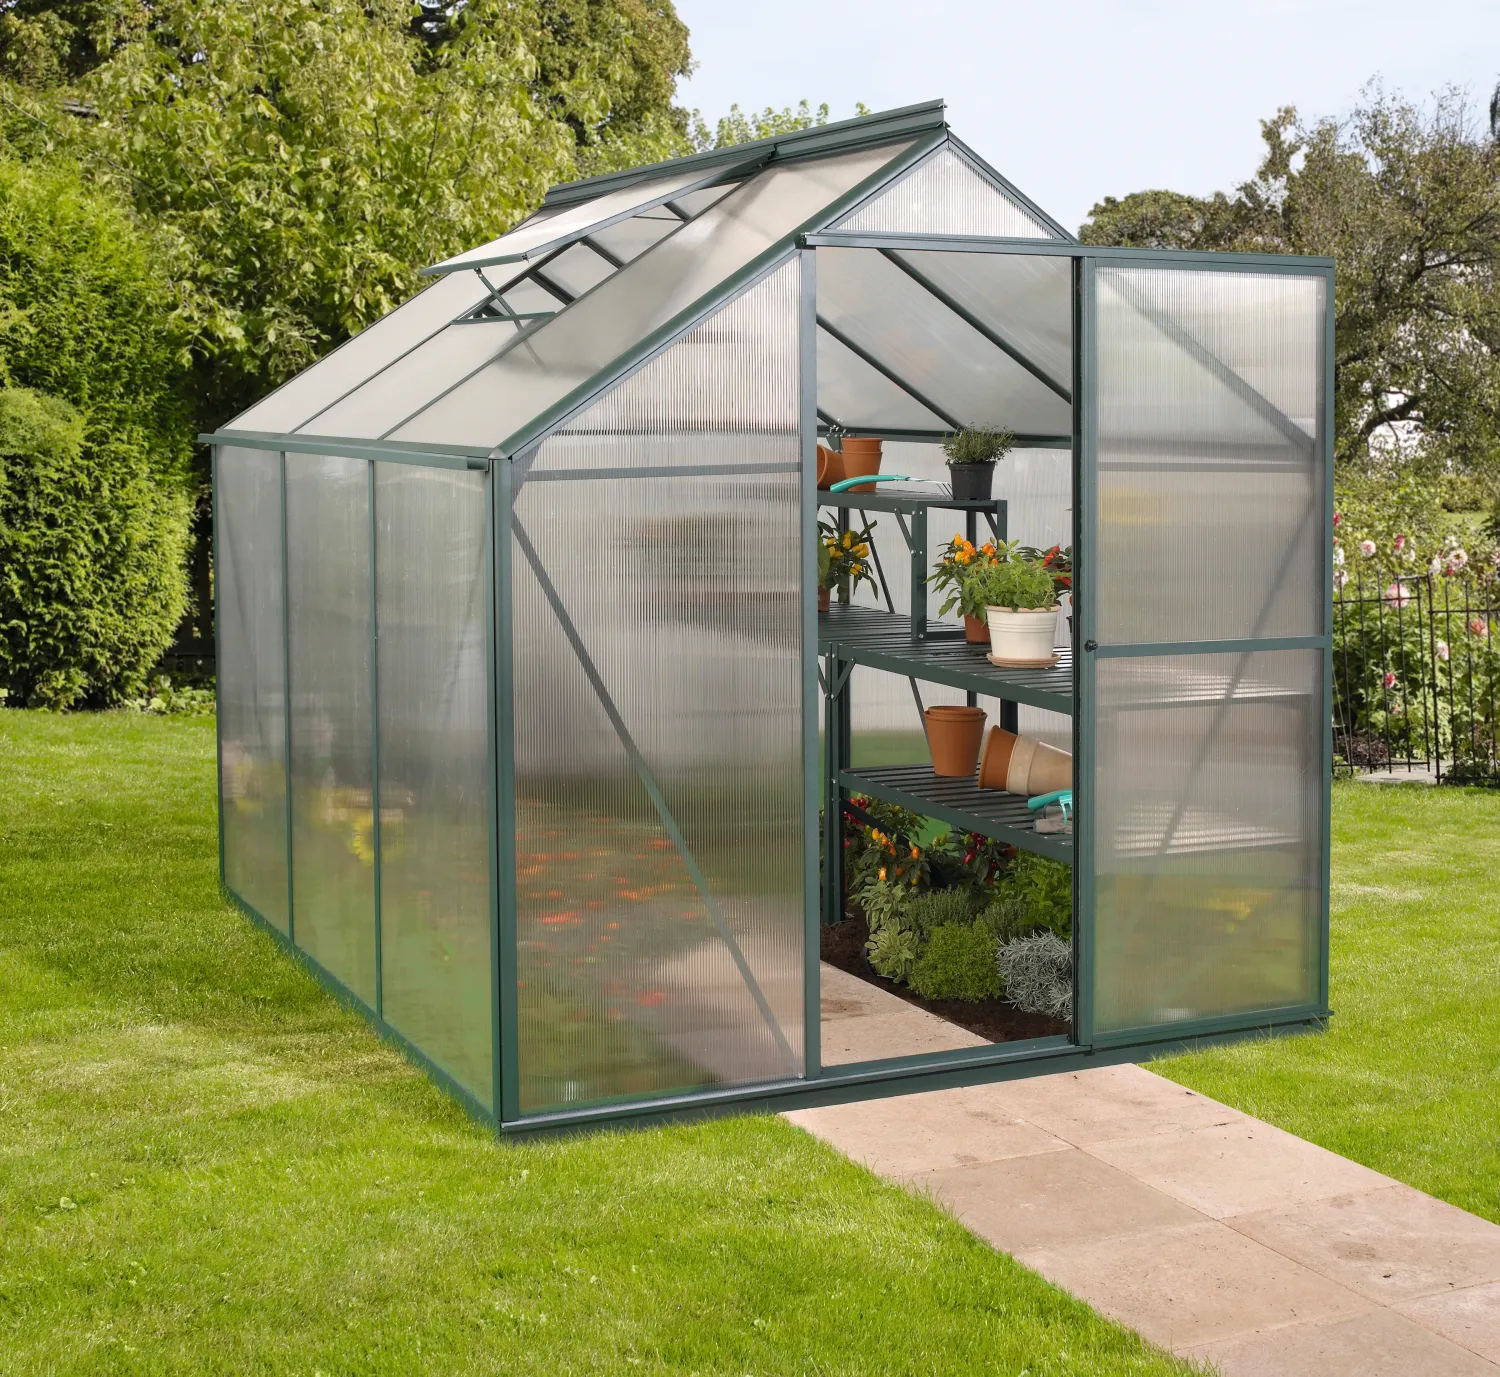
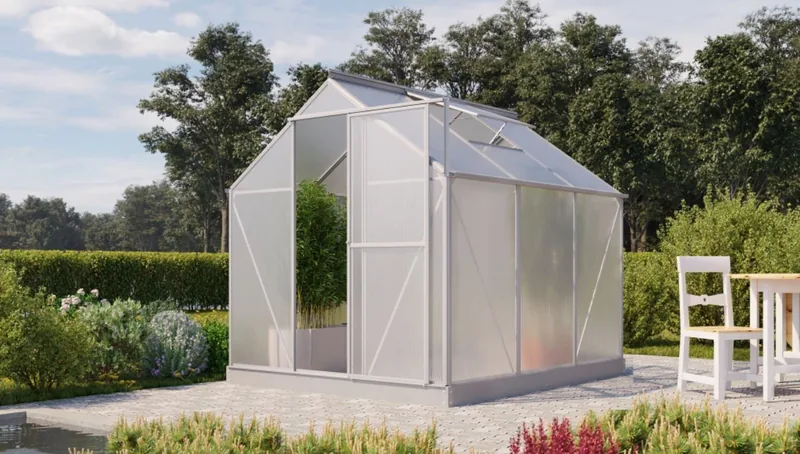
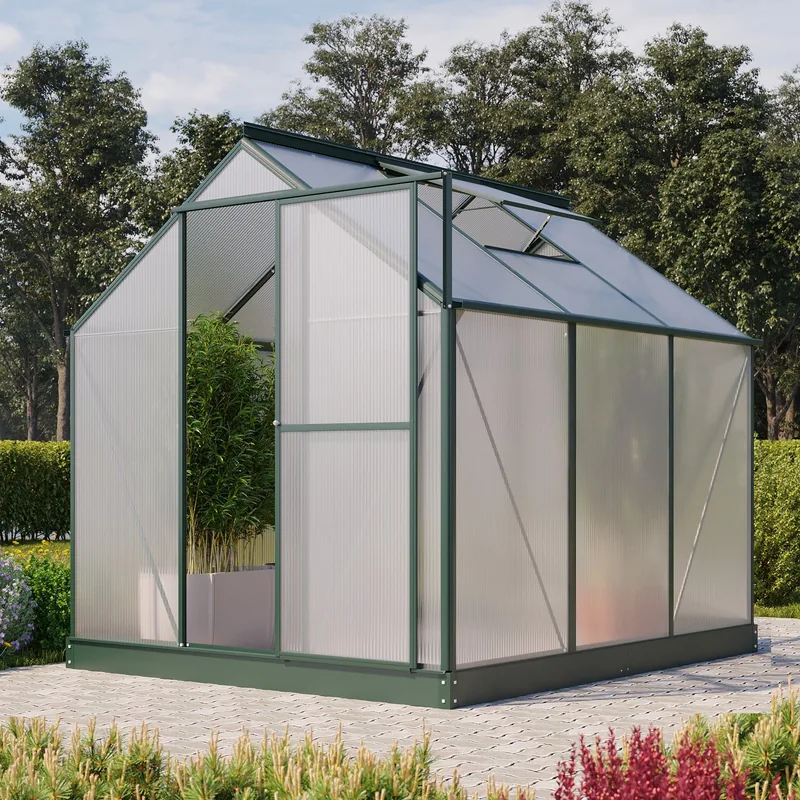
Vitavia Eos Greenhouse — Practical Guide and Overview
The Vitavia Eos greenhouse is a robust, user-friendly gardening structure designed for hobbyists and serious growers alike. Built from aluminum profiles with options for glass or multiwall polycarbonate glazing, it combines lightweight strength, corrosion resistance, and excellent light transmission. The Eos line is available in multiple widths and lengths to suit small backyard plots through to larger allotment setups.
Assembly follows a stepwise modular system: prepare a square, level foundation (concrete, stone or optional galvanized steel base), loosely assemble side frames and gable ends, fit roof ridge and middle bars, then install glazing and doors. The manual emphasizes loose-fitting bolts initially to allow squaring the structure, then final torqueing (max 3 Nm) once glazing is complete. Roof vents, sliding or swing door options, seals, and brush strips are included in the build choices, and parts lists and numbered profiles simplify identification during assembly.
Materials and maintenance
Frames are anodized or powder-coated aluminum, with glass panes or hollow polycarbonate panels (UV-protected side marked). Stainless fixings and nylon components are used in moving parts. For longevity, clean with neutral detergent, avoid aggressive chemicals that harm seals or frame, and keep door tracks free of debris. The manual recommends anchoring the greenhouse, clearing heavy snow, and closing vents in high winds.
Safety and practical tips
Wear protective gloves, eye protection and suitable footwear during assembly. Two people are recommended for safe handling of long profiles and glazing. The manual details precautions for cutting plastic H-profiles to fit, positioning locating edges on corner profiles, and inserting spare ‘blank’ bolts to later attach roof-vent sills or other accessories. It also highlights verifying all supplied parts before beginning and labeling the assembled model for future spare-part orders.
Why choose the Vitavia Eos?
The Eos balances modular simplicity with adaptable glazing and door options, making it well-suited for gardeners who want a durable greenhouse that can be tailored to location and use. With a comprehensive parts list and clear step-by-step assembly sequence, it’s accessible for DIYers who follow the recommended tools, anchoring, and torque guidance.
Notes
- Ensure the UV-protected face of polycarbonate faces outward and remove protective film before installation.
- Anchor the greenhouse to a frost-proof foundation or optional steel base in exposed locations.
- Tighten nuts to the recommended torque (max 3 Nm) to avoid deformation of profiles.
- Regularly clear snow and close vents/doors in high winds.
- Keep the model label and assembly notes for ordering spare parts.
Short takeaway
Vitavia Eos is a versatile, durable greenhouse system with clear assembly logic, multiple size options, and practical maintenance and safety guidance—ideal for those seeking a reliable structure with modular glazing and door configurations.
Search for 67,706 Manuals online


Type-in Brand or Model