
Vitavia Cassandra 9900 Manual
PDF manual · 28 Pages
English



Quick check
Incorrect answer, please try again.
Chat with your Vitavia Cassandra 9900 manual using AI
Get instant AI answers from your Vitavia Cassandra 9900 manual
Ask anything about the Vitavia Cassandra 9900. Answers come from this manual, with the pages they are based on.
Cassandra 9900 Maintenance Schedule
Approximately 2 weeks after completion, check that all nuts are tightened correctly.
Thoroughly wash the greenhouse occasionally with a gentle detergent. Ensure the detergent does not react aggressively with aluminium or glass fixing clips.
Clean the upper and lower door tracks regularly to avoid a build up of debris.
Clean and lubricate door runners regularly with wax or graphite oil.
Ask a Question
Do you recommend Cassandra 9900?
Yes NoFrequently Asked Questions
Its clear 3 mm ESG glass lets in plenty of natural light, while the roof vent and sliding doors help create a more usable growing environment. That combination supports seedlings, herbs, and established plants alike.
Is this answer helpful?
Yes. The instructions stress that the base must be square, level, and anchored properly. A prepared wall or foundation is important for stability, door alignment, and long-term durability.
Is this answer helpful?
It can be used in exposed areas, but it must be anchored securely. In very windy spots, extra fixing to the wall or foundation is recommended to improve safety and stability.
Is this answer helpful?
The build is manageable for careful DIY users, but it is best done by two people. The process involves precise framing, glazing, and alignment, so patience and basic tools are important.
Is this answer helpful?
Clean the frame with a mild detergent, keep the door tracks free from debris, and check that vents and moving parts work smoothly. Regular care helps preserve performance and appearance.
Is this answer helpful?
Yes, but weather care matters. Close doors and vents in strong wind, remove snow from the roof, and consider winter heating if you plan to keep tender plants inside during colder months.
Is this answer helpful?
Advantages and Disadvantages
Advantages

- Clear 3 mm ESG glass brings in strong daylight for vigorous plant growth.
- Double sliding doors make access easy for pots, trays, and daily care.
- Roof vent improves airflow and helps control heat and humidity.
- Aluminium frame gives the greenhouse a neat, durable finish.
- Assembly notes encourage a stable, anchored build for long-term use.
Disadvantages

- Requires a carefully prepared, square, level base or wall.
- Two people are recommended for assembly, so it is not a solo project.
- Tools, screws, and some fixings are not fully included.
- Glass installation and alignment can be time-consuming and need patience.
- The structure needs regular cleaning and weather precautions to stay safe.
Product Specification
Glazing
Safety glass 0.12in (Single layer)
Frame
Aluminum
Area
106.47 sq ft
Special features
Roof window, Gutter
Door
Double sliding door
Dimensions (LxWxH)
151.57x101.18x98.03in
Product Description
Vitavia Cassandra 9900 ESG 3mm Greenhouse
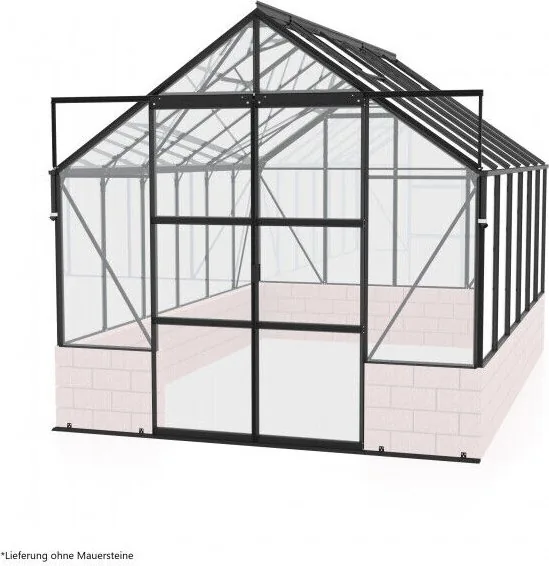
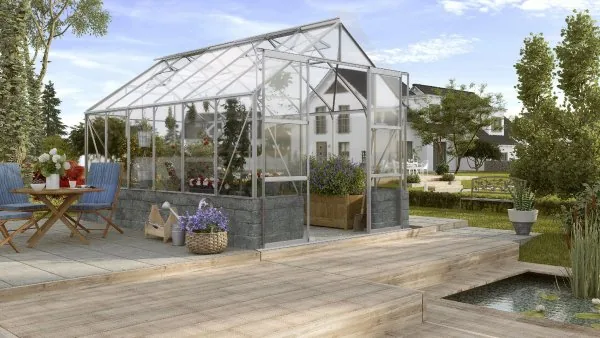
The Vitavia Cassandra 9900 ESG 3mm greenhouse is a spacious, light-filled growing space designed for gardeners who want both style and practicality. Its aluminium frame gives the structure a clean, modern look, while the clear 3 mm ESG glass creates an open environment that supports healthy plant growth throughout the season. From seedlings and herbs to taller container crops, this greenhouse is built to make everyday gardening feel organised and rewarding.
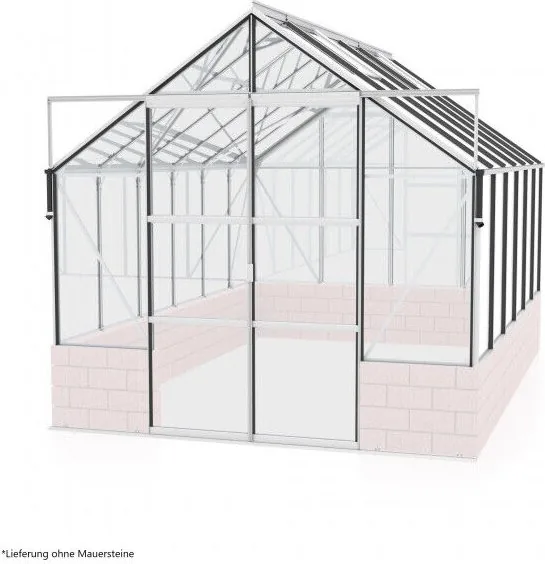
A major strength of the Cassandra is its thoughtful layout. The double sliding doors make access easy, especially when moving trays, tools, or larger pots inside. A roof vent improves air circulation and helps manage heat and humidity, which is especially useful during warm spells or after watering. These details may seem simple, but together they create a better growing climate and a more comfortable working space for the gardener.
The greenhouse is also designed with stability in mind. The assembly guidance emphasizes a level, square foundation or wall, and careful anchoring once the frame is in place. That approach adds confidence in the final build and helps the structure stay secure in changing weather. The manual also shows that patience matters: parts should be checked before assembly, bolts tightened only to the recommended torque, and moving tracks kept clear of debris for smooth operation.
What makes this model especially appealing is its balance of elegance and utility. It is not only a place to grow plants; it is a practical garden feature that helps extend the growing season and protect delicate crops. The bright glazing, accessible doors, and ventilation all support a more controlled environment, while the sturdy framework gives the greenhouse a dependable feel. If you are following the Vitavia Cassandra 9900 ESG 3mm greenhouse Manual, the best results come from careful preparation, steady assembly, and regular upkeep.
Notes
- Best installed on a square, level base or wall
- Two-person assembly is recommended
- Clean door tracks and frame regularly
- Close vents and doors during strong winds
- Clear snow from the roof in winter
- Keep the model label for future spare parts
Search for 67,706 Manuals online


Type-in Brand or Model