
Vitavia Aura Manual
PDF manual · 68 Pages
English



Quick check
Incorrect answer, please try again.
Chat with your Vitavia Aura manual using AI
Get instant AI answers from your Vitavia Aura manual
Ask anything about the Vitavia Aura. Answers come from this manual, with the pages they are based on.
Aura Maintenance Schedule
Thoroughly wash the greenhouse with a gentle detergent. Ensure the detergent does not react aggressively with aluminium or plastic.
Ensure that the door tracks are cleaned regularly to avoid a build-up of debris.
Please check the tightness of all nuts and bolts two weeks after completing the assembly.
Ask a Question
Do you recommend Aura?
Yes NoFrequently Asked Questions
A solid foundation made from concrete, brickwork, or stonework is suggested. It must be exactly right angular and level to accommodate the door and frame properly. If you lack experience, consult a specialist company.
Is this answer helpful?
It is recommended that the greenhouse is assembled by two people. Handling sharp edges and large aluminum profiles safely is difficult without a helper. Never use force if difficulties arise.
Is this answer helpful?
The system supports less than or equal to 4 mm glass, 10 mm, or 16 mm panes. Polycarbonate sheets have a UV-resistant side indicated by film that must face outside for protection.
Is this answer helpful?
You need screw drivers, rubber hammer, 2 ladders, spanners, craft knife, measuring stick, spirit level, and an accu-drill with adjustable torque. Materials for foundation prep are not included.
Is this answer helpful?
In the event of high wind conditions, close the doors and all vents immediately. Secure the greenhouse firmly to prevent lifting or structural damage to the panels.
Is this answer helpful?
Please check the tightness of all nuts and bolts two weeks after completing the assembly. Thermal expansion can loosen connections during the initial settling period.
Is this answer helpful?
Advantages and Disadvantages
Advantages

- Robust aluminum frame ensures longevity against harsh weather elements and corrosion.
- Multiple glazing options allow customization for different climate requirements and budget levels.
- Excellent ventilation system with side and top windows maintains ideal growing conditions.
- Comprehensive instruction manual reduces confusion during the complex assembly process significantly.
- Sturdy sliding doors save space compared to traditional swing door designs.
Disadvantages

- Requires a perfectly level and right-angled concrete or brick foundation to function correctly.
- Assembly process demands two people for safety and proper alignment of beams.
- Specific hand tools such as spanners and drills must be purchased separately beforehand.
- Anchoring the structure is mandatory which may restrict placement on certain soil types.
- Initial setup takes considerable time to ensure all bolts are tightened properly.
Product Specification
Frame
Aluminum
Door
Double Sliding Door
Product Description
Discover the Vitavia Aura Greenhouse Experience
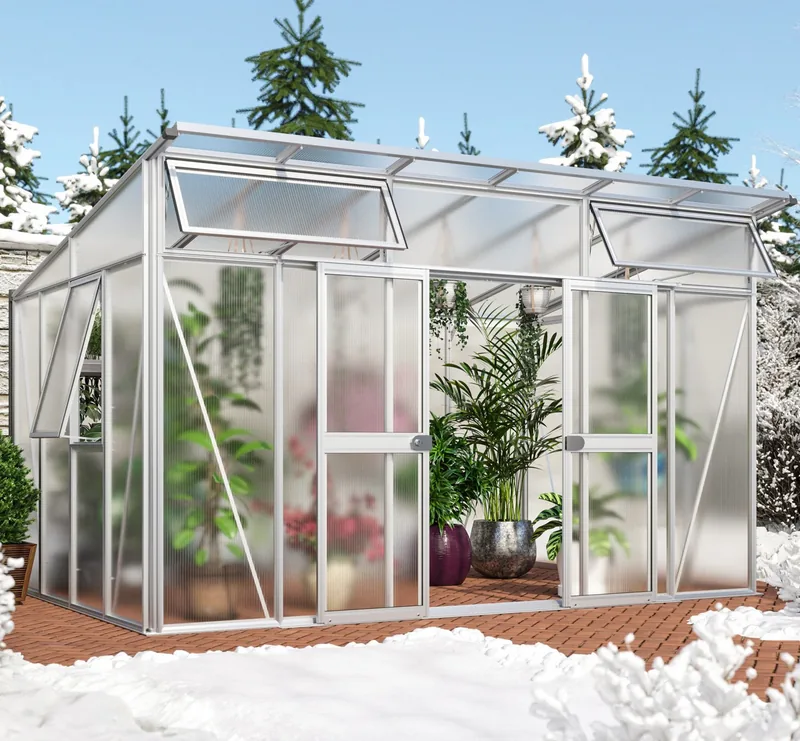
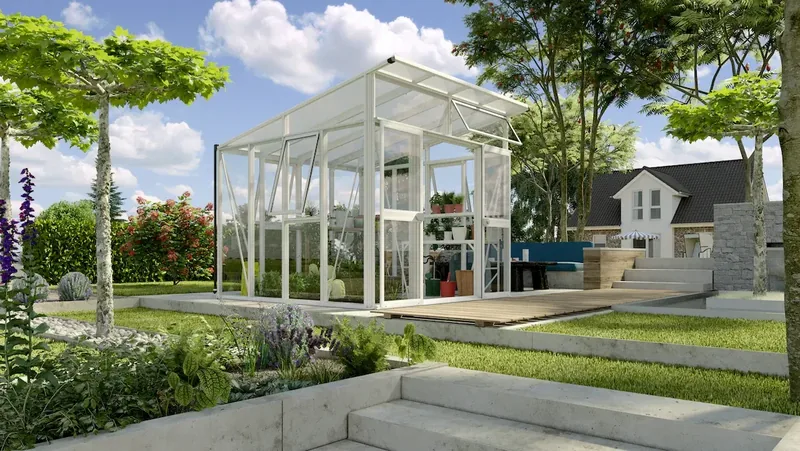
Welcome to the world of premium gardening structures. The Vitavia Aura Greenhouse Manual serves as your essential guide to building a lasting sanctuary for your favorite plants. This sophisticated greenhouse combines robust aluminum framing with modern engineering to withstand various weather conditions while maximizing natural light exposure throughout the day. Whether you are cultivating exotic tropical flowers or starting winter vegetable seeds, the spacious interior design is optimized for consistent healthy growth rates in any season.
Assembly and Preparation
Building your own garden retreat is an engaging weekend project that yields great rewards. The detailed instructions emphasize safety above all else, strongly recommending that two adults handle the larger heavy components together. You must wear protective gear whenever handling sharp metal edges or heavy glass panels. Choosing the correct site involves finding a sunny location sheltered from strong prevailing winds. Pouring a solid foundation ensures long-term structural stability and prevents accidental shifting over many years.
Key Design Features
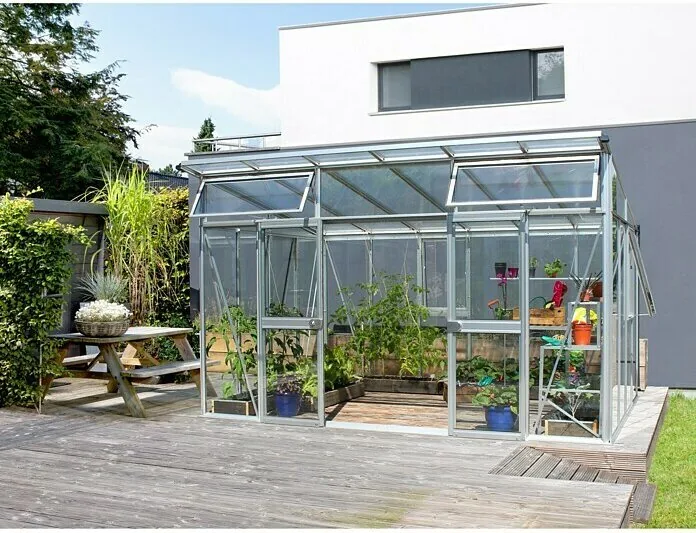
Effective ventilation is crucial to maintaining optimal humidity levels inside. The frame incorporates operable side windows and automatic top openings to regulate temperature without electricity. Large sliding doors provide convenient access without consuming valuable exterior footprint space. The roof utilizes reinforced steel trusses capable of supporting significant weight including potential snow loads during colder months. High-quality waterproof sealing keeps unwanted moisture off the soil surface effectively protecting root systems.
Maintenance Tips
Regular simple care significantly extends the operational lifespan of the unit. Clean all door tracks regularly to prevent debris from jamming the sliding wheels. Periodically check all bolt tightness after the first few weeks to avoid loosening caused by thermal expansion cycles. Only use mild non-aggressive detergents on aluminum frames to preserve the factory finish coloration. Always store original assembly documentation safely for future reference regarding spare parts ordering. Additionally inspecting plastic caps on nuts helps prevent rust accumulation during damp winter weather periods.
Safety and Notes
Safety warnings require closing all openings during high winds. Snow must be cleared from the roof immediately to prevent collapse. Insurance coverage recommendations apply to protect against property damage claims. Keep instruction manual accessible for replacement part identification using the model number labels. Follow these steps for a successful build experience every single time.
Search for 67,706 Manuals online


Type-in Brand or Model