

Vitavia Apollo 5000 Manual
PDF manual · 24 Pages
English



Quick check
Incorrect answer, please try again.
Chat with your Vitavia Apollo 5000 manual using AI
Get instant AI answers from your Vitavia Apollo 5000 manual
Ask anything about the Vitavia Apollo 5000. Answers come from this manual, with the pages they are based on.
Apollo 5000 Maintenance Schedule
Approximately 2 weeks after completion, check that all nuts are tightened correctly.
Clean with a gentle detergent occasionally. Ensure the detergent does not react aggressively with aluminium or glass fixing clips.
Clean upper and lower door tracks regularly to avoid a build up of debris.
Ask a Question
Do you recommend Apollo 5000?
Yes NoFrequently Asked Questions
It is best used for growing plants in a protected environment. The design supports vegetables, herbs, flowers, and seedlings by offering light, shelter, and improved growing control.
Is this answer helpful?
A level foundation keeps the frame square, helps the door and vents operate properly, and improves overall stability. It also reduces stress on the structure over time.
Is this answer helpful?
Yes. Anchoring is strongly recommended and described as necessary for safe, long-term use. It is especially important in windy or exposed locations.
Is this answer helpful?
The greenhouse includes a roof vent that helps release excess heat and improve airflow. This is useful for preventing overheating and supporting healthier plant conditions.
Is this answer helpful?
Occasional cleaning with a mild detergent is recommended. The door tracks should be cleared regularly, and fittings should be checked from time to time to keep everything working smoothly.
Is this answer helpful?
It is recommended that two people assemble it. The parts are easier to handle with help, and a second person makes alignment, glazing, and anchoring much safer and simpler.
Is this answer helpful?
Advantages and Disadvantages
Advantages

- Strong aluminum frame with a galvanized steel base for added stability.
- 4 mm glazing supports bright growing conditions for a wide range of plants.
- Roof vent and sliding door improve airflow and everyday access.
- Compact greenhouse design suits productive small-space gardening.
Disadvantages

- Assembly takes time and requires careful attention to measurements and alignment.
- Proper anchoring and a level foundation are essential, adding setup effort.
- Glazing and door tracks need regular cleaning to maintain smooth performance.
- May require two people and basic tools for safer, easier installation.
Product Specification
Glazing
Polycarbonate 0.16 in (Twin-wall sheets)
Frame
Aluminum
Color
silver
Area
53.82ft²
Special features
1 roof window
Door
Sliding door
Dimensions (LxWxH)
102.76x76.77x53.54in
Weight
105.60lb
Scope of delivery
Steel foundation
Product Description
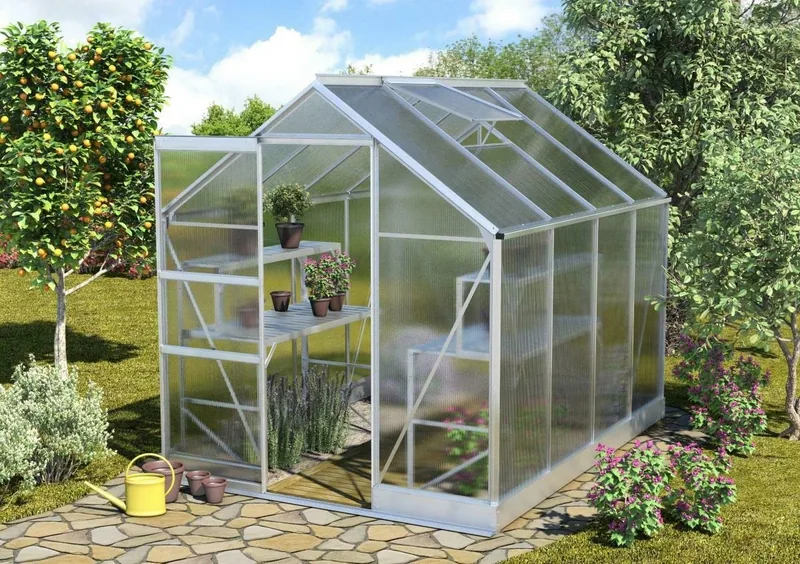
Vitavia Apollo 5000 HKP 4mm Aluminum Greenhouse
The Vitavia Apollo 5000 HKP 4mm aluminum greenhouse is a practical choice for gardeners who want a sturdy growing space with a clean, modern look. Built around an aluminum frame and supported by a galvanized steel base, it is designed to give plants a protected environment while staying durable through the seasons. If you are searching for the Vitavia Apollo 5000 HKP 4mm aluminum greenhouse Manual experience in a simple, easy-to-follow setup, this model reflects that same focus on structure, stability, and careful assembly.
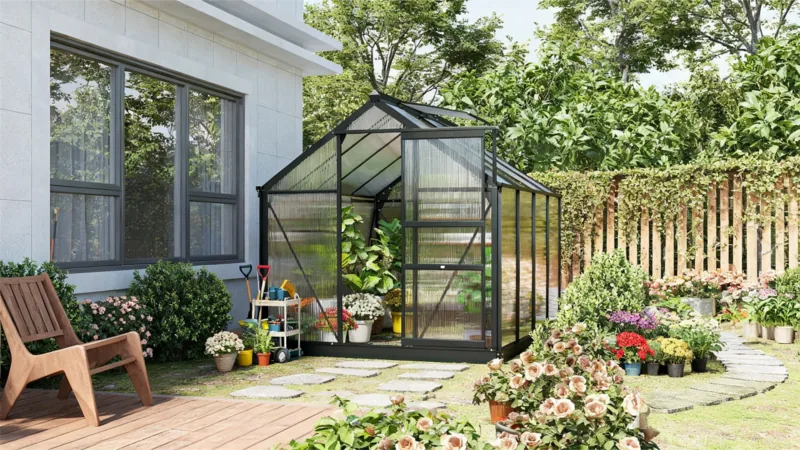
One of the most appealing aspects of this greenhouse is its balance between strength and light transmission. The 4 mm glazing helps create the bright conditions many plants need, while the aluminum construction keeps the frame lightweight and corrosion-resistant. A roof vent improves airflow, and the sliding door makes daily access convenient without taking up extra space. Together, these details make the greenhouse suitable for growing vegetables, herbs, flowers, and young plants in a more controlled setting.
The Apollo 5000 is also built with long-term use in mind. The instructions emphasize a level, square foundation and proper anchoring, which are essential for keeping the greenhouse steady in exposed or windy locations. That attention to installation may take time, but it helps the structure perform better over the years. The design also allows for regular maintenance, such as cleaning the door tracks, checking fittings, and washing the glazing gently to keep the greenhouse working smoothly.
For gardeners who want a reliable structure rather than a decorative extra, this model offers a sensible mix of functionality and value. It supports healthy plant growth, provides room for airflow and access, and gives you a compact but capable protected space for seasonal gardening projects.
Notes
- Always place the greenhouse in a sunny, sheltered spot.
- Keep the base square, level, and firmly anchored.
- Clean tracks and glazing regularly for easier use and better performance.
- Close vents and doors during heavy wind or snowfall.
Search for 67,706 Manuals online


Type-in Brand or Model