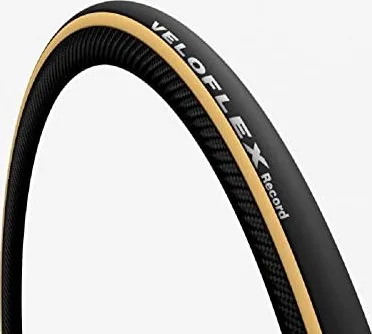
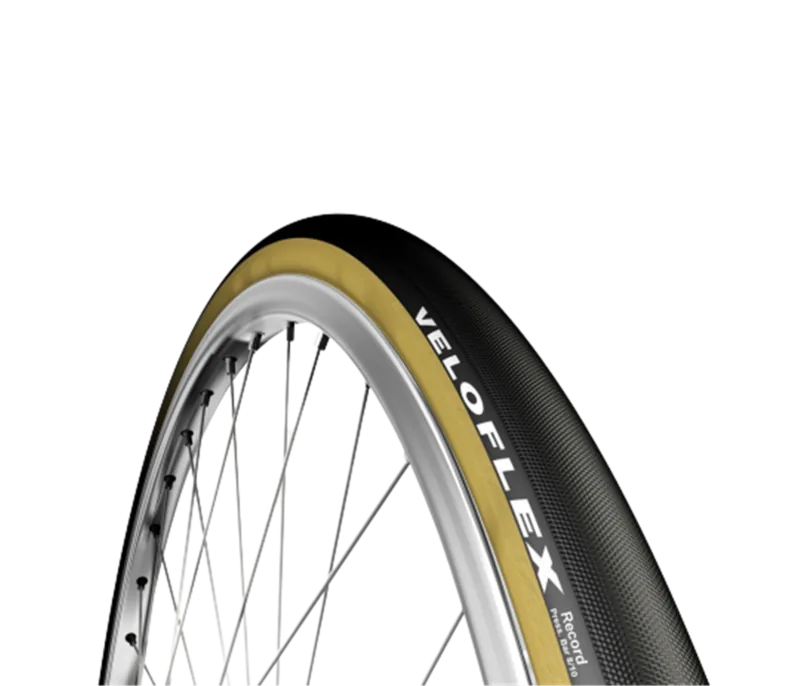
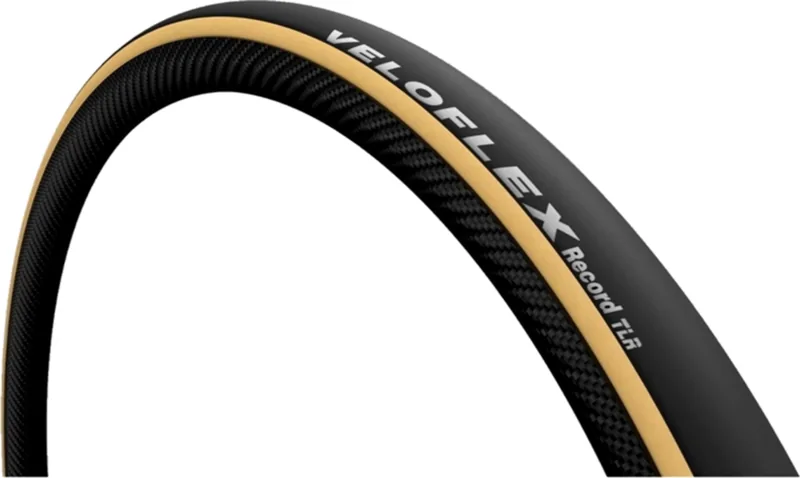
Manual.ly Logo

Veloflex Record Manual

0.0 · 0 Ratings

PDF manual · 1 Pages

English

M: OA-GPT-5-NAN
page

/ 1

Loading...
b218f93c92df508d57bddbb99dc74745d1ab page 1
ISTRUZIONI PER L’USO
Conservazione: Conservare il tubolare in luogo as-
ciutto e lontano dalla luce mantenendo la sua forma
rotonda. ● Non gonare mai il tubolare ad alte pres-
sioni se non montato sul cerchio perché potrebbe dan-
neggiare l’incollaggio del battistrada.
Installazione: Utilizzate carta vetrata per irruvidire la
gola del cerchio o rimuovere i residui di mastice prec-
edentemente utilizzato.● Pulite accuratamente il cer-
chio con un panno inumidito di solvente. ● Stendete
un sottile strato di mastice sulla gola del cerchio e sul
nastro copricucitura del tubolare limitandovi alle zone
di contatto. ● Dopo circa 10 minuti stendete un sec-
ondo strato di mastice leggermente più abbondante
solamente sul cerchio e lasciate asciugare per circa 3
minuti. ● Applicare il tubolare sgono sul cerchio par-
tendo dalla valvola e mantenendo una tensione cos-
tante prestando attenzione che la valvola rimanga
sempre dritta nella sua sede. ● Gonate il tubo-
lare alla pressione di 1 bar circa e vericate che
il nastro copricucitura sia centrato con la gola del
cerchio. Nel caso non fosse centrato provvedere a
riposizionarlo spostandolo con le dita. ● Gonate
il tubolare alla pressione indicata sul pneumatico
e lasciate riposare per circa 24 ore prima di poterlo
utilizzare. ● N.B. Non utilizzare cacciaviti o altri utensili
per montare il tubolare; il montaggio deve essere effet-
tuato esclusivamente a mano.
Manutenzione e sicurezza: Prima di ogni uscita ri-
pristinate la giusta pressione del tubolare (essendo
la camera in lattice permeabile è normale una perdita
di pressione di 1-2 bar in 24 ore). ● Per la vostra si-
curezza controllate attentamente prima di ogni utilizzo
che battistrada e nastro copricucitura non presentino
segni di distacco. ● Per la pulizia del tubolare utiliz-
zate acqua e sapone neutro; sono assolutamente da
evitare detergenti aggressivi o solventi di varia natura.
● In caso vogliate utilizzare una prolunga della valvola,
installare un meccanismo nuovo e stringerlo con l’ap-
posito attrezzo di chiusura; non utilizzare mai pinze o
altri utensili. ● Non utilizzare sui rulli d’allenamento. ●
Gonare il pneumatico entro i valori di pressione in-
dicati sul tubolare stesso; In nessun caso superare il
valore massimo indicato.
MANUAL DE INSTRUCCIONES
Conservación y cuidado: Se recomienda guardar el
tubular en un lugar seco y lejos de fuentes de luz, para
que mantenga su forma redonda. ● Nunca hinche el
tubular a presiones demasiado altas antes de colocar-
lo sobre la llanta, ya que eso podría dañar la adhesión
del neumático.
Montaje: Utilice papel de esmeril para la ranura hasta
que esté áspera o a n de quitar el mástique sobrante.
●Limpie con cuidado la llanta con un trapo húmedo
con disolvente. ● Aplique una capa na de mástique
en la ranura de la llanta y sobre la cinta que cubre la
costura solo en la parte que estará en contacto con el
tubular. ● Después de unos 10 minutos aplique otra
capa ligeramente más espesa solo sobre la llanta y
luego deje secar unos 3 minutos. ● Coloque el tubular
deshinchado sobre la llanta a partir de la zona de la
válvula manteniéndolo constantemente tensado. Pro-
cure que el cuerpo de la válvula se quede recto y en su
sitio. ● Hinche el tubular hasta hacia 1 bar y controle
que la cinta que cubre la costura esté centrado en la
ranura, por si no estuviera póngalo en el centro pre-
sionando con los dedos. ● Hinche el tubular según in-
dicado en el neumático. Aguarde unas 24 horas antes
de emplearlo. ● Atención: No utilice destornilladores
u otras herramientas para el montaje del tubular; hay
que hacerlo solo a mano.
Cuidado y seguridad: Antes de utilizar la bicicleta
controle que la presión del tubular sea correcta (ya
que la cámara de látex normalmente puede perder
entre 1-2 bar cada 24 horas). ● Para su seguridad
antes de cada empleo controle cuidadosamente
que el neumático y la cinta que cubre la costura
no estén desprendidos. ● Para limpiar el tubular
se recomienda el empleo de agua y sabón neu-
tro, sin acudir a otros limpiadores demasiado fuertes.
● En caso de que quisiera emplear una extensión de
la válvula, instale un nuevo mecanismo y ciérrelo con
su propia herramienta; no utilice pinzas u otras herra-
mientas. ● No lo use sobre rodillos de entrenamiento.
● Hinche el neumático según la presión indicada en
la etiqueta del tubular; no sobrepase jamás la presión
máxima indicada.
OPERATING INSTRUCTIONS
Storage: Keep the tubular in a dry place and far away
from light to preserve its round shape. ● Do not inate
the tubular to high pressure unless previously placed
on the rim in order to glue it properly.
Mounting: Employ sand paper to rough the well of the
rim or to remove any residual mastic which had been
previously used. ● Clean the rim carefully with a cloth
and a cleaning solvent. ● Apply a thin layer of mastic
on the well of the rim and the base tape. ● After 10
minutes or so apply a further, slightly thicker layer of
mastic only on the rim and let it dry for about 3 minutes.
● Starting from the valve t the deated tubular on the
rim and hold it tightened. Make sure you keep the valve
stem in place and upright. ● Inate the tubular to 1 bar
or so and check whether the base tape is ttingly cen-
tered into the well of the rim or not. If so try to put it in
the centre with your ngers. ● Inate the tubular to
the pressure indicated on the tire and let it sit for
about 24 hours before use. ● Important note: do
not use screwdrivers or any other tool; installation
must be carried out only by hand.
Maintenance and safety: Before riding the tubular
pressure must be checked each time (as the perme-
able latex air chamber is normally expected to lose
1-2 bar pressure every 24 hours). ● Make sure you
check the tire closely and carefully every time before
riding: the base tape should be completed attached to
the tubular. ● Clean the tubular with water and neutral
soap; do not use strong cleansers or any other type of
cleaning solvent. ● If you want to use a valve exten-
sion place a new mechanism and x it with the specic
locking tool; do not use tweezers or other tools. ● Do
not use this tubular on training rollers. ● Inate the tire
according to the level specied on said tire; do not ex-
ceed such level.
MODE D’EMPLOI
Conservation: Il faut conserver le boyau en lieu sec et
loin de la lumière en conservant sa forme ronde. ● Il ne
faut jamais goner le boyau à haute pression s’il n’est
pas monté sur la jante parc-qu’il pourrait endomagger
le collage de la bande de roulement.
Installation – montage: Utiliser papier de verre pour
rendre rugueuse la gorge de la jante ou lever les
résidus du mastic précédemment utilisé. ● Nettoyer
soigneusement la jante avec un chiffon et un peu de
dissolvent. ● Étendre une légère couche de mastic à
l’interieur de la gorge de la jante et sur le ruban cou-
vre-coutures du boyau seulement sur les parties du
contact. ● Au bout de 10 minutes environ appliquer
une seconde couche de mastic légèrement plus abon-
dant et laisser sécher pendant 3 minutes. ● Placer le
boyau dégoné sur la jante en partant de la zone de la
valve, en gardant le boyau toujours bien tendu, il faut
faire aussi attention que la valve soit toujours bien droi-
te et bien centrée dans son siège. ● Goner le boyau
à la pression du 1 bar environ et vérier que le ruban
couvre-coutures soit bien centré avec la gorge de la
jante. Au cas qu’il ne soit pas centré il faut le replac-
er et essayez d’aligner avec les doigts. ● Goner le
boyau à la pression indiquée sur le boyau et attendre
environ 24 heures avant de l’utiliser. ● N.B. Il ne faut
pas utiliser des tournevis ou autres utensiles; le mon-
tage doit être effectué seulement à main.
Manutention et sûrete: Avant de sortir vérier la
pression de gonage du boyau (puisque la chambre
à air en latex perméable c’est normale une perte de
pression de 1-2 bar en 24 heures). ● Pour votre sûreté
avant d’utiliser la bicyclette vérier que le boyau et le
ruban couvre-coutures ne soient pas endommagés ou
détachés. ● Pour nettoyer le boyau utiliser de l’eau et
du savon neutre; il ne faut jamais utiliser des déter-
gents agressives ou des dissolvents. ● Si vous
voulez utiliser une prolonge de la valve, ou mettre
un nouveau mécanisme serrez par le propre
utensile; pour aucune raison il faudra utiliser des
pinces ou des autres utensiles. ● Il ne faut pas uti-
liser sur les rouleaux d’entraÎnement. ● Goner le
boyau à la pression indiquée sur le boyau même;
pour aucune raison il faut surpasser la valeur maxi-
mum indiquée.
IT EN
ES
FR
#MyTires
Join our community and share with us
your passion for cycling.
www.veloflex.it

Chat with your Veloflex Record manual using AI

Get instant AI answers from your Veloflex Record manual

Ask anything about the Veloflex Record. Answers come from this manual, with the pages they are based on.

Record Maintenance Schedule

Before every ride
Check tire pressure

Verify correct pressure before riding as latex chambers lose 1-2 bar in 24 hours.

Before every ride
Inspect tire and base tape

Ensure tread and base tape are not detached or damaged for safety.

As needed
Clean tubular tire

Wash with water and neutral soap; avoid strong cleaners or solvents.

M: QW-35-FL

Ask a Question

0/1000

Do you recommend Record?

Yes No

Frequently Asked Questions

A

Store the tubular in a dry place away from direct light to preserve its round shape. Keep it uncompressed and avoid exposure to heat or sunlight which can degrade the adhesive and casing.

Is this answer helpful?

A

No. Do not inflate the tubular to high pressures when it is not mounted on the rim; inflating off the rim can damage the adhesive bond between the tire and the rim.

Is this answer helpful?

A

Roughen the rim well with sandpaper, clean with a solvent cloth, apply a thin layer of mastic, wait ~10 minutes, apply a slightly thicker second layer to the rim, wait ~3 minutes, fit the deflated tubular by hand from the valve, inflate to ~1 bar to check tape alignment, then inflate to the tire’s specified pressure and wait ~24 hours before riding.

Is this answer helpful?

A

Check pressure before every ride. The latex inner tube normally loses about 1–2 bar in 24 hours, so frequent checks and re-inflation are necessary for safe, optimal performance.

Is this answer helpful?

A

Clean with water and neutral soap only; avoid strong detergents or solvents. Inspect the tread and base tape for any signs of detachment before each ride. Use proper tools when installing valve extensions and do not use pliers or screwdrivers for mounting.

Is this answer helpful?

A

No. The Veloflex Record tubular should not be used on training rollers, as specified by the manufacturer, to avoid damage and safety risks.

Is this answer helpful?

A

If the base tape is off-center after inflating to ~1 bar, deflate slightly and reposition it by hand using your fingers until it sits centered in the rim well, then continue inflation and the 24-hour settling period.

Is this answer helpful?

M: OA-GPT-5-NAN

Advantages and Disadvantages

Advantages

  • Supple ride and responsive handling due to latex inner tube construction.
  • Low rolling resistance ideal for competitive road cycling.
  • Classic tubular design favored by racers for secure rim bonding and comfort.
  • Detailed mounting procedure ensures strong adhesive bond and proper alignment.
  • Lightweight construction contributes to better acceleration and climbing.
VS

Disadvantages

  • Latex inner tube is permeable — expect 1–2 bar pressure loss in 24 hours.
  • Requires careful hand mounting and adhesive work; not beginner-friendly.
  • Cannot be used on training rollers, limiting indoor training options.
  • Sensitive to improper inflation off the rim which can damage the glue.
  • Needs gentle cleaning; harsh solvents will damage materials and glue.
M: OA-GPT-5-NAN

Product Specification

Application

Road

Tread Color

black

Sidewall Color

black

Casing

350 TPI

M: OA-GPT-54-NAN

Product Description

Veloflex Record Tubular Tire Manual

The Veloflex Record tubular is a high-quality, classic racing tire designed for riders who value precise handling, low rolling resistance, and a supple ride. Made with a latex inner tube and a hand-glued tubular casing, the Veloflex Record is aimed at cyclists who prefer traditional tubular mounting for performance and comfort. Proper storage, mounting, and maintenance are essential to get the best life and safety out of this tire.

About the product

This tubular tire emphasizes careful mounting and adhesive bonding to the rim. The latex inner tube delivers a responsive, supple feel but is permeable, so a small pressure loss (typically 1–2 bar in 24 hours) is normal. The tire is intended for road use only — not for training rollers — and features a base tape that must remain firmly attached to the casing and rim well.

Mounting requires a clean rim, light sanding of the rim well, and application of mastic in two stages: a thin initial coat and a slightly thicker follow-up, allowing recommended drying times between layers. The tire should be fitted by hand starting at the valve, inflated briefly to about 1 bar to check alignment of the base tape in the rim well, then inflated to the pressure stamped on the tire and left to rest for roughly 24 hours before riding.

Maintenance centers on routine pressure checks, visual inspection of the tread and base tape for detachment, and gentle cleaning with water and neutral soap. Avoid aggressive solvents or cleaners. If adding a valve extension, always install a new mechanism and secure it with the proper tool; never use pliers or improvised tools.

Safety and handling notes

Never inflate the tubular to high pressures off the rim, as this can damage the adhesive bond. Do not use screwdrivers or metal tools to mount the tire — installation must be done by hand to protect the casing and glue. Adhere strictly to the pressure range marked on the tire and never exceed the maximum rating.

Quick tips

  • Store in a dry, dark place to preserve round shape.
  • Use neutral soap and water for cleaning.
  • Check pressure before every ride and inspect for glue or tape separation.
  • Allow 24 hours after mounting before use.

Notes

  • The latex chamber’s permeability causes normal pressure loss; re-inflate before each ride.
  • Avoid training rollers and harsh solvents.
  • Proper mastic application and drying times are crucial for durable adhesion.
M: OA-GPT-5-NAN

© Copyright 2026 Manual.ly