
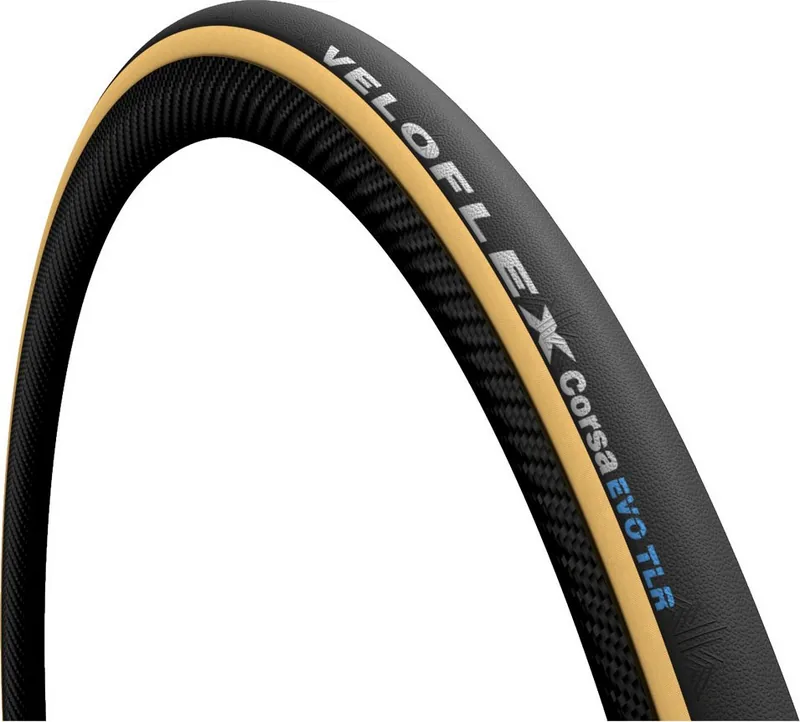
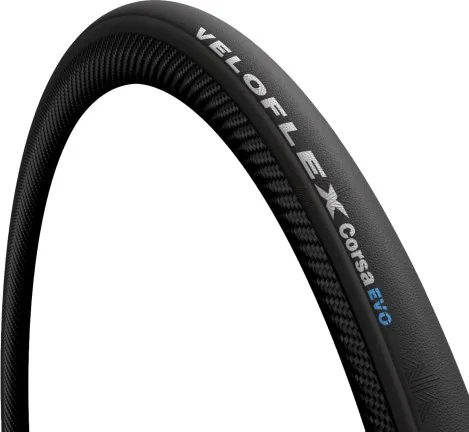
Veloflex Corsa Evo TLR Manual
PDF manual · 2 Pages
English



Quick check
Incorrect answer, please try again.
Chat with your Veloflex Corsa Evo TLR manual using AI
Get instant AI answers from your Veloflex Corsa Evo TLR manual
Ask anything about the Veloflex Corsa Evo TLR. Answers come from this manual, with the pages they are based on.
Ask a Question
Do you recommend Corsa Evo TLR?
Yes NoFrequently Asked Questions
Compatibility follows E.T.R.T.O. guidance: rim internal widths from 15 mm to 32 mm are listed against tyre sizes (20–26 mm). Always verify the package label and match rim/tyre sizes exactly before mounting.
Is this answer helpful?
Inject 30–50 ml of tubeless sealant after deflating and positioning the valve at 5 or 7 o’clock. Because sealant can dry, plan to add about 30 ml every 3–6 months depending on conditions and observed sealing performance.
Is this answer helpful?
A specific valve tool is recommended to remove and reinstall the valve core; bead seating may require a high-volume pump, booster, or compressor. Avoid using improvised tools that can damage the valve or tyre.
Is this answer helpful?
Clean tyres with neutral soap and water only; avoid solvents. Mount by hand where possible and use a proper tyre lever if needed. Do not use on training rollers. Check rim bed for sharp edges and ensure rim tape is correctly positioned.
Is this answer helpful?
Inflate to the labelled maximum for bead seating, listening for the "clack". For regular use, do not exceed the pressure marked on the tyre label; on hookless rims do not exceed 5 bar. Always follow rim manufacturer limits as well.
Is this answer helpful?
Deflate the tyre and repeat the centring process until evenly seated. Reinflate to the maximum for seating, check alignment, and if problems persist inspect the rim for tape misplacement or sharp edges that could prevent proper seating.
Is this answer helpful?
Use a tubeless-ready sealant recommended for bicycle tyres and compatible with the tyre and rim materials. Shake the bottle vigorously before use and follow the manufacturer’s instructions for dosing and safety precautions.
Is this answer helpful?
Advantages and Disadvantages
Advantages

- Optimised for tubeless setups offering lower rolling resistance and improved puncture protection.
- Clear step-by-step installation guidance including bead seating and sealant dosing.
- Compatible with both hooked and hookless rims when matched to E.T.R.T.O. rim sizes.
- Maintenance advice encourages gentle cleaning and periodic sealant top-ups for longevity.
- Suitable for road performance with precise centring and secure bead seating when installed correctly.
Disadvantages

- Requires correct rim sizing and attention to rim bed condition to avoid unsafe mounting.
- May need a booster or compressor to seat beads, complicating home installation.
- Sealant dries over time and demands periodic replenishment (every 3–6 months).
- Valve installation can be damaged by improper tools or overtightening.
- Not to be used on training rollers, limiting some indoor training options.
Product Specification
Type
Folding Tire
Application Area
Road
Tread Colors
black
Casing
320 TPI
Special Features
tubeless ready
Product Description
Veloflex Corsa Evo TLR Tubeless tyre Manual
The Veloflex Corsa Evo TLR Tubeless tyre is a high-performance clincher engineered for riders who want the low rolling resistance and puncture resilience of tubeless setups with race-grade handling. Designed to work with rims that meet E.T.R.T.O. standards — including hookless and hooked rims — this tyre combines precise bead seating, reliable sealing with tubeless-ready sealant, and a construction tuned for road speed and control.
Installation follows a clear, safety-focused sequence: fit one bead, then the opposite bead; remove the valve core and inflate to the maximum labelled pressure until a definitive "clack" confirms proper bead seating; check centring and repeat if needed. Use a booster or compressor if required. Add 30–50 ml of tubeless sealant (re-topping about 30 ml every 3–6 months may be necessary), reinstall the valve core gently, then inflate to riding pressure without exceeding the label limit (do not exceed 5 bar on hookless rims).
Practical maintenance tips emphasize gentle care and correct procedures: clean only with neutral soap and water, avoid solvents and aggressive detergents, and mount by hand (use a proper tyre lever if necessary). Do not use tyres on training rollers. The manual warns against using incorrect tools for valve installation and disclaims manufacturer responsibility for sealant-related damage.
Compatibility information lists rim internal widths (15–32 mm) against tyre sizes (20–26 mm), offering guidance to ensure a safe match between rim and tyre. The guidance appears in multiple languages, supporting international riders and mechanics.
Notes:
- Always verify rim dimensions match the tyre label before mounting.
- Ensure rim bed and tubeless rim tape (if present) are free of sharp edges and correctly seated.
- Shake sealant thoroughly before use and distribute it by rotating the wheel so the liquid coats the inner carcass.
- Avoid over-tightening the valve core to prevent damage.
This manual-style description blends installation, maintenance, and safety into a concise reference for cyclists, mechanics, and enthusiasts aiming to get the best from the Veloflex Corsa Evo TLR Tubeless tyre.
Search for 67,706 Manuals online


Type-in Brand or Model