
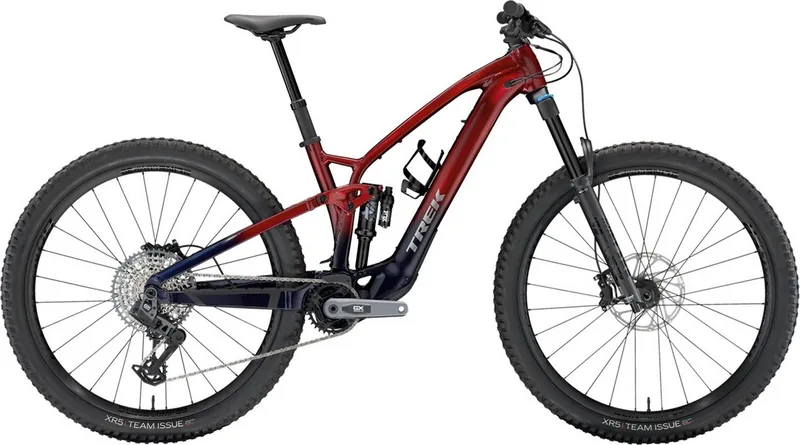
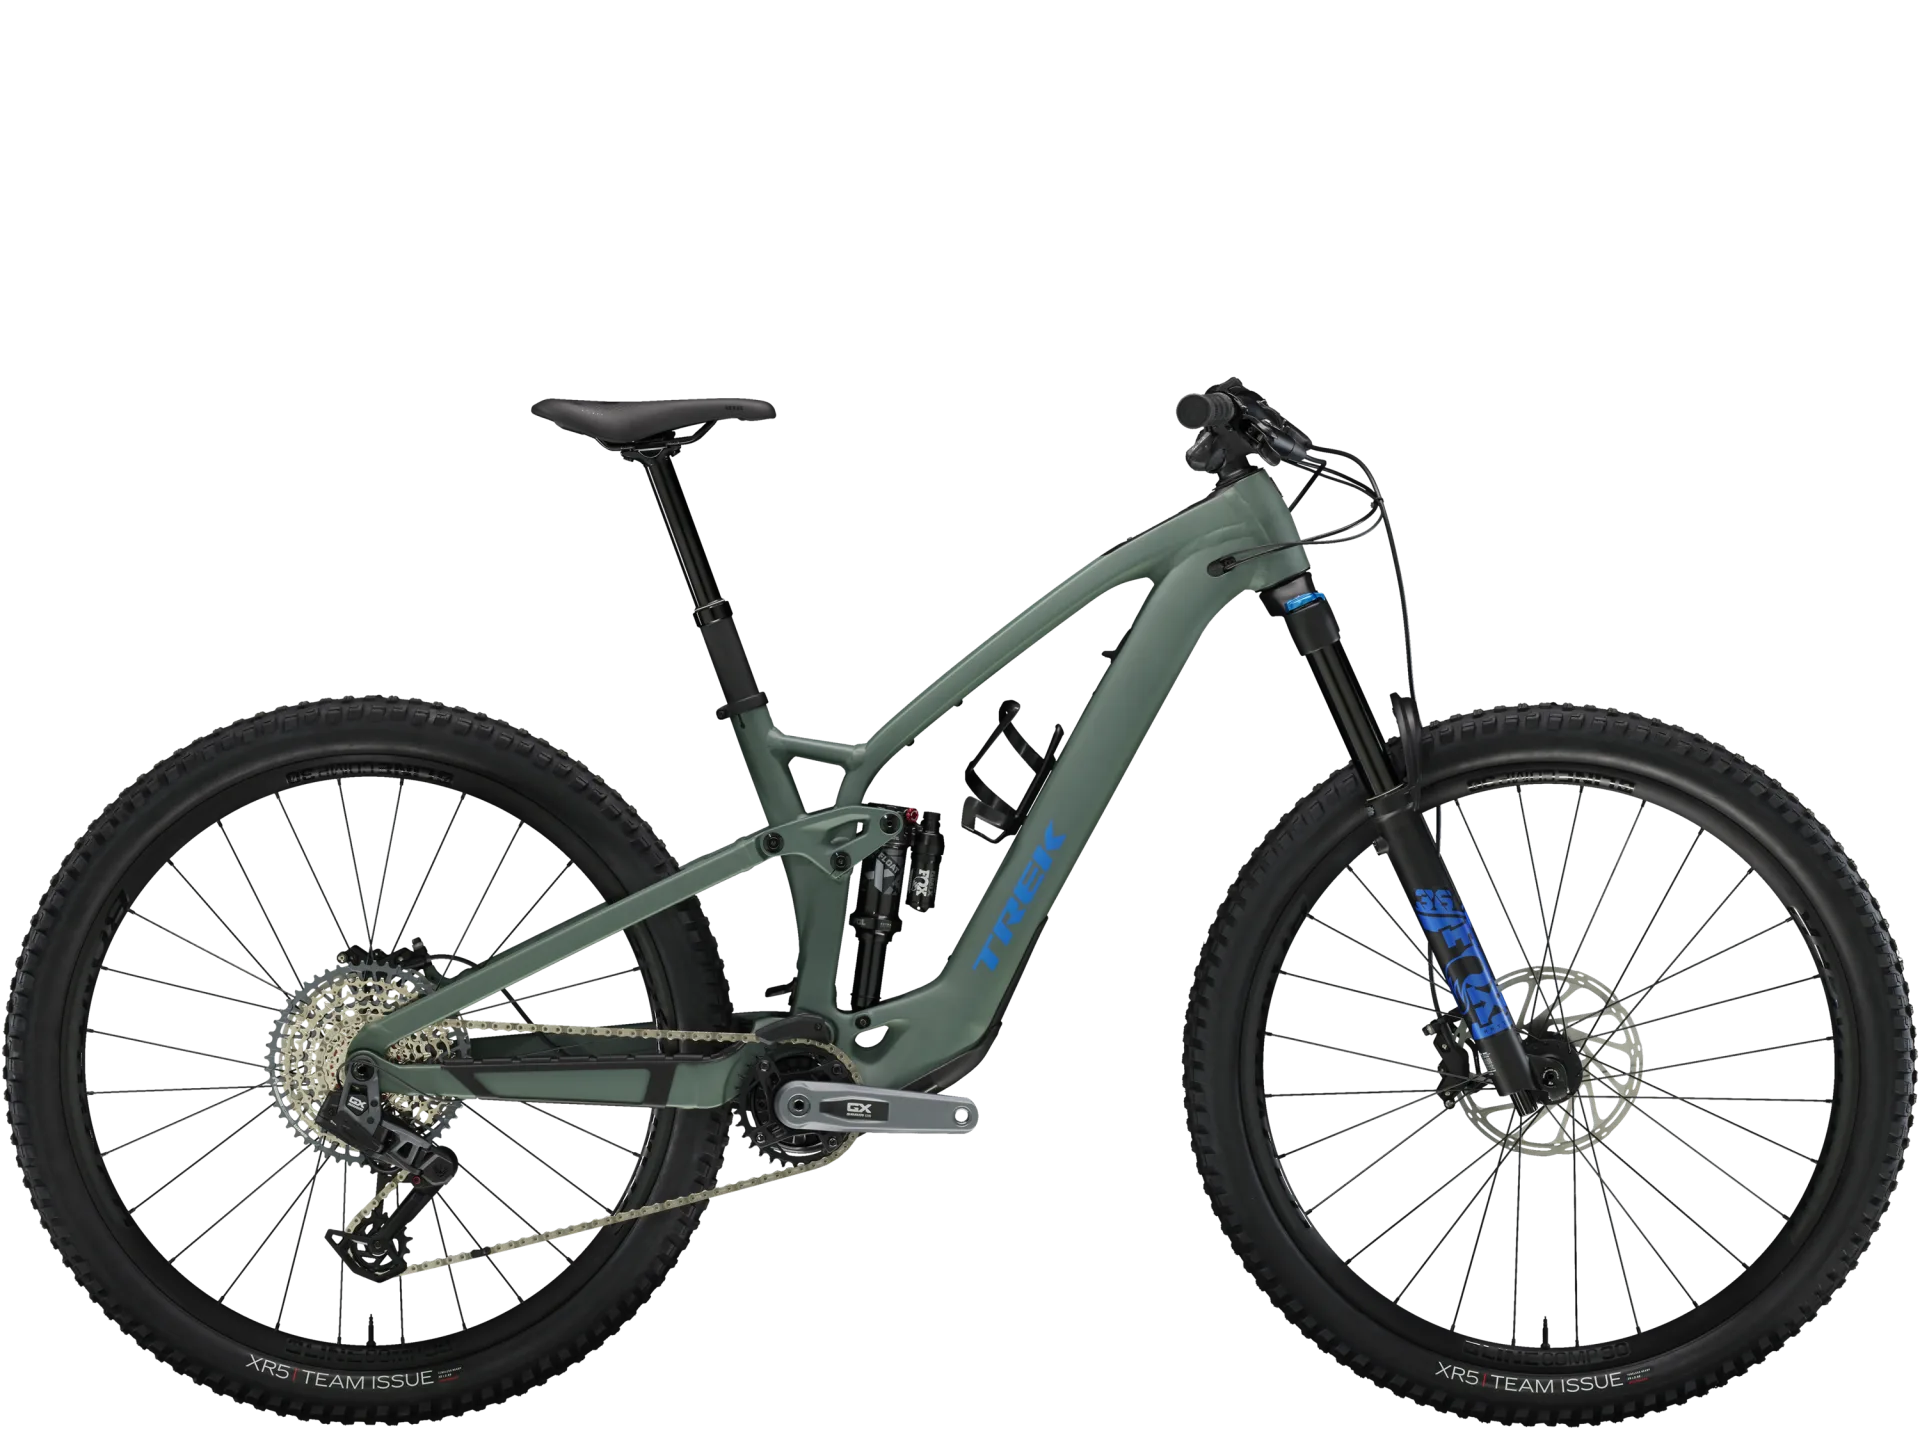
Trek Fuel EXe 8 GX AXS T-Type Manual
PDF manual · 27 Pages
English



Quick check
Incorrect answer, please try again.
Chat with your Trek Fuel EXe 8 GX AXS T-Type manual using AI
Get instant AI answers from your Trek Fuel EXe 8 GX AXS T-Type manual
Ask anything about the Trek Fuel EXe 8 GX AXS T-Type. Answers come from this manual, with the pages they are based on.
Ask a Question
Do you recommend Fuel EXe 8 GX AXS T-Type?
Yes NoFrequently Asked Questions
Insert the battery into the down-tube opening, screw in the upper fixation to hold it, connect the battery plug to the TQ connector, rotate the lock to closed, verify LEDs for charge, then torque the upper and lower mounting screws to the specified 5 Nm.
Is this answer helpful?
Flip the Mino Link chips: high position yields a steeper head angle and higher bottom bracket for agility; low position slacks the head angle by 0.5° and lowers the bottom bracket up to 9 mm for greater stability. Tighten bolts to 8 Nm.
Is this answer helpful?
Recommended max tire size is 29" x 2.5" with at least 6 mm clearance. Use a single chainring with 55 mm chainline, 30T–34T range. Avoid oval rings as they can negatively affect motor performance.
Is this answer helpful?
Lights can be powered by the TQ Smart Box but the Smart Box power outputs for lighting must be activated using the Dealer Service Tool, which is intended for workshop use. Installation requires the Micro A adapter cable and proper connector routing.
Is this answer helpful?
Use the protective sleeve on the spindle during assembly, apply grease to specified seals and O-rings, follow torque specs for motor bolts, never carry the drive unit by its cables, and only adjust balance screws when installing a replacement drive unit.
Is this answer helpful?
The recommended rear shock is 205 x 60 mm with a sag target of about 30% (~18 mm). Use the included suspension setup card or Trek's online suspension calculator to fine-tune settings for rider weight and terrain.
Is this answer helpful?
Any reused fasteners that previously had threadlocker must be cleaned with isopropyl alcohol and re-applied with new threadlocker before reassembly to prevent loosening and potential component failure.
Is this answer helpful?
Advantages and Disadvantages
Advantages

- Integrated TQ drive with AXS Smart Box enables clean electronics and lighting integration.
- Adjustable geometry (Mino Link and headset cups) allows on-demand handling tuning.
- Service-friendly internal routing, access panels, and detailed hardware callouts.
- Robust frame protections and secure down-tube battery design for durability.
- Comprehensive torque and hardware specifications reduce assembly errors.
Disadvantages

- Smart Box lighting outputs require dealer-only activation via Dealer Service Tool.
- Oval chainrings are discouraged, limiting some aftermarket chainring choices.
- Frame-specific washers and parts increase reliance on OEM replacement parts.
- Motor cover needs alternative retention when riding without the battery installed.
- Several procedures require specialty tools and careful torque sequencing.
Product Specification
Type
Mountain bike (Full Suspension)
Frame shape
Full Suspension
Frame material
Carbon
Wheel size
29"
Fork type
Suspension
Suspension fork
Fox 36 Rhythm Float
Shock absorber
Fox Float X Performance
Travel
5.91-6.30in/5.51in (front/rear)
Handlebar shape
Straight
Brake type
Hydraulic disc
Brake
SRAM DB8
Shift lever
SRAM GX Eagle AXS
Rear derailleur
SRAM GX Eagle AXS
Crankset
e*thirteen e*spec Plus, Pressfit (34)
Cassette
10-52
Gears
12 (1x12)
Motor position
Bottom bracket
Drive system
TQ HPR50
Display
TQ HPR
Motor power
250W, 36.88 lb-ft
Battery
360Wh
Max. pedal assist
15.53 mph
Max. permissible total weight
299.83 lb
Weight
44.64 lb
Special features
Dropper seatpost, internal cable routing, 12mm thru-axle system rear, 15mm thru-axle system, electronic shifting
Product Description
Trek Fuel EXe 8 GX AXS T-Type Model 2024 Manual
The Trek Fuel EXe 8 GX AXS T-Type Model 2024 blends alloy trail-capable frame design with modern e-assist integration and high-end component routing. Built around a purpose-tuned suspension platform with Active Braking Pivot (ABP) and Mino Link geometry adjustment, this bike delivers balanced descending confidence and efficient climbing assistance from the TQ drive system. Thoughtful engineering details—such as internal cable channels, a TQ Smart Box for AXS integration, and a removable battery housed in the down tube—keep the cockpit clean and make maintenance predictable.
Suspension and frame interfaces are detailed to support serviceability: the rear shock mounts use a 205 x 60 mm damper with 30% sag guidance and specific bolt/lager hardware to ensure consistent setup. The adjustable headset allows 0°–1° steering angle changes through angled cups and alignment tools, while Mino Link chips change head angle by 0.5° and alter bottom bracket height by up to 9 mm for tailored handling preferences.
The drivetrain supports single-chainring setups with a 55 mm chainline and a recommended ring range (30T–34T); oval rings are not advised. The TQ mid-drive integrates with SRAM AXS via the Smart Box, which provides power and signal paths for lights and electronic shifting. The manual emphasizes correct torque values, the need to clean and reapply threadlocker on reused fasteners, and strict warnings about bearing orientation and grease-free surfaces where specified.
Routing, service, and accessory provisions are comprehensive: internal housings for brake and shift lines, dedicated channels for dropper post cables, and removable cable guides simplify assembly and repairs. Frame protection pads, bottle-mount spacers, and a dedicated charge-port cover protect the frame and battery interface. The manual also covers motor installation notes—use of protective sleeves during assembly, proper crank orientation for the TQ system to avoid initial drag, and adjustment of balance screws when replacing the drive unit.
Practical service pointers include step-by-step battery removal/installation, securing the motor cover when riding without a battery, routing the speed sensor and AXS adapter through the access panel, and instructions for installing the TQ Smart Box and display. Safety reminders punctuate each section: observe minimum seatpost insertion depths, respect fork length and travel limits, and ensure 6 mm tire clearance to prevent frame damage.
Notes:
- Follow specified torque values and cleaning procedures for threadlocker on reused fasteners.
- Use the Mino Link and headset adjustments to tune handling for trail or climbing priorities.
- Only the specified frame-specific washers and bearings should be used to avoid misalignment or damage.
Pros and Cons
Pros:
- Integrated TQ drive with AXS Smart Box enables clean electronics and lighting integration.
- Adjustable geometry (Mino Link and headset cups) allows on-demand handling tuning.
- Service-friendly routing and access panels simplify maintenance and sensor installs.
- Robust frame protections and battery-mounted design for daily riding durability.
- Detailed torque and hardware callouts reduce risk of improper assembly.
Cons:
- Requires dealer tool to activate Smart Box power outputs for lights.
- Oval chainrings discouraged, limiting some aftermarket options.
- Specific frame-only washers and parts increase dependency on OEM spares.
- Battery-dependent motor cover needs alternative retention for pedal-only use.
- Many service tasks require specialty tools or detailed instructions.
FAQ:
-
Q: What battery size and installation steps does the Fuel EXe use? A: The integrated down-tube battery is installed from the frame opening, secured with upper and lower fixation screws, plugged into the TQ connector, and locked. LEDs indicate charge in 20% increments. Follow torque specs and ensure the top screw holds the battery while removing the last fastener.
-
Q: How do I change the bike's geometry for climbing vs descending? A: Flip the Mino Link chips to 'high' for steeper head angles and higher BB (better climbing/agility) or 'low' for slacker head angles and up to 9 mm lower BB (better stability at speed). Tighten link bolts to 8 Nm and follow sequence instructions.
-
Q: Can I fit wider tyres or different chainrings? A: Max recommended tyre size is 29" x 2.5" with ~6 mm clearance. Chainring should maintain a 55 mm chainline; recommended sizes range 30T–34T. Avoid oval rings as they may disrupt motor performance.
-
Q: How is the TQ Smart Box integrated with SRAM AXS? A: The Smart Box houses electrical connections for AXS, lights, and a 12-pin AUX. Install the AXS adapter cable, foam blocks, and seat the Smart Box through the display opening. Some Smart Box outputs must be enabled with dealer tools.
-
Q: What service precautions are critical when working on the motor or drive unit? A: Use the supplied protective sleeve on the spindle when fitting chainring components, grease specified seals, observe torque values (20 Nm on some motor bolts), and never carry the drive unit by its cables. Adjust balance screws only when replacing the drive unit.
-
Q: Is dealer support required for lighting or advanced features? A: Yes, enabling the Smart Box lighting power requires the Dealer Service Tool (workshop-only). Installation and activation steps are documented but dealer access is needed for the power output activation.
-
Q: What are the recommended suspension settings? A: Rear shock spec is 205 x 60 mm with recommended sag around 30% (~18 mm). Use the included suspension card or Trek's online suspension calculator for precise setup based on rider weight and riding style.
Search for 67,706 Manuals online


Type-in Brand or Model