
Tormek KJ-45/KJ-140 Manual
PDF manual · 40 Pages
English



Quick check
Incorrect answer, please try again.
Chat with your Tormek KJ-45/KJ-140 manual using AI
Get instant AI answers from your Tormek KJ-45/KJ-140 manual
Ask anything about the Tormek KJ-45/KJ-140. Answers come from this manual, with the pages they are based on.
Ask a Question
Do you recommend KJ-45/KJ-140?
Yes NoFrequently Asked Questions
KJ-45 has a 45 mm clamp suitable for most knives including longer rigid blades; KJ-140 has a 140 mm wide clamp designed to stabilize long flexible blades (min. length 160 mm) like filleting knives for even sharpening.
Is this answer helpful?
Loosen the tightening knob and small adjusting screw, insert the blade at least 2 mm, center the clamp so the distance from clamp to edge is equal at both outer edges, adjust the small screw for thickness, then tighten the knob to lock the knife.
Is this answer helpful?
Use the WM-200 AngleMaster to set the wheel diameter and desired edge angle. Color the bevel with EM-15 Edge Marker, adjust the Universal Support and Micro Adjust until the marker ink is removed across the entire bevel to confirm the correct angle.
Is this answer helpful?
Yes. For thin blades allow the whole blade to contact the angle setter (set to half the desired edge angle) or mount the jig nearer the tip for highly curved blades, ensuring clamp jaws contact along the blade length.
Is this answer helpful?
Both directions work. Edge-leading with the Universal Support vertical suits all lengths; edge-trailing (support horizontal) can be used but may be limited by knife size, clamp position and Tormek model—test what works for each knife.
Is this answer helpful?
Sharpen until a burr forms along the entire edge; this is felt by lightly stroking from the spine over the edge. Once both sides have a burr and are symmetric, switch to the honing wheel and hone until the burr is gone.
Is this answer helpful?
Ensure both clamp jaws have full contact with the blade, maintain water flow for even contact and cooling, and replace any removed grinding wheel with the white transport sleeve to keep the main shaft secure.
Is this answer helpful?
Advantages and Disadvantages
Advantages

- Precise centering for repeatable, symmetrical bevels across varied blade geometries.
- Two sizes (KJ-45 and KJ-140) cover most rigid and long flexible knives.
- Works with Tormek Universal Support and WM-200 AngleMaster for accurate angle setting.
- Adjustable clamp and stops accommodate many blade thicknesses and shapes.
- Supports edge leading or edge trailing sharpening and controlled honing on leather wheel.
Disadvantages

- KJ-140 incompatible with SVM-00 Small Knife Holder limiting use with very small knives.
- Some blade shapes require repositioning or special mounting to achieve full clamp contact.
- Edge-trailing sharpening limited by machine model, knife length, blade height and clamp placement.
- May require removing grinding or honing wheels for long knives, adding steps to the workflow.
- Maximum thickness limits for tapered blades (about 6 mm at the back) constrain very thick blades.
Product Specification
Suitable for
Tormek Grinder
Product Description
Tormek KJ device for knives Manual
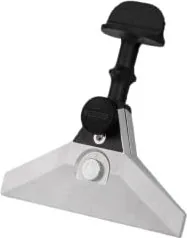
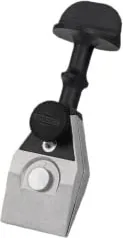
The Tormek KJ device for knives is a precision centering jig designed to hold and stabilize knives during sharpening for consistent, repeatable bevels. Available in two main versions — the KJ-45 (45 mm clamp) for most knives including longer rigid blades, and the KJ-140 (140 mm wide clamp) for long flexible blades such as filleting knives — the jig clamps a knife centrally and uses fixed stops to interface with the Universal Support on Tormek sharpening systems. Adjustment screws and a tightening knob allow secure centering for blades of various thicknesses and geometries, including wedge-shaped and tapered blades. Minimum clamp engagement is 2 mm and supported blade height and thickness ranges are specified to ensure safe operation.
How it works
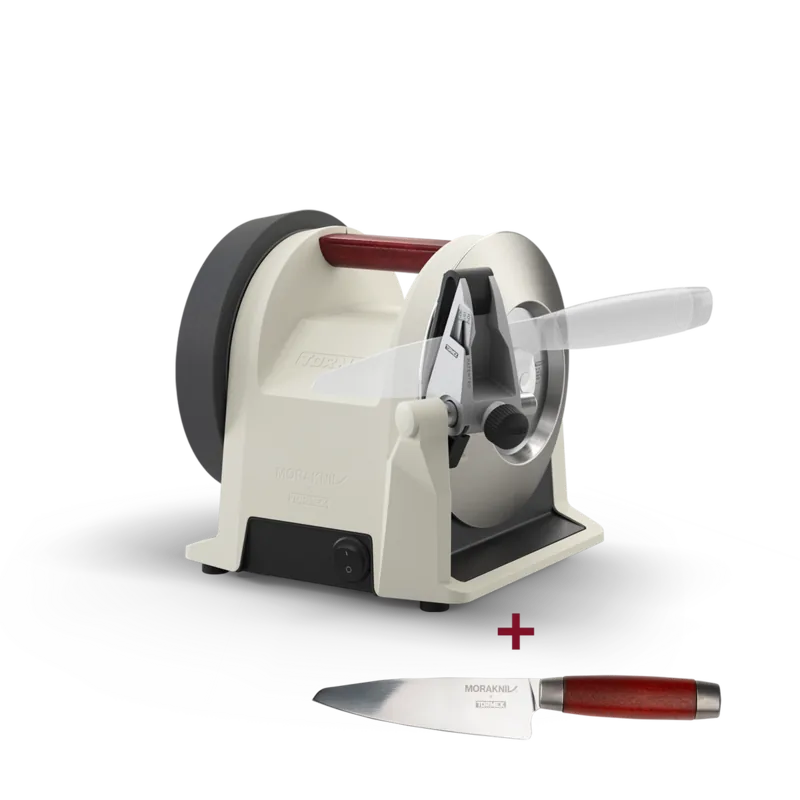
Mount the knife far into the clamp (minimum 2 mm), adjust the small screw to fit blade thickness, then tighten the knob to lock the blade centered. Rest the jig on one of the two fixed stops against the Universal Support; use the Micro Adjust to set the exact edge angle. Color the bevel with an EM-15 Edge Marker to see contact points, then raise or lower the Universal Support until the marker ink is removed across the bevel — that indicates correct contact and angle. For thin or highly curved blades, position the jig closer to the tip or allow the full blade to contact the angle setter (set to half the desired edge angle) for accurate alignment.
Sharpening and honing tips
Sharpen with steady, even strokes so the blade contacts the full width of the grinding wheel. Lift the handle slightly when following curves to maintain an even bevel. Work until a burr forms along the entire edge, then flip the jig and repeat for symmetry. Hone on the leather wheel with the machine oriented so the honing wheel turns away from you; hone edge-trailing and alternate sides until the burr is removed. For long knives, removing the honing wheel or grinding wheel can ease movement, remembering to replace the transport sleeve when removed.
Recommended edge angles
Edges balance cutting ease and durability: 20–25° for carving/woodworking knives, 20–30° for filleting and vegetable work, 25–40° for butcher and general kitchen knives. Choose angle based on blade steel and intended use.
Safety and compatibility
Ensure both jaws of the clamp fully contact the blade along its length. The KJ-140 is not compatible with the SVM-00 Small Knife Holder; the KJ-45 can be used with SVM-00 for very small knives. Be aware of limitations when sharpening edge-leading vs. edge-trailing (machine model, knife length/height, clamp position and depth, and chosen angle).
Notes:
- Use EM-15 Edge Marker to verify contact across the bevel.
- Maintain water flow to keep even wheel contact and cooling.
- Replace removed grinding wheel with transport sleeve to keep the main shaft in place.
Search for 67,706 Manuals online


Type-in Brand or Model