
Thermaltake UX200 ARGB Manual
PDF manual · 2 Pages
English



Quick check
Incorrect answer, please try again.
Chat with your Thermaltake UX200 ARGB manual using AI
Get instant AI answers from your Thermaltake UX200 ARGB manual
Ask anything about the Thermaltake UX200 ARGB. Answers come from this manual, with the pages they are based on.
Ask a Question
Do you recommend UX200 ARGB?
Yes NoFrequently Asked Questions
The UX200 supports common Intel sockets such as LGA 115x/1200/1700 and mainstream AMD sockets. Use the included mounting hardware appropriate for your CPU to ensure correct installation.
Is this answer helpful?
Connect the addressable ARGB cable to your motherboard’s 5V addressable RGB header (usually labeled D, G, +5V or ADRGB). Confirm the pinout in your motherboard manual to avoid reversing pins and potentially damaging the LEDs.
Is this answer helpful?
Yes. The fan uses a 4-pin PWM connector for speed control via BIOS or software. Lighting is controllable through motherboard RGB software if your board supports addressable 5V ARGB headers (ASUS Aura, ASRock Polychrome, GIGABYTE Fusion, MSI Mystic Light).
Is this answer helpful?
The UX200 is designed for compact builds and everyday performance; it handles light to moderate loads well but is not ideal for heavy overclocking. For high TDP CPUs and aggressive overclocking, a larger cooler with heat pipes or greater thermal mass is recommended.
Is this answer helpful?
Power off the PC and verify fan and ARGB connector polarity and orientation. Ensure you use the correct mounting brackets for your socket and consult the motherboard manual for the ARGB header pinout to prevent damage.
Is this answer helpful?
Yes. The UX200’s low-profile design is intended for small form-factor cases, but always measure clearance in your specific chassis to confirm compatibility.
Is this answer helpful?
Noise depends on workload and fan RPM. With PWM control, the fan remains quiet at idle and light tasks; noise increases under sustained heavy loads due to higher RPM required for additional cooling.
Is this answer helpful?
Advantages and Disadvantages
Advantages

- Compact low-profile design fits small form-factor and mini-ITX cases.
- ARGB support compatible with ASUS Aura, ASRock Polychrome, GIGABYTE Fusion, and MSI Mystic Light.
- 4-pin PWM fan for dynamic speed control and quiet operation.
- Simple mounting kit covers common Intel and AMD sockets.
- Good balance of cooling and noise for everyday and light gaming use.
Disadvantages

- Limited cooling headroom compared to larger tower coolers for heavy overclocking.
- ARGB requires a compatible 5V addressable header; not all motherboards have one.
- Smaller fan may produce higher RPM/noise under sustained heavy loads.
- Installation polarity errors can damage fan or RGB if connectors are reversed.
- Aluminum-only heatsink may be less effective than models with heat pipes or larger mass.
Product Specification
Type
Tower cooler
Dimensions with fan
5.00x6.06x2.99in (WxHxD)
Fan
1x 4.72x4.72x0.98in, 300-1500rpm, 43.33 CFM, 43.34 CFM, 26.3dB(A), 0.05inH2O
Weight with fan
1.70 lb
Connection
4-Pin PWM, 3-Pin ARGB (+5V/DATA/GND)
AMD Socket
AM4, AM2/AM2+/AM3/AM3+, FM1/FM2/FM2+
Intel Socket
1700 (note), 1150/1151/1155/1156/1200, 775
Intel Socket Note
Socket 1700 mounting kit may not yet be included, Socket 1700 mounting kit available from manufacturer
TDP rating
130W
Lighting
RGB
Features
4 Heatpipes, Heatpipe Direct Touch
Product Description
Thermaltake UX200 ARGB Manual Overview
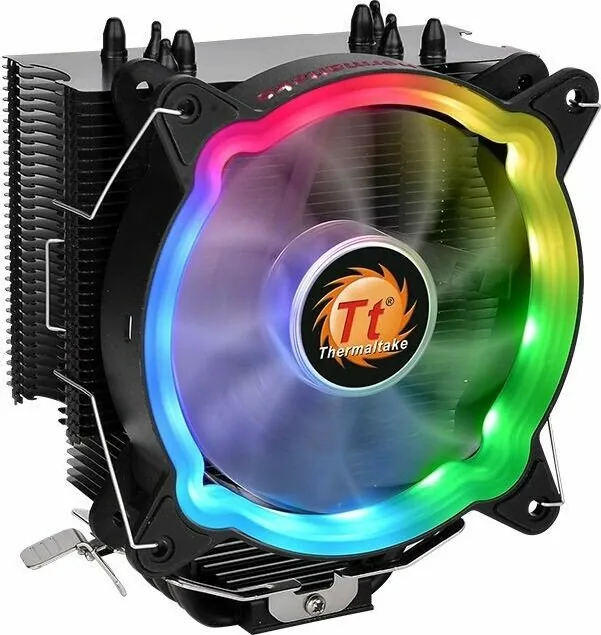
The Thermaltake UX200 ARGB is a compact, efficient CPU cooler designed for modern Intel and AMD sockets. It blends a slim profile heatsink with an ARGB-equipped fan to deliver reliable cooling for small form-factor builds and mainstream systems. The UX200 targets users who want quiet operation and customizable lighting without sacrificing compatibility or ease of installation.
Design and Features
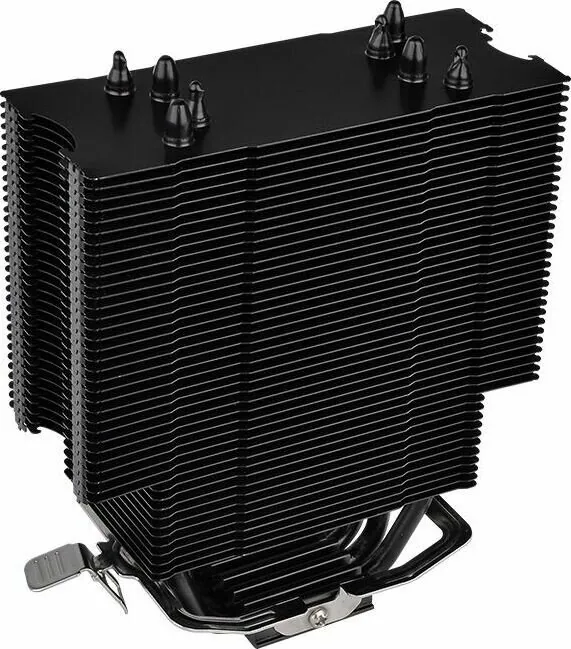
The cooler features a low-profile aluminum heatsink and a 92–120mm-class ARGB fan depending on model variants, optimized for space-constrained cases. The integrated ARGB lighting supports major motherboard RGB control standards including ASUS Aura, ASRock Polychrome, GIGABYTE RGB Fusion, and MSI Mystic Light, enabling synchronized lighting across compatible components. The fan connects via a 4-pin PWM cable for precise speed control and includes an addressable RGB connector for digital lighting headers.
Installation is straightforward with a parts kit that includes mounting brackets and hardware for Intel LGA 115x/1200/1700 and common AMD sockets. The manual emphasizes proper orientation and connector polarity checks to avoid damage: ensure the 4-pin fan and RGB connectors are matched correctly to the motherboard headers. The UX200’s compact footprint makes it suitable for HTPCs, mini-ITX gaming rigs, and office PCs where airflow is limited.
Performance and Use Cases
Thermal performance focuses on everyday computing and light to moderate gaming workloads. The fan’s PWM control helps balance noise and cooling, while the aluminum fins provide adequate heat dissipation for CPUs with modest TDPs. Users seeking extreme overclocking headroom may prefer larger tower coolers, but the UX200 delivers a dependable mix of silence, style, and compatibility for typical desktop use.
Final Thoughts
Thermaltake’s UX200 ARGB is a practical choice for builders who prioritize compact size and visual customization. With wide motherboard lighting support and a simple mounting system, it’s an attractive option for system integrators and DIY builders wanting ARGB flair without a bulky cooler.
Notes
- Verify connector polarity before attaching the 4-pin fan and ARGB cables to the motherboard to prevent component damage.
- Check motherboard manual for Addressable RGB (5V D-G) header pinout to ensure compatibility.
- Use the supplied mounting hardware appropriate to your CPU socket.
- Ideal for small form-factor builds and quiet mainstream systems.
Search for 67,706 Manuals online


Type-in Brand or Model
alvaro63
9 months ago
Your listing says it is for an ASUS motherboard. Is it really compatible, and do I need to configure it in the BIOS?
Manual.ly
9 months ago
Yes. The product is compatible with ASUS motherboards, but some settings are applied through the BIOS/UEFI rather than inside an operating system. After installation, enter your BIOS, find the relevant section (often device or controller settings), and enable or adjust the options according to the manual. If the BIOS option is not visible, check that you are using the correct header/connection and that your BIOS is updated to a supported version. For best results, follow the step-by-step configuration in the instructions for your exact motherboard model.