
TerraMaster F4-210 Manual
PDF manual · 13 Pages
English


Quick check
Incorrect answer, please try again.
Chat with your TerraMaster F4-210 manual using AI
Get instant AI answers from your TerraMaster F4-210 manual
Ask anything about the TerraMaster F4-210. Answers come from this manual, with the pages they are based on.
Ask a Question
Do you recommend F4-210?
Yes NoFrequently Asked Questions
Use an Ethernet cable to connect the TNAS to a router, hub, or network switch. For discovery in TNAS PC, your computer and the NAS must be on the same sub-network. After connecting network and power, use TNAS PC to search and then log in.
Is this answer helpful?
The setup guidance recommends 2.5/3.5 inch SATA HDDs and 2.5 inch SATA SSDs. It also emphasizes durability and compatibility, so check TerraMaster Hard Drive Compatibility before installing the drive.
Is this answer helpful?
The hard drive indicator shows normal operation, activity during read/write, and alerts when no drive is detected. The network indicator shows link status. The buzzer provides short beeps for boot completion and long beeps for shutdown, and it can signal system exceptions that require TOS login.
Is this answer helpful?
Install TNAS PC for your OS, then search to find the NAS on the network. After logging in, use File Browser to browse, copy, delete, and edit files. On Windows, you may also map drives, while Mac relies on different shortcut behavior.
Is this answer helpful?
Initialization installs TOS on a newly purchased NAS and prepares the system for use. It includes hard drive detection, TOS installation, basic device setup, administrator security configuration, and RAID creation and formatting. After completion, the NAS restarts and then guides you to the next steps.
Is this answer helpful?
Yes. During initialization, choose Online Install if the NAS can reach the internet. If not, select Manual Install and download the TOS package from the TerraMaster website first, then proceed with the on-screen installation steps.
Is this answer helpful?
Advantages and Disadvantages
Advantages

- Clear, step-by-step hardware setup: network cable, supplied power adapter, and drive installation before first use.
- Helpful status signals: LED indicators and buzzer patterns for boot, shutdown, and exception alerts.
- TNAS PC streamlines discovery and access with search, login, and file browsing support on Windows and Mac.
- TOS initialization guides core provisioning like basic settings, administrator security, and RAID creation.
- Flexible TOS installation path: online install when connected, or manual install when offline.
Disadvantages

- Strict power requirement: using a third-party power adaptor can risk severe device damage.
- Drive compatibility matters: unsupported or unhealthy drives may cause errors and require replacement.
- RAID creation triggers formatting, so you need backups before changing storage configuration.
- Advanced management features depend on administrator privileges.
- Some convenience features vary by OS, such as mapped drive support not being available on the Mac TNAS PC version.
Product Specification
Hard Drive
N/A
Internal
4x 2.5"/3.5", SATA 6Gb/s, Hot-Swap
External
1x Gb LAN
Additional Ports
2x USB-A 3.0
RAID Level
0/1/5/6/10/JBOD
CPU
Realtek RTD1296, 4x 1.40GHz (ARM Cortex-A53)
RAM
2GB DDR3
Fan
2x 3.15 in
Power Consumption
25.6W (Operation), 2W (Idle)
Dimensions
8.86x5.35x8.94 in (WxHxD)
Weight
4.96 lbs
Special Features
FTP Server, iSCSI, WebDAV, DLNA, iTunes Server
Warranty
24 Months
USB Notation
Link
Product Description
TerraMaster F4-210 Realtek RTD1296 NAS: Setup, Initialization, and Everyday Use
Getting your NAS ready does not have to be complicated. The TerraMaster F4-210 Realtek RTD1296, 2GB RAM, 1x Gb LAN Manual focuses on the essentials: unpacking, hardware installation, connecting to your network, installing the right software, and getting storage online reliably.
Start by verifying what comes in the box, then follow a guided approach for installation. Your TNAS unit is designed to work with the operating system and supporting applications, so the manual emphasizes reading instructions carefully and using the official TerraMaster resources when questions arise. You can install the unit with or without a hard drive depending on the configuration you bought, but the system is intended to be used only after drives are installed and initialized.
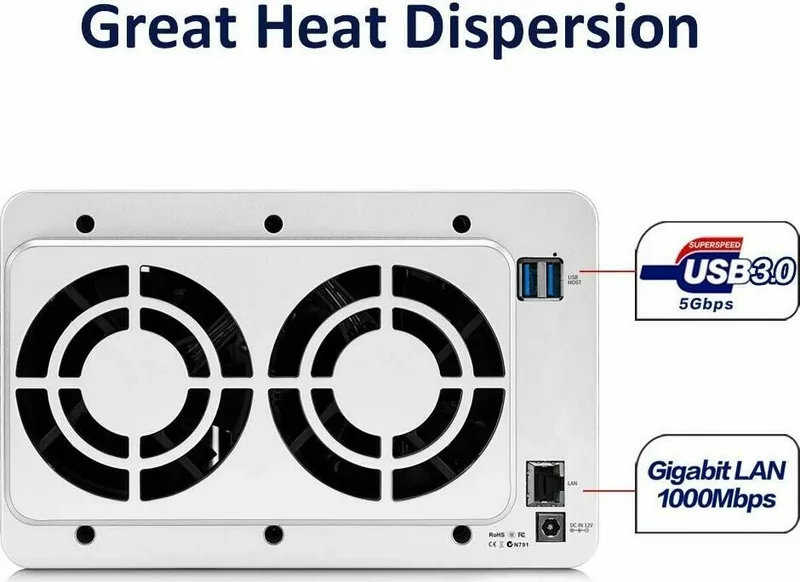
For hardware, connect the TNAS to your network with an Ethernet cable (to devices like routers, hubs, or switches) and power it using the supplied 12V adapter. The manual specifically warns against using a third-party power adaptor, since it may cause severe damage. For storage, it recommends standard SATA options such as 2.5/3.5 inch SATA HDDs and 2.5 inch SATA SSDs. It also stresses using compatible drives and checking the Hard Drive Compatibility guide before you proceed.
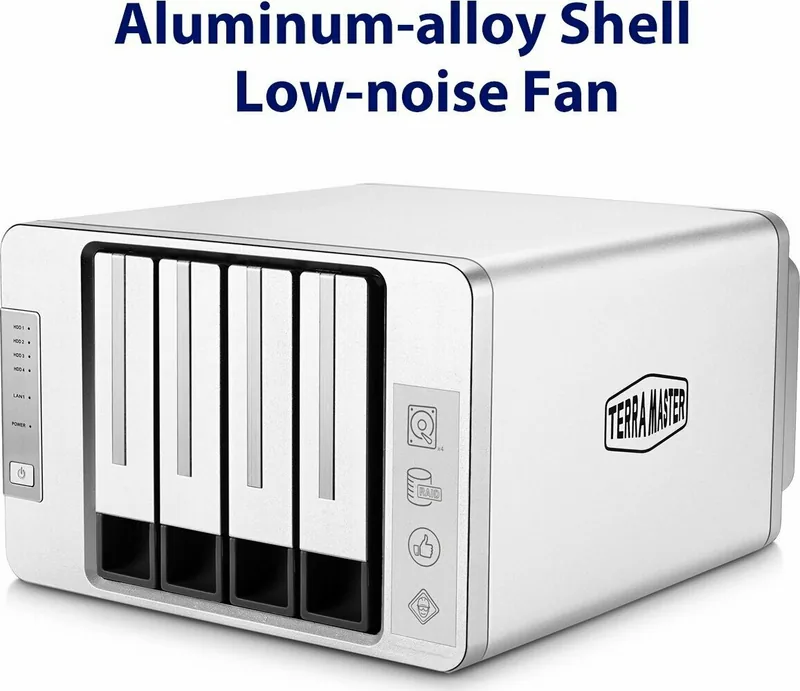
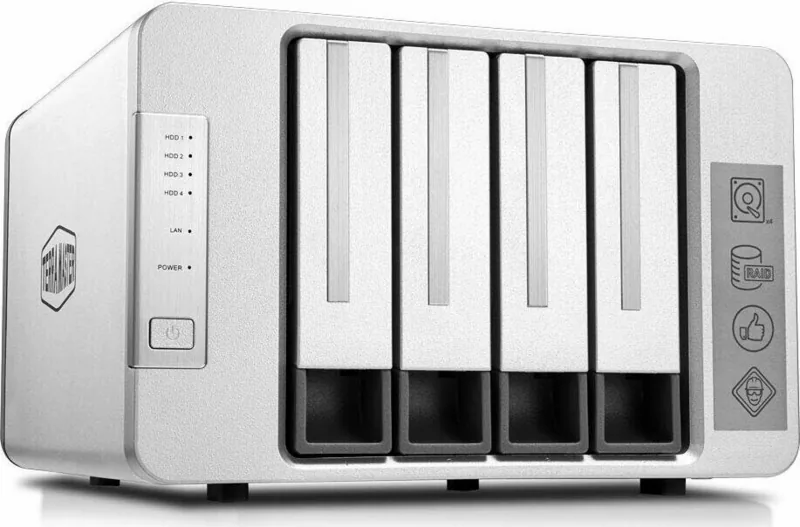
Once powered on, the front and rear indicators help you confirm status at a glance. The hard drive indicator reflects normal operation and disk activity, while the network indicator shows whether the link is connected. A buzzer provides short beeps when booting completes and long beeps during shutdown, and it can also alert you when an exception occurs. If you see a red hardware indication for the drive, the manual suggests re-installing or replacing the drive.
Next comes software setup. TNAS PC is a desktop application for Windows and Mac that helps you search for the NAS on the same sub-network, log in, manage file access, and perform tasks like browsing files. The companion TerraMaster Operating System (TOS) provides core features, including an app store, advanced settings for administrators, and practical options for accessing your data.
Initialization is a key step for newly purchased systems. The manual outlines how to discover the device in TNAS PC, start initialization, detect the hard drive, install TOS (online or manual), set basic device information, configure administrator security, and create RAID. During RAID creation, formatting occurs, so backing up data in advance is strongly recommended. RAID setup also supports file systems such as Btrfs and EXT4.
Key takeaways
- Use the provided network connection steps and avoid third-party power adaptors.
- Install compatible SATA HDD or SSD drives before first use.
- Use TNAS PC and TOS to search, log in, browse files, and manage settings.
- Complete initialization to install TOS, set admin security, and create RAID.
Notes
- Searching works only when the computer and TNAS are on the same sub-network.
- Admin advanced features require administrator privileges.
- If RAID settings and drive selections do not match, reset settings to correct the configuration.
Search for 67,706 Manuals online


Type-in Brand or Model