
Technoline WS 6600 Manual
PDF manual · 6 Pages
English



Quick check
Incorrect answer, please try again.
Chat with your Technoline WS 6600 manual using AI
Get instant AI answers from your Technoline WS 6600 manual
Ask anything about the Technoline WS 6600. Answers come from this manual, with the pages they are based on.
WS 6600 Maintenance Schedule
Replace all three AAA batteries when the low battery symbol appears on the clock face.
Replace the two AAA batteries in the outdoor sensor if needed or annually to ensure proper operation.
Free maintenance reminders
Timed to your purchase date. Always free, unsubscribe anytime.
Ask a Question
Do you recommend WS 6600?
Yes NoFrequently Asked Questions
The device requires three AAA alkaline batteries for the main unit and two AAA batteries for the outdoor sensor. Do not use rechargeable batteries. Always replace the full set at once to prevent leakage or malfunction.
Is this answer helpful?
Use a small paperclip to press the reset hole located on the back of the weather station. This action restores time and calendar defaults and restarts the clock signal reception.
Is this answer helpful?
Ensure the outdoor sensor is no more than 30 meters from the main unit. Obstructions like walls or thick trees can cut this range in half, so place the sensor in an open area.
Is this answer helpful?
Yes, users can manually update the forecast by pressing the Snooze button. This refreshes the prediction status and illuminates all symbols briefly before showing the current forecast.
Is this answer helpful?
No. The main unit is intended for indoor use only. Do not immerse it in water or expose it to extreme humidity. Direct sunlight should also be avoided to prevent damage.
Is this answer helpful?
Advantages and Disadvantages
Advantages

- Accurate wireless transmission of temperature and humidity data with up to three channel support for multiple sensors.
- Backlit display ensures visibility in low light conditions with a manual illumination feature for power saving.
- Versatile alarm and clock functions allow for wake-up reminders and customizable language settings globally.
Disadvantages

- High power consumption requires consistent use of the A/C adapter for optimal performance and stability.
- Indoor unit restriction limits the base station placement away from potential interference sources.
- 30 meter range limit for outdoor sensors requires clear line of sight to prevent data signal loss.
Product Specification
Type
digital
Temperature
indoor and outdoor
Humidity
indoor and outdoor
Weather Forecast
Symbols
Forecast Method
Barometer
Other Displays
Time, Date, Day
Alarms
Alarm Time
Placement
Desktop
Power Supply
2 AAA Batteries (Outdoor Sensor), 3 AAA Batteries (Base Station)
Color
silver, glass
Package Contents
1 Outdoor Sensor
Product Description
Discover Precision Weather Monitoring
The technoline WS 6600 Wireless Weather Station Digital Manual provides essential instructions for owners of this advanced digital weather station. This comprehensive guide helps users install, configure, and troubleshoot the device effectively. Weather enthusiasts will appreciate the detailed steps for achieving accurate readings.
Installation Process
Initial setup requires placing the main unit indoors in a ventilated area away from heat sources. The included outdoor sensor must be positioned securely outside. Users must allow the sensor to acclimate for an hour for accurate humidity data. Powering the device with the A/C adapter is preferred for stability, though batteries act as a backup to retain time settings.
Customization and Controls
The display offers extensive customization options accessible via the mode, set, and navigation buttons. Users can change the language to English, German, or French. The alarm system includes a snooze feature for a five-minute delay. Time synchronization adjusts easily through the button prompts for hours, minutes, and date formats.
Weather Forecasting
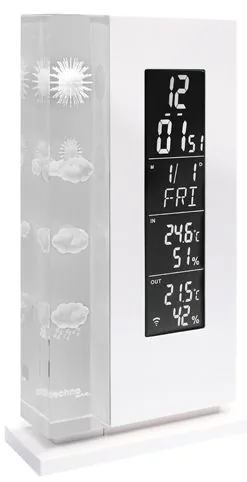
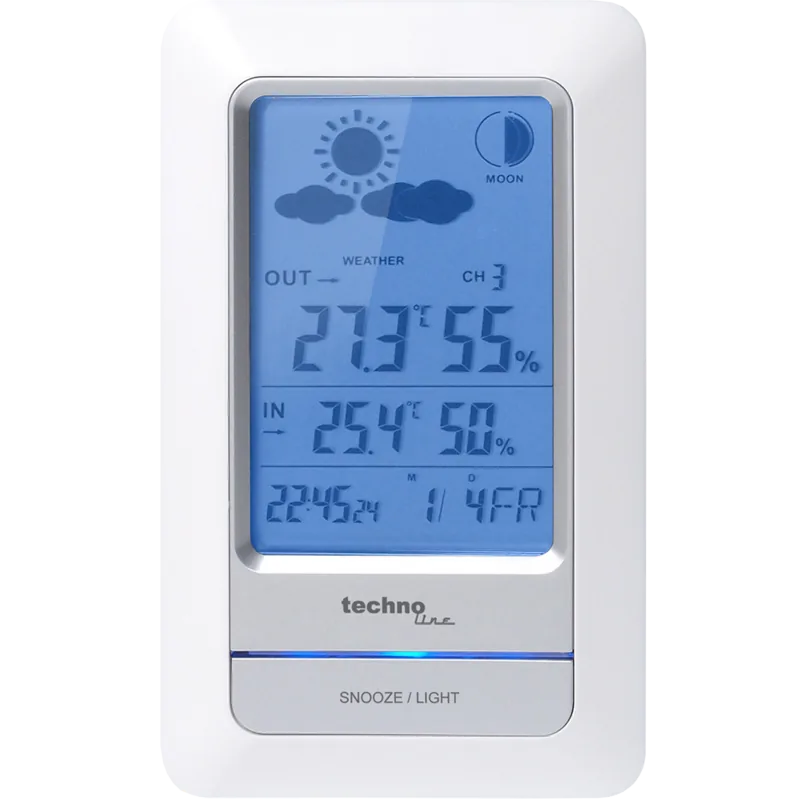
Crystal indicators illuminate to predict weather patterns based on atmospheric pressure changes. Four distinct symbols represent sun, clouds, partly cloudy, and rain. Users can manually update the forecast by pressing the Snooze button to refresh the current prediction status immediately. This feature ensures you have the latest data for planning outdoor activities.
Sensor Management
Supporting multiple channels allows for monitoring different locations simultaneously. The system accepts up to three wireless sensors for temperature and humidity. If data transmission fails, the reset hole restores factory settings. Keep the transmitter within 30 meters without obstructions to maintain signal integrity.
Safety and Maintenance
Safety warnings emphasize not opening the casing or exposing the unit to water. Battery compartments require non-rechargeable alkaline cells. Old batteries must be disposed of properly at collection points. Regular maintenance keeps the display bright and accurate for years of reliable service.
Power and Battery Details
The display illuminates for ten seconds when buttons are pressed while using batteries. A low battery icon appears to warn users of power issues. The manual specifies using three AAA batteries in the main unit and two in the sensor. Always replace the full set to prevent leakage or malfunction. Disconnect power for long storage periods to prevent drain.
Troubleshooting Common Issues
If false digits appear, static discharge might be the cause. Press the reset button located on the back to restore default settings. Loss of outdoor temperature suggests interference or distance issues. Reposition the transmitter to a clearer location to improve signal reception. Ensure no metallic objects block the wireless path between devices.
Search for 67,706 Manuals online


Type-in Brand or Model