
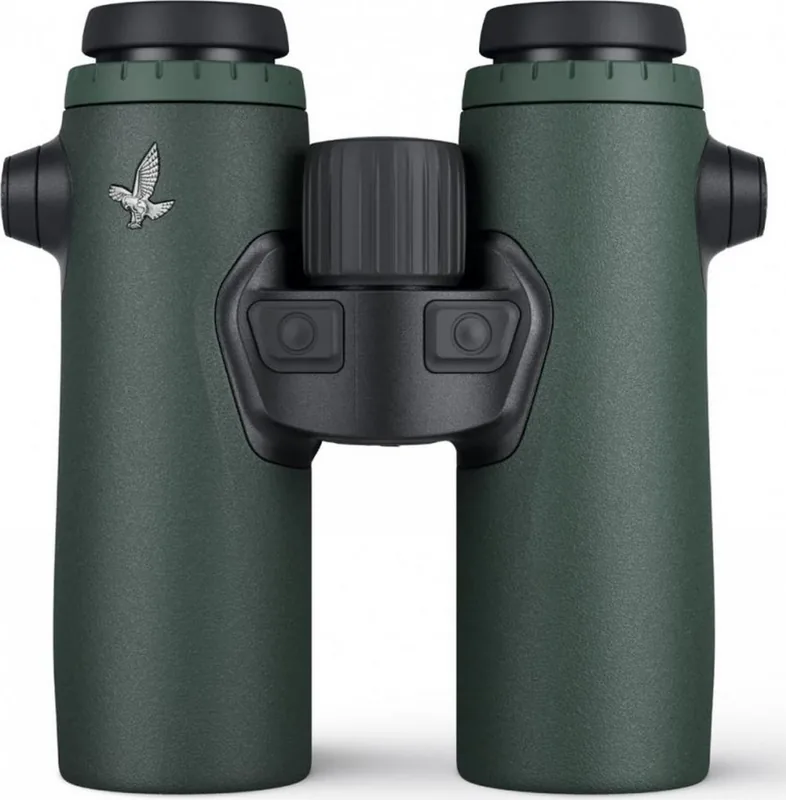
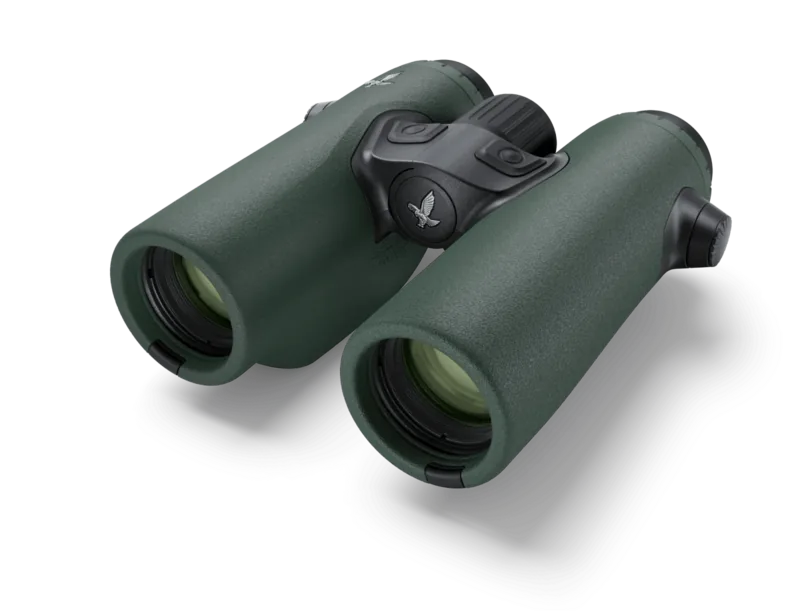
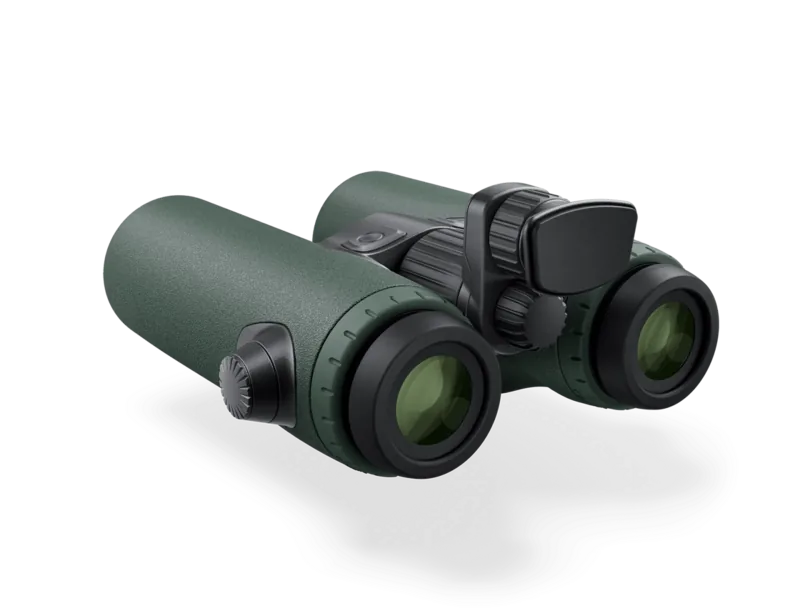
Swarovski EL Range 8x32 Manual
PDF manual · 113 Pages
English



Quick check
Incorrect answer, please try again.
Chat with your Swarovski EL Range 8x32 manual using AI
Get instant AI answers from your Swarovski EL Range 8x32 manual
Ask anything about the Swarovski EL Range 8x32. Answers come from this manual, with the pages they are based on.
EL Range 8x32 Maintenance Schedule
Remove dirt with a lens brush, breathe on the lens, and polish with the microfiber cloth. Keep glass free of oil and grease.
Use the supplied soap and brush kit with circular motions. Rinse with clean water and dry carefully to prevent scratching.
Activate calibration mode and rotate the instrument smoothly until the LED turns off. Recommended for maximum accuracy.
Open the compartment with the BT tool. Insert a new leakproof CR2 battery ensuring correct polarity. Do not use rechargeables.
Ask a Question
Do you recommend EL Range 8x32?
Yes NoFrequently Asked Questions
Access the Comp program and activate calibration. Rotate the device evenly around all axes until the red LED indicator turns off completely. Avoid metal objects nearby.
Is this answer helpful?
Use only CR2 non-rechargeable batteries. Rechargeable batteries are not permitted. Ensure they are leakproof to protect internal electronics.
Is this answer helpful?
Press the mode and measurement buttons simultaneously for three seconds until the status LED flashes blue. Select your serial number in the app to complete pairing.
Is this answer helpful?
Yes, hold the measurement button longer than three seconds to enter scan mode. Measurements continue continuously for up to two minutes.
Is this answer helpful?
Find the serial number on the right eyepiece adapter ring. You must lift the diopter adjustment ring to reveal the text underneath.
Is this answer helpful?
Replace them when the battery symbol appears on the display. At that point, approximately one hundred measurements remain possible.
Is this answer helpful?
Advantages and Disadvantages
Advantages

- Integrated ballistics storage for multiple weapon profiles allows rapid targeting adjustments
- Atmospheric sensors track temperature and pressure for enhanced distance accuracy
- Bluetooth app enables easy synchronization and detailed setting configuration
- Scan mode continuously measures moving targets for improved dynamics tracking
- Diopter adjustment compensates for individual eye differences for clear vision
Disadvantages

- Reliance on CR2 batteries may require frequent replacements in cold weather
- Full configuration options require downloading a separate smartphone application
- High price point makes it accessible primarily for serious professionals
- Compass calibration affected by proximity to metallic objects like vehicles
- Initial setup complexity might overwhelm users unfamiliar with ballistic tech
Product Specification
Type
Roof Prism
Magnification
8x
Entrance Pupil
1.26 in
Exit Pupil
0.16 in
Interpupillary Distance
2.20-2.91 in
Field of View on 1094 yds
442.91 ft
Minimum Focus Distance
16.40 ft
Twilight Factor
16
Features
Waterproof up to 13.12 ft, Diopter adjustment, Rangefinder
Dimensions
5.16x2.72x5.75 in (WxHxD)
Weight
1.51 lbs
Product Description
Mastering Precision Hunting Technology
Understanding the capabilities of high-end optics requires significant attention to detail. When exploring the specifications of the Swarovski EL Range 8x32 Manual, enthusiasts find a wealth of information regarding range estimation and environmental factors. These devices combine binocular viewing with laser technology to deliver instant data. Users appreciate the ability to store ballistics data for various weapons systems directly within the unit. This functionality streamlines the shooting process significantly. The clarity provided by the glass allows for distinct separation of distant objects even in low light conditions.
Operating the device involves intuitive button layouts designed for gloved hands. The measurement trigger provides immediate feedback while the mode button accesses complex settings menus safely. Atmospheric sensors provide real-time updates on temperature and air pressure. This data is crucial for long-distance accuracy when wind drift becomes a critical factor. Moving targets can be tracked continuously using the scan mode feature for dynamic situations. The tracking assistant function helps navigate back to previous measurement locations efficiently without losing the line of sight.
Configuration is simplified through a dedicated mobile application compatible with smartphones. Bluetooth connectivity allows users to sync their last three measurements automatically. The app interface supports customization of display colors and units for metric or imperial preferences. Storage of firearm profiles ensures quick access to corrected shot distances for multiple rifles. Calibration of the built-in compass ensures directional data remains reliable over time. Adjustments for individual vision differences are handled through dedicated diopter rings.
Maintenance is straightforward with the included care kit found in the box. Microfiber cloths and soap prevent damage to sensitive optical surfaces during cleaning sessions. Proper storage in a ventilated bag protects against humidity and dust accumulation always. Always verify that replacement batteries are installed correctly to avoid leaks inside the compartment. Protecting the lens caps keeps debris away when the device is not in active use.
Note: Ensure eyecups are adjusted for glasses wearers before beginning range tests. Verify compass calibration frequently in areas with strong magnetic interference nearby. Regular cleaning extends the lifespan of the instrument significantly over years.
Search for 67,706 Manuals online


Type-in Brand or Model