
SKS Raceblade Pro XL Manual
PDF manual · 1 Pages
English


Quick check
Incorrect answer, please try again.
Chat with your SKS Raceblade Pro XL manual using AI
Get instant AI answers from your SKS Raceblade Pro XL manual
Ask anything about the SKS Raceblade Pro XL. Answers come from this manual, with the pages they are based on.
Ask a Question
Do you recommend Raceblade Pro XL?
Yes NoVideo Manual
So montiert ihr das RACEBLADE PRO und PRO XL | How to mount the RACEBLADE PRO and PRO XL
Frequently Asked Questions
The SKS Raceblade Pro XL is intended for road and cyclocross tires with widths between 25 and 32 mm, offering optimal coverage and clearance for those sizes.
Is this answer helpful?
Maintain a minimum clearance of 1.5 cm between the mudguard profile and the tire at the specified strut points. This prevents contact under load and reduces the risk of damage or handling issues.
Is this answer helpful?
Yes. In addition to the quick-release rubber straps, the set includes cable ties for permanent mounting (two per side). After final adjustment you can also fasten the profile to the strut bracket with supplied screws—pre-drilling a 2 mm pilot hole is recommended.
Is this answer helpful?
The guards are disc-brake compatible, but you must ensure proper brake cable routing and maintain at least 1 cm clearance between the guard and brake/fork components to avoid interference.
Is this answer helpful?
Use the included protective adhesive film at contact points to shield paint or carbon. Regularly clean and inspect attachment areas and avoid overtightening; follow the manufacturer’s guidance to minimize abrasions or pressure marks.
Is this answer helpful?
Inspect rubber quick-release straps regularly for UV-induced aging or cracks and replace them when damaged. Trim strap ends to avoid spoke contact and check tension before rides to prevent slippage.
Is this answer helpful?
Contact can damage the guard, impair braking, or in the worst case cause a crash. If contact occurs, stop using the bike until you adjust the strut position or spacing to restore the required clearances.
Is this answer helpful?
Advantages and Disadvantages
Advantages

- Ultralight splash protection tailored for 25–32 mm tires, preserving bike handling and speed.
- Quick-mount straps enable fast installation and easy adjustments without tools.
- Includes paint protection film to reduce risk of damage where struts contact the frame.
- Option for permanent cable-tie mounting and screw fastening after setup for added stability.
- Disc-brake compatible design with adjustable clearance to avoid brake interference.
Disadvantages

- Quick-release rubber straps age under UV and require periodic inspection and replacement.
- Requires precise alignment (1.5 cm tire clearance) which may need repeated tweaking on some frames.
- Permanent cable-tie mounting is irreversible and can be cumbersome to remove later.
- May need minor trimming of strap ends and cautious cutting of cable ties during installation.
- Some frame or fork geometries may require drilling a pilot hole for permanent screw fastening.
Product Specification
Type
Set
Colors
black
Wheel size
28"
Tire width max.
1.26 in
Weight
0.80 lb
Product Description
SKS Raceblade Pro XL Schutzblechset schwarz Manual
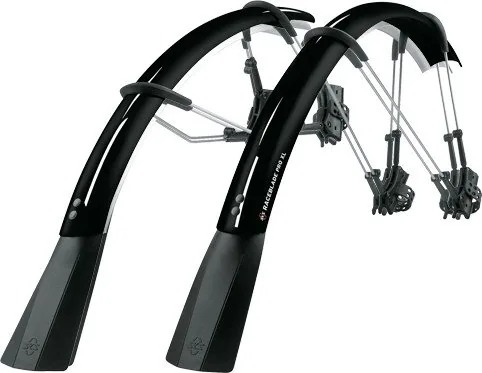
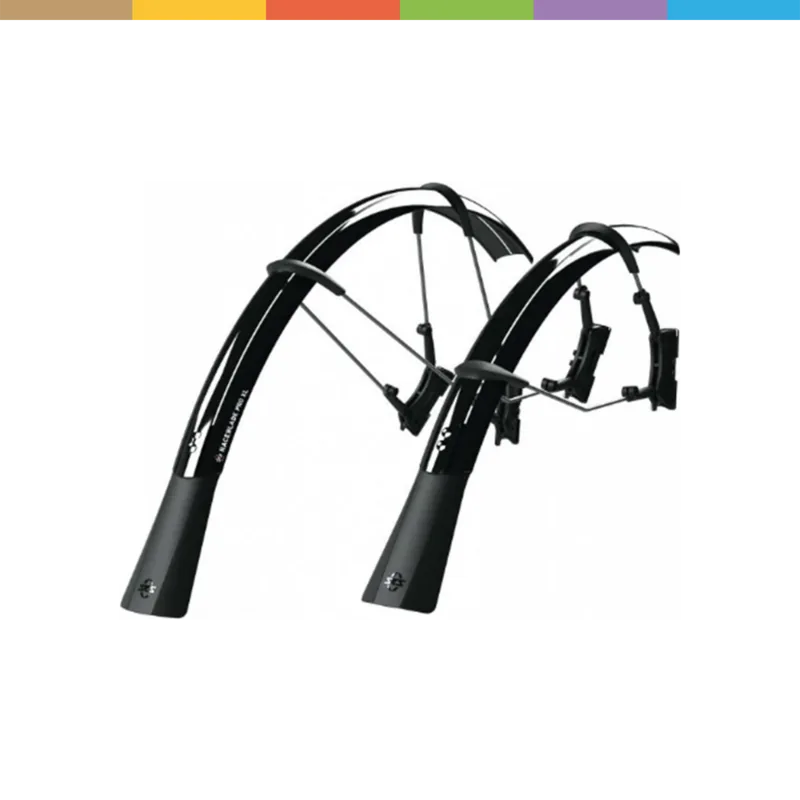
The SKS Raceblade Pro XL Schutzblechset schwarz is a lightweight, precision-designed mudguard set tailored for road and cyclocross bikes with tire widths from 25 to 32 mm. Engineered in Germany, this set offers reliable splash protection without sacrificing aerodynamics or weight. Its clever quick-mount system lets riders fit and adjust front and rear guards rapidly, while optional permanent cable-tie mounting ensures long-term stability for training or daily use.
Quick Overview and Design
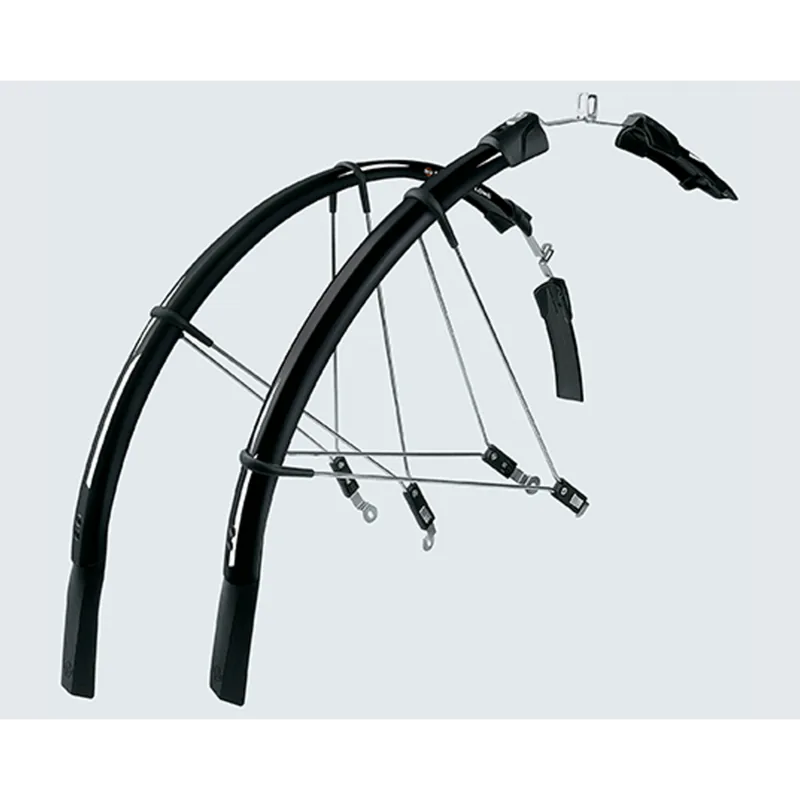
Constructed for minimal drag and maximum practicality, the Raceblade Pro XL features slender profiles and adjustable struts that position the guard at a safe distance from the tire and brake components. The set includes protective adhesive film to shield paint and carbon surfaces at contact points. Components are optimized for simple alignment: maintaining a 1.5 cm minimum clearance to the tire along the struts and at least 1 cm clearance to brakes and fork keeps the system safe and functional.
Installation Highlights
Fitting the rear and front guards involves aligning the struts so the gap to the tire measures at least 1.5 cm at key mounting points. Strut angle and height can be altered by loosening the supplied hex screws and sliding the struts to dial in clearance. Elastic quick-release straps secure the struts to seatstays and fork legs; these can be shortened for a tidy fit. For permanent installation, use the included cable ties in the molded channels and cut off excess ends. A recommended step for a durable setup is pre-drilling a 2 mm pilot hole and fastening the profile to the strut bracket with the supplied screws once positioning is final.
Practical Use and Safety
The Raceblade Pro XL is compatible with disc brakes (pay attention to brake cable routing) and works well across varied riding conditions. Regular inspections are advised: ensure the minimum clearances remain, brakes are unobstructed, and the elastic straps show no UV-induced degradation. Improper clearance or loose fittings can damage the guard or cause handling issues; following the spacing guidelines prevents these risks.
Final Thoughts
For riders seeking discreet, effective splash protection for wider road and cross tires, the SKS Raceblade Pro XL Schutzblechset schwarz balances low weight, ease of use, and robust functionality. Its German engineering and thoughtful mounting options make it a versatile choice for commuters, racers, and gravel riders alike.
Notes:
- Maintain minimum clearances: 1.5 cm to tire, 1 cm to brakes/fork.
- Use protective adhesive film on paint/carbon contact areas.
- Consider permanent cable-tie mounting for long-term use.
Search for 67,706 Manuals online


Type-in Brand or Model