
SKS Bluemels Reflective Manual
PDF manual · 1 Pages
English


Quick check
Incorrect answer, please try again.
Chat with your SKS Bluemels Reflective manual using AI
Get instant AI answers from your SKS Bluemels Reflective manual
Ask anything about the SKS Bluemels Reflective. Answers come from this manual, with the pages they are based on.
Ask a Question
Do you recommend Bluemels Reflective?
Yes NoFrequently Asked Questions
The set emphasizes reflective visibility while delivering practical front and rear coverage. The reflective design is paired with mounting parts and a fitting process that centers on alignment to your tire for reliable day-to-day performance.
Is this answer helpful?
Yes. The manual describes marking the appropriate stay length and cutting the stays with a hacksaw after you set initial alignment. This lets you achieve the correct position for the endcap and a secure fit to the fork and frame points.
Is this answer helpful?
The instructions recommend setting the optimal alignment against the tire before final tightening. After the guards are positioned and lightly fixed, do the final adjustments for fit, then secure the nuts to the specified torque (2 Nm) where indicated.
Is this answer helpful?
Yes. The set includes spacers for disc brake setups. Follow the manual guidance and ensure the spacers are on the line with the stay. Use a maximum of 4 spacers at once for proper assembly and spacing.
Is this answer helpful?
The rear mounting uses a sliding bridge that is fixed to the seatstay plate or bridge. After positioning the mudguard, the ends of the sliding bridge are bent around the mudguards to secure them in place.
Is this answer helpful?
Yes. The manual notes two common approaches depending on the chainstay plate or bridge: fixing directly through a hole using plate or washer, screw, and nut, or pre-assembling a clip using similar hardware before installation.
Is this answer helpful?
Advantages and Disadvantages
Advantages

- Reflective styling for improved visibility in darker conditions.
- Front and rear coverage helps protect you and the bike from road spray.
- Adjustable stay length lets you dial in clearance to your tire.
- Rear sliding-bridge system supports secure mounting to common frame layouts.
- Disc-brake compatibility via included spacers (max 4 at once).
Disadvantages

- Installation depends on precise alignment, especially around tire and wheel clearance.
- Stays need to be cut to length with a hacksaw, adding setup time.
- Correct spacer placement is required on disc-brake forks to avoid misfit.
Product Specification
Type
Set
Colors
silver
Wheel size
28"
Tire width max.
45mm
Weight
592g
Features
Reflectors
Product Description
SKS Bluemels Refl. 45 Mudguard Set Silver (Reflective) - Manual
Clean coverage, confident visibility
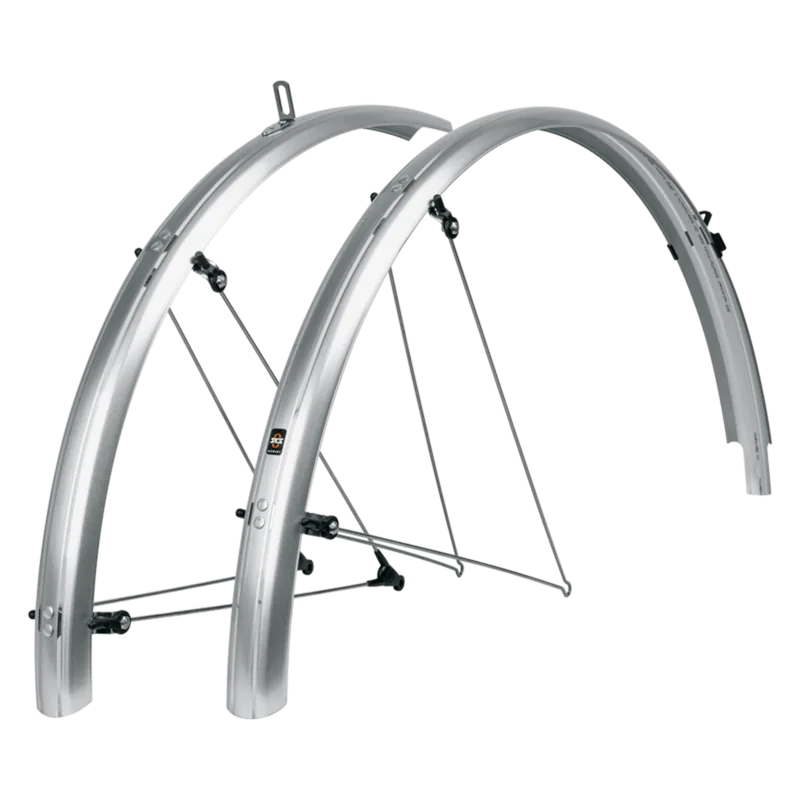
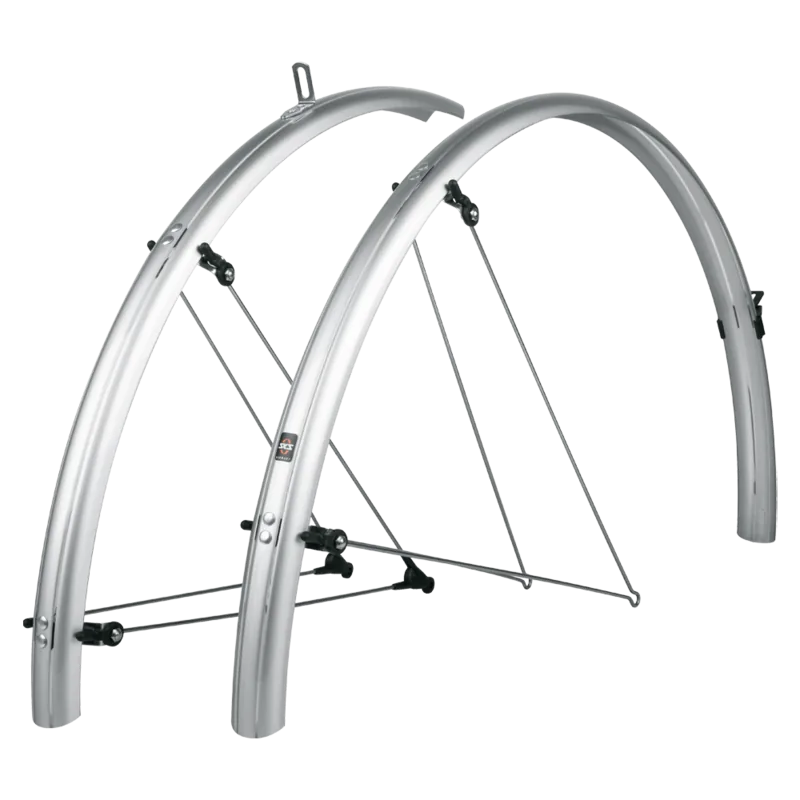
The SKS Bluemels Refl. 45 mudguard set in silver is designed to keep road spray, grit, and wet grime off you and your bike, while adding reflective style for better visibility in low light. Built for dependable everyday rides, these mudguards combine practical coverage with a reflective look that helps you stand out on the way to work, on commuting routes, or during weekend loops.
Made in Germany with ride-ready mounting
These reflective guards come as a set with mounting components and instructions that guide you through fitting the front and rear sections. The installation focuses on alignment to your tire and on secure attachment using stays, endcaps, bridge pieces, and frame fixing points.
For the front, you start by preparing the stays and routing them through the bridge and eyebolt. The eyebolt nuts are tightened only slightly at first, so you can set the optimal position. Next, the stays are marked to length and cut with a hacksaw. After passing the stay through the bolt and tightening the nut, the endcap is pushed onto the stay and over the tightened nut. The front mudguard itself is then lightly positioned on the fork lug eyes and finally adjusted for a precise fit before tightening to the specified torque (2 Nm).
Rear fitment that follows your frame
Rear mounting uses a sliding bridge that is fixed to the seatstay plate or bridge. The rear mudguard is installed so the slot for fixing sits toward the front, then the sliding bridge ends are bent around the mudguard to lock everything in place. Depending on your chainstay setup, you can fix directly through holes or use a pre-assembled clip approach. After positioning, you perform final adjustments so the guard sits correctly across the wheel and clears moving parts.
Notes for disc brakes and final checks
If you ride with disc brakes, the included spacers allow appropriate assembly. Use a maximum of 4 spacers at once and ensure they line up with the stay to maintain proper spacing and stability. As a final step, double-check alignment, clearance, and that all nuts are fully secured.
Pros and cons at a glance
- Pros: reflective visibility, solid coverage front and rear, adjustable stay length, frame-specific rear mounting options, disc brake compatibility with spacers.
- Cons: requires careful alignment and measuring, stay cutting may take extra time, correct spacer placement is important for disc setups.
Search for 67,706 Manuals online


Type-in Brand or Model