Manual.ly Logo

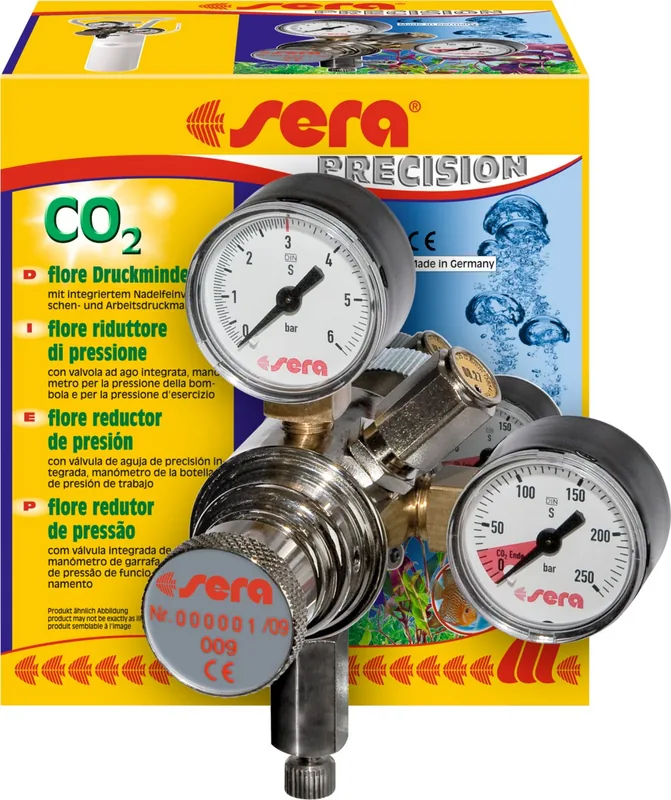
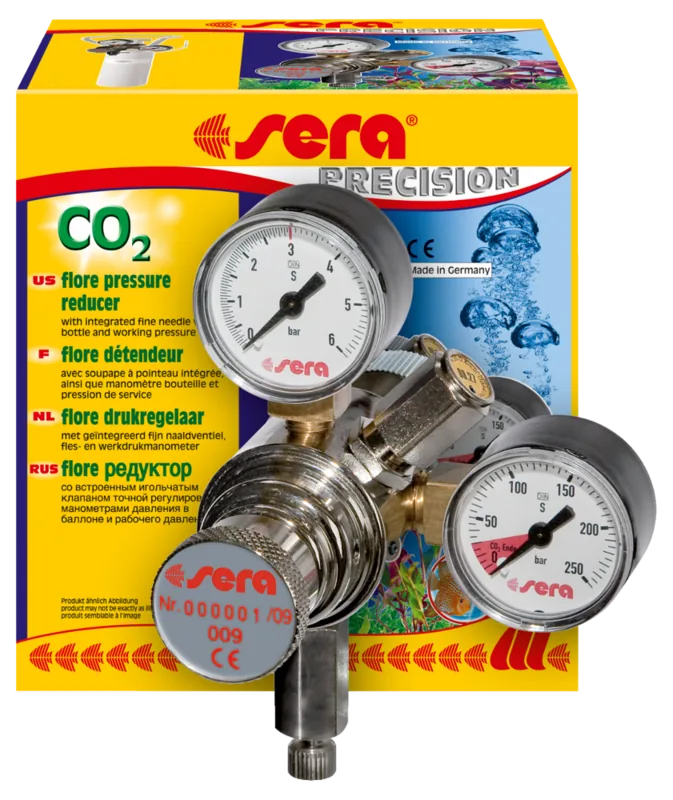
sera flore Pressure Reducer Manual

0.0 · 0 Ratings

PDF manual · 26 Pages

English

M: QW-35-FL
page

/ 26

Loading...
2600a78b8893c7352a34f5f1cb7473beb748 page 5
Problem Possible cause Possible solution
No CO
2
gets into the Non-return valve installed in Install non-return valve in
aquarium the wrong direction opposite direction
CO
2
bottle empty Change bottle or have it refilled
CO
2
hose bent Check hose laying
Working pressure too low, Slowly increase working pressure, do not
bottle valve closed exceed limit provided by the manufacturer
when doing so; open bottle valve
CO
2
consumption too high Leakage at the pressure reducer Check seal rings
and replace them if applicable
Wrong or too long CO
2
hose Replace or shorten hose
Pressure reducer is not firmly Check for tight fit on the thread
fastened on the CO
2
bottle valve and correct it if applicable
Too strong aeration Reduce aeration
Hissing noises Leakage at the pressure Check seal rings
reducer and replace them if applicable
9
Operation
In a few cases, it may be necessary to readjust the wor-
king pressure after operation has started. Correcting
the working pressure may only take place after the fine
needle valve (1.6) has been closed again. Pull the CO
2
hose off the pressure reducer (3.3) for adjustment and
alter the working pressure with the knurled screw (1.5)
slowly and in small steps. Open the fine needle valve (1.6)
for 1 second every time you moved the knurled screw
(1.5). This is important when lowering the working pres-
sure as to make sure the newly adjusted pressure is dis-
played. Connect the CO
2
hose again (see chapter
“Assembly and start of operation”, item 3). Then slowly
and stepwise open the fine needle valve (1.6) until the
desired number of bubbles is reached. Remember to
consider the delayed change of the bubble number.
Cleaning
The pressure reducer should be cleaned only with a dry
cloth.
Avoid water getting into the pressure reducer as to
avoid inside corrosion.
Maintenance
The unit can be maintained or repaired only by the
manufacturer. Only the seal ring of the high precision
fine needle valve and the seal ring at the CO
2
bottle (1.8)
can be changed. The seal ring is conical and is inserted
with the narrow side towards the CO
2
bottle.
All other components must not be screwed off nor
changed in their position, as the special sealing com-
pound will otherwise be damaged, leading to the unit
becoming leaky.
SAFETY PRECAUTIONS
• Liquid carbon dioxide is under high pressure. Wear
protective goggles for your own safety when carry-
ing out assembly work.
• The pressure reducer is pre-adjusted to a maximum
pressure of 2.5 bar (36.25 psi.). Manipulation of the ad-
justment screw may cause high pressures on the low
pressure side.
• The safety valve opens at approx. 3.3 bar (47.86 psi.)
and must not be manipulated.
• After a while, the bubble number may considerably
deviate from the adjusted bubble number under un-
usual circumstances (strong temperature variations)
or due to dirt inside the bottle valve, the pressure re-
ducer or another part of the CO
2
system. Therefore
check the bubble number daily, as to avoid danger
for the aquarium inhabitants. Check that the seal ring
(1.8) is properly placed and in unobjectionable condi-
tion every time before screwing the sera flore CO
2
pressure reducer onto a CO
2
bottle, and follow the
assembly instruction. Immediately replace the seal
ring if in doubt. The narrow end of the conical seal
ring is directed towards the bottle.
Troubleshooting
High pressure gauge 0 – 250 bar
(0 – 3625 psi.)
Low pressure gauge 0 – 6 bar
(0 – 87 psi.)
Safety valve triggering pressure > 3.3 bar
(47.86 psi.)
Adjustable working pressure 0 – 2.5 bar
(0 – 36.25 psi.)
Permissible room temperature 10 – 40°C
(50 – 104°F)
Dimensions approx. 125 x 105 x 97 mm
(4.9 x 4.1 x 3.8 in.)
Spare parts
Seal ring for CO
2
bottle
Seal ring for high precision fine needle valve
Adjustment screw for high precision fine needle valve
Union nut for CO
2
hose connector
Technical Data
8
Please read these instructions carefully and keep for
future use.
The sera flore CO
2
pressure reducer is a precision device
equipped with a high precision fine needle valve for do-
sing small amounts as required for aquarium purposes.
State-of-the-art technology that has proven well for de-
cades allows to carry out all assembly and adjustment
measures of the sera flore CO
2
pressure reducer with -
out any tools.
SAFETY PRECAUTION
Liquid carbon dioxide is under high pressure. Wear pro-
tective goggles for your own safety when carrying out
assembly work.
Usage and application range
For connection to all CO
2
bottles with external valve and
the sera CO
2
disposable bottle with a special adapter.
The seramic pH Controller, the sera CO
2
System, calcium
reactors and other systems depending on CO
2
, up to a
working pressure of 2.5 bar (36.25 psi.), can be connec-
ted to the low pressure outlet of the sera flore CO
2
pressure reducer.
Kit includes
sera flore CO
2
pressure reducer with two gauges for
CO
2
bottle pressure and working pressure, high preci-
sion fine needle valve and pressure relief valve
Parts (fig. 1)
(Device is completely assembled)
1.1 Bottle pressure gauge (high pressure gauge)
Display: 0 – 250 bar (0 – 3625 psi.)
1.2 Working pressure gauge (low pressure gauge)
Display: 0 – 6 bar (0 – 87 psi.)
1.3 Pressure relief valve,
triggering pressure > 3.3 bar (47.86 psi.)
1.4 Steel cylinder casing
1.5 Knurled screw for working pressure adjustment
1.6 Fine needle valve adjustment screw for adjusting
the CO
2
amount
1.7 Union nut for connection to CO
2
bottle
1.8 Seal ring
1.9 CO
2
hose connector with union nut
Assembly and start of operation
1. Basic adjustment
Set the knurled screw (1.5) for the working pressure
to the minimum position, as far as it will go to the
left. Now check whether the adjustment screw (1.6)
of the built-in fine needle valve is closed.
Gently screw in the adjustment screw as far as it will
go. Check whether the seal ring (1.8) of the pressure
reducer is in place correctly and that it is not dam-
aged.
2. Connection to the CO
2
pressure gas bottle (fig. 2)
Hold the CO
2
pressure gas bottle vertically (valve on
top!), remove the protection cap and firmly screw on
the pressure reducer by hand without using any
tools (2.1). The pressure relief valve should then be di-
rected upwards (1.3).
Place the CO
2
pressure gas bottle in a way that it can-
not fall over or drop. The distance from the aquarium
should not be more than 1.5 m (1.6 yd.), as unneces-
sary CO
2
loss may occur in very long hoses due to dif-
fusion.
3. Connect the CO
2
pressure hose (fig. 3.1 – 3.5)
Screw the union nut (1.9) off the CO
2
connector (3.1).
Push the union nut onto the CO
2
hose (3.2). Push the
CO
2
hose onto the CO
2
connector (3.3) and fasten the
CO
2
hose with the union nut (3.4). You should install a
non-return valve between the CO
2
system and the
pressure reducer (3.5) approx. 30 cm (11.8 in.) before
the sera flore CO
2
pressure reducer. Connect the
other end of the CO
2
hose to your CO
2
system accord -
ing to the instructions of the manufacturer.
4. Open the CO
2
pressure gas bottle
Then open the main valve on the CO
2
pressure gas
bottle (2.2). The high pressure gauge (1.1) will then
dis play the pressure inside the bottle.
5. Adjust the working pressure
Now adjust the pressure at the low pressure gauge
to 0.8 – 1.0 bar (11.6 – 14.5 psi.), using the knurled
screw (1.5) for working pressure adjustment.
Do not exceed the level recommended by the manu-
facturer for the installed CO
2
system when operating
the CO
2
setup. Immediately reduce the working pres-
sure in this case.
The selected working pressure automatically remains
constant until the CO
2
bottle is empty.
ATTENTION!
Please do not exceed a working pressure of 2 bar
(29 psi.) when using the seramic pH Controller.
The working pressure for the sera flore CO
2
pressure
diffuser is approx. 1.5 bar (21.75 psi.).
Please follow the according manufacturer instruc-
tions when using other CO
2
components.
6. Supply CO
2
to the system
Now slowly open the fine needle valve (1.6) until you
see the first bubbles ascend in the bubble counter.
Then adjust the desired number of bubbles. It may
now take several minutes until the system stabilizes.
Correct the adjustment only in small steps.
7. Disassembly
Close the bottle valve (2.2) and the fine needle valve
(1.6). Unscrew the union nut (1.9) and pull the CO
2
hose off the CO
2
connector. Then release the pressure
remaining within the pressure reducer by opening
the fine needle valve (1.6). You can screw off the pres-
sure reducer when both gauges display zero pres-
sure. Loosen the connecting union nut (1.7) and pull
the pressure reducer off to do so.
US
Information for use
sera flore CO
2
pressure reducer with integrated fine needle valve, bottle
and working pressure gauge (high and low pressure gauge)

Chat with your sera flore Pressure Reducer manual using AI

Get instant AI answers from your sera flore Pressure Reducer manual

Ask anything about the sera flore Pressure Reducer. Answers come from this manual, with the pages they are based on.

flore Pressure Reducer Maintenance Schedule

Daily
Check the bubble count

Verify the number of bubbles daily to ensure it matches the setting and prevent harm to aquarium inhabitants due to pressure or valve issues.

Before each bottle change
Inspect the seal ring

Check that the seal ring (1.8) is properly seated and undamaged before screwing the reducer onto a new CO2 bottle. Replace immediately if in doubt.

M: qwen/qwen3.8-flash

Ask a Question

0/1000

Do you recommend flore Pressure Reducer?

Yes No

Frequently Asked Questions

A

Hold the CO2 bottle vertically with the valve up. Remove the cap and screw the regulator onto the bottle by hand without using tools. Ensure the safety valve points upward. Place the bottle securely so it cannot fall.

Is this answer helpful?

A

The device is pre-adjusted to a maximum working pressure of 2.5 bar. If using a seramic pH Controller, do not exceed 2 bar. Exceeding these limits can damage connected equipment or create safety hazards.

Is this answer helpful?

A

No, you must only clean the pressure reducer with a dry cloth. Allowing water to enter the unit can cause internal corrosion and damage the seals, leading to leaks.

Is this answer helpful?

A

Temperature fluctuations or dirt in the system can cause the bubble count to deviate from the setting. You should check the bubble count daily to ensure the safety of your aquarium inhabitants.

Is this answer helpful?

A

You can only replace the seal ring for the CO2 bottle and the seal ring for the precision needle valve. All other components must not be unscrewed or moved to avoid damaging the special sealing compound.

Is this answer helpful?

A

Check if the non-return valve is installed in the correct direction. Also verify if the CO2 bottle is empty, if the hose is kinked, or if the working pressure is too low. Open the bottle valve and increase the working pressure slowly.

Is this answer helpful?

M: QW-35-FL

Advantages and Disadvantages

Advantages

  • Tool-free installation and adjustment for convenience
  • Dual manometers provide clear monitoring of bottle and working pressure
  • High precision needle valve allows accurate dosing for sensitive aquariums
  • Integrated safety relief valve prevents dangerous over-pressurization
  • Reusable design offers long-term value compared to disposable systems
VS

Disadvantages

  • Requires manual replacement of only specific seal rings, not full repair
  • Cannot be cleaned with water as it causes internal corrosion
  • Bubble count may drift due to temperature changes requiring frequent checks
  • Must be screwed on by hand without tools to ensure proper seal integrity
  • Safety valve cannot be manipulated, limiting custom high-pressure setups
M: QW-35-FL

Product Specification

Range

CO2 supply, plant fertilization

Type

CO2 pressure regulator (refillable, mechanically regulated, 1 needle valve, 1 working pressure valve, 1 4/6mm hose connection, 1 working pressure gauge, 1 bottle pressure gauge)

Suitability

Fresh water, aquatics, terrariums

Consumables

Refillable CO2 pressure cylinder

Energy consumption

N/A

M: QW-35-FL

Product Description

The sera flore CO2 Precision Pressure Regulator Reusable Manual

The aquarium hobby relies heavily on precise carbon dioxide management to foster vibrant plant growth and maintain a healthy ecosystem. The sera flore CO2 Precision Pressure Regulator Reusable stands out as a premier tool for aquarists seeking accuracy without the need for complex tools. This device is engineered with a high-precision needle valve, allowing users to dose minute amounts of CO2 exactly as required for their specific tank setup. Its robust design ensures that all assembly and adjustment processes can be completed by hand, making it accessible for beginners while satisfying the demands of experienced enthusiasts.

At the heart of this regulator lies its dual-manometer system. One gauge monitors the high pressure inside the CO2 bottle, ranging up to 250 bar, while the second tracks the working pressure on the low-pressure side, capable of measuring up to 6 bar. This dual-readout capability provides immediate feedback, ensuring that the system operates within safe and effective parameters. The unit is pre-set with a maximum working pressure of 2.5 bar, featuring a safety relief valve that activates at approximately 3.3 bar to prevent dangerous over-pressurization. Users can connect various downstream devices such as pH controllers, calcium reactors, or standard diffusers, provided they adhere to the manufacturer's recommended pressure limits.

Proper operation involves a straightforward setup process. After securing the regulator to the bottle by hand, users adjust the working pressure using a knurled screw before slowly opening the fine needle valve. It is crucial to monitor bubble counts daily, as temperature fluctuations or system dirt can alter output. The device requires careful maintenance; only specific seal rings can be replaced by the user, while internal repairs must be handled by the manufacturer to preserve the special sealing compound. Cleaning should always be done with a dry cloth to avoid internal corrosion from moisture.

Important Notes

  • Always wear protective goggles when installing the unit due to high pressure risks.
  • Ensure the conical seal ring is oriented correctly with the narrow side facing the bottle.
  • Do not exceed 2 bar of working pressure if using a seramic pH Controller.
  • Check bubble counts daily to protect aquatic life from potential CO2 toxicity.
M: QW-35-FL

© Copyright 2026 Manual.ly