
Scythe Mugen 6 Manual
PDF manual · 2 Pages
English



Quick check
Incorrect answer, please try again.
Chat with your Scythe Mugen 6 manual using AI
Get instant AI answers from your Scythe Mugen 6 manual
Ask anything about the Scythe Mugen 6. Answers come from this manual, with the pages they are based on.
Ask a Question
Do you recommend Mugen 6?
Yes NoFrequently Asked Questions
The Mugen 6 includes mounting hardware for a broad set of sockets including Intel LGA1700, LGA1200/115x/1151/1150/1155/1156 and AMD mounting plates (AM4/AM5 where the kit applies). Verify included parts for specific models.
Is this answer helpful?
The message appears when the motherboard’s fan speed low-limit is higher than the cooler’s PWM-controlled idle RPM. To resolve, enter UEFI/BIOS and lower or disable the CPU Fan Speed Low Limit per your motherboard manual so the PWM fan can run at its minimum.
Is this answer helpful?
Some Mugen 6 units include screws or mounting elements pre-attached for LGA1700 to simplify installation. Check the cooler before installation and follow the manual’s guidance on pre-attached hardware.
Is this answer helpful?
Apply a thin, even amount of the provided thermal grease centered on the CPU so it doesn’t overflow the CPU surface. When mounting, tighten screws alternately and evenly from both sides to ensure uniform contact and optimal heat transfer.
Is this answer helpful?
Turn off and unplug the system before installing, use sufficient workspace, wear gloves if desired to avoid cuts from sharp edges, keep small parts away from children, and consult the manual and motherboard instructions for proper mounting.
Is this answer helpful?
Warranty terms vary by region but are commonly two years from purchase. For service, retain the product, packaging, and proof of purchase and contact the original retailer; warranty covers defects under proper installation and usage.
Is this answer helpful?
Advantages and Disadvantages
Advantages

- Quiet PWM-controlled fan that balances cooling and low noise across a wide RPM range.
- Comprehensive mounting kit with pre-attached hardware for LGA1700 to speed up installation.
- Wide socket compatibility (Intel LGA1700/1200/115x, AMD mounting plates) and included thermal grease.
- Fan clip design that hooks into fin grooves for secure, tool-free fan attachment.
- Two-year manufacturer warranty (region-dependent) and clear warranty instructions.
Disadvantages

- Installation may require significant workspace and care due to sharp edges and multiple parts.
- Fan speed and minimum RPM depend on motherboard PWM settings and can trigger BIOS warnings if not adjusted.
- May produce minor cosmetic scratches from manufacturing—cosmetic only but possibly off-putting.
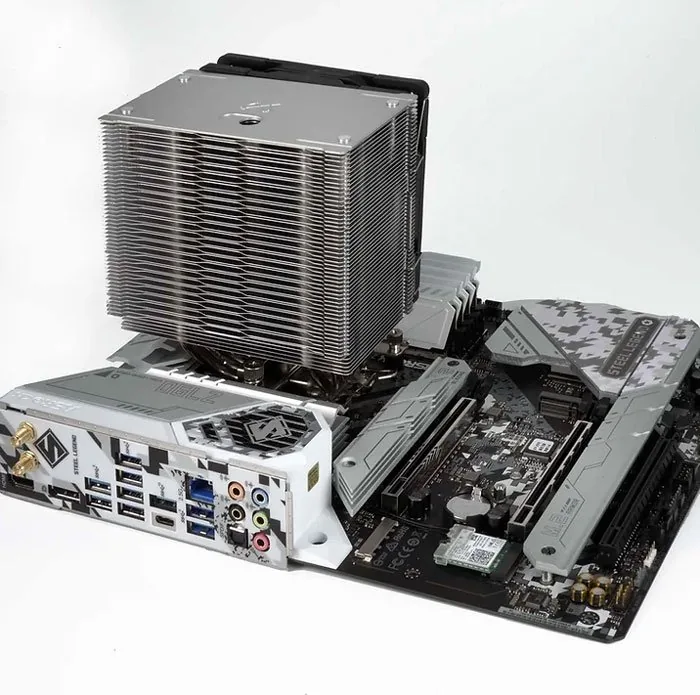
- Large tower size can conflict with tall RAM modules or compact cases on some motherboards.
- Warranty claims require proof of purchase and proper installation; misuse not covered.
Product Specification
Design
Tower Cooler
Dimensions with Fan
5.20x6.06x4.17in (WxHxD)
Dimensions without Fan
5.20x6.06x3.15in (WxHxD)
Fan
1x 4.72x4.72x1.02in, 300-2000rpm, 7.70-60.26 CFM, 7.7-60.29 CFM, 3-26.9dB(A), 0.00-0.10 inH2O, hydrodynamic plain bearing (FDB)
Weight with Fan
2.23 lb
Connector
4-Pin PWM
AMD Socket
AM5, AM4
Intel Socket
2011-0/2011-1/2011-3/2066, 1700, 1356/1366, 1150/1151/1155/1156/1200
Special Features
6 Heatpipes
Product Description
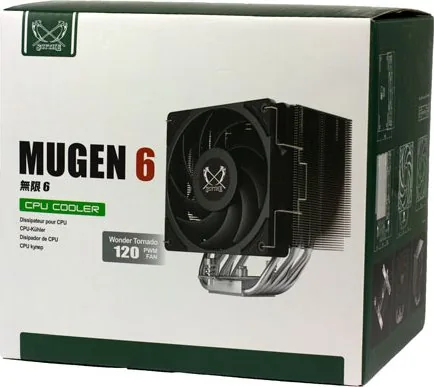
Scythe Mugen 6 — Quiet, versatile CPU cooling with straightforward setup
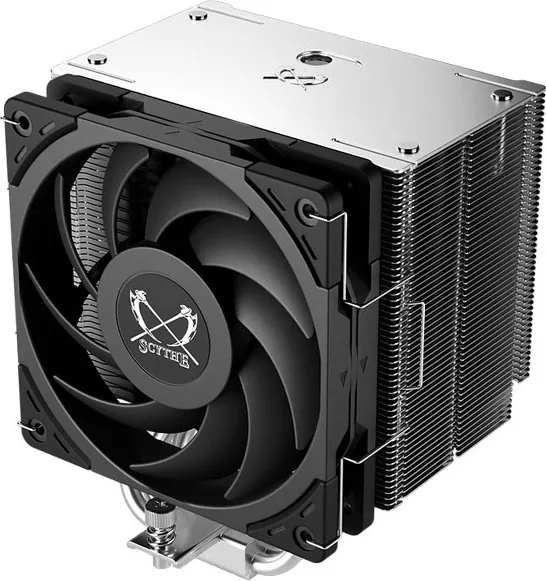
The Scythe Mugen 6 is a tower-style air cooler engineered for silent, dependable CPU cooling across a wide range of Intel and AMD sockets. It pairs a dense fin-stack heatsink and a tuned 120mm PWM fan to deliver respectable thermal performance while keeping acoustic output low. Its design emphasizes compatibility, user-friendly mounting, and practical features like pre-installed mounting hardware and included thermal grease.
Key features and overview
Mugen 6 ships with mounting plates for Intel (including LGA1700, 1200/115x, and others) and AMD (AM4/AM5-compatible hardware where applicable), stud nuts, screws, spacers and rubber pads to reduce vibration. The mounting bar or screws for LGA1700 are pre-attached where relevant, making installation quicker. The fan uses PWM control so motherboard settings determine its RPM range and minimum speed; expect typical PWM-driven variability in fan speed and noise.
Thermal interface compound is included and the manual recommends applying a thin, even layer that does not overflow the CPU surface. Clips secure the fan into the fin grooves; the manual demonstrates pulling the fan clip into the groove and hooking it to the fin side. Tighten mounting screws alternately and evenly from both sides to ensure flat contact and avoid uneven pressure.
A few practical points: use the motherboard’s original backplate when instructed, power down and unplug the system before installation to avoid electric shock, and consider wearing gloves and ensuring sufficient workspace. The package may show minor cosmetic scratches from manufacturing but these do not affect performance. The manufacturer provides a warranty period (two years in many regions) and warranty service instructions; retain proof of purchase for claims.
What to expect in daily use
- Good cooling for mid-to-high TDP CPUs when properly mounted and paired with appropriate case airflow.
- Low-noise operation at typical loads thanks to the PWM fan’s broad RPM range.
- Broad socket compatibility with components and hardware provided for Intel and AMD platforms.
Notes:
- If the UEFI/BIOS reports a "CPU FAN ERROR" on boot, adjust the CPU fan low-limit (CPU Fan Speed Low Limit) in BIOS/UEFI per your motherboard manual.
- Keep children away from small parts and avoid sharp edges during installation.
- Warranty coverage typically requires proper installation and proof of purchase.
Search for 67,706 Manuals online


Type-in Brand or Model
Lukas Weber
10 months ago
I am upgrading from the Mugen 5C. Are the included accessories and mounting parts compatible with the Mugen 6, and how loud is the fan on full RPM, especially on AM4 with clearance for RAM and the GPU?
Manual.ly
10 months ago
The mounting setup for AM4 is generally straightforward and similar to the previous generation, but some accessories and hardware from the Mugen 5C are not compatible with the Mugen 6 due to multiple small design changes (for example the included spacers and revised clamp/holder details). On AM4 installation you remove the AMD plastic parts, fit the spacers, secure the brackets, apply thermal paste, and tighten the cooler evenly. For noise: at full RPM the fan is noticeably loud, but at lower RPM (under about 1500 RPM) it is comparable to a good 120 mm PWM fan and is much more practical. The offset design also provides extra clearance for taller RAM and more space to the graphics card.