
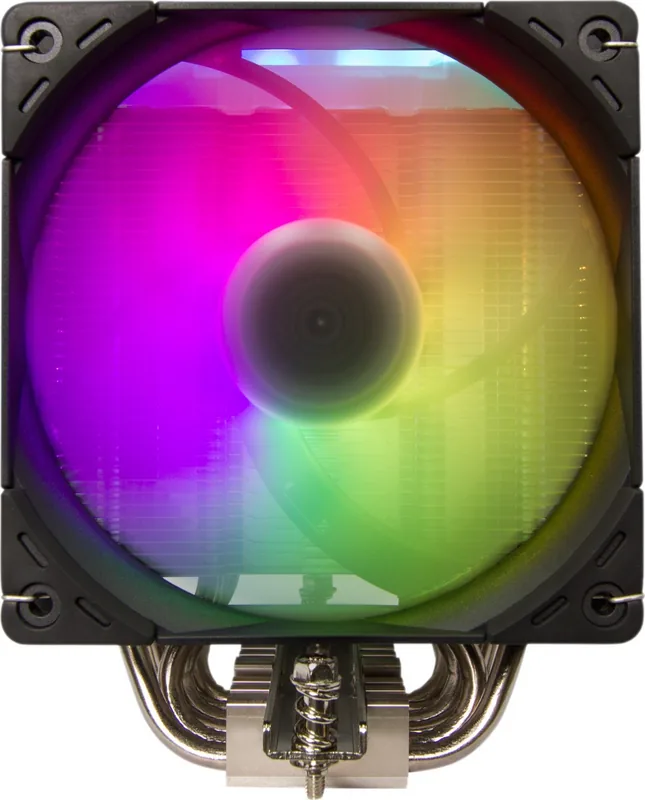
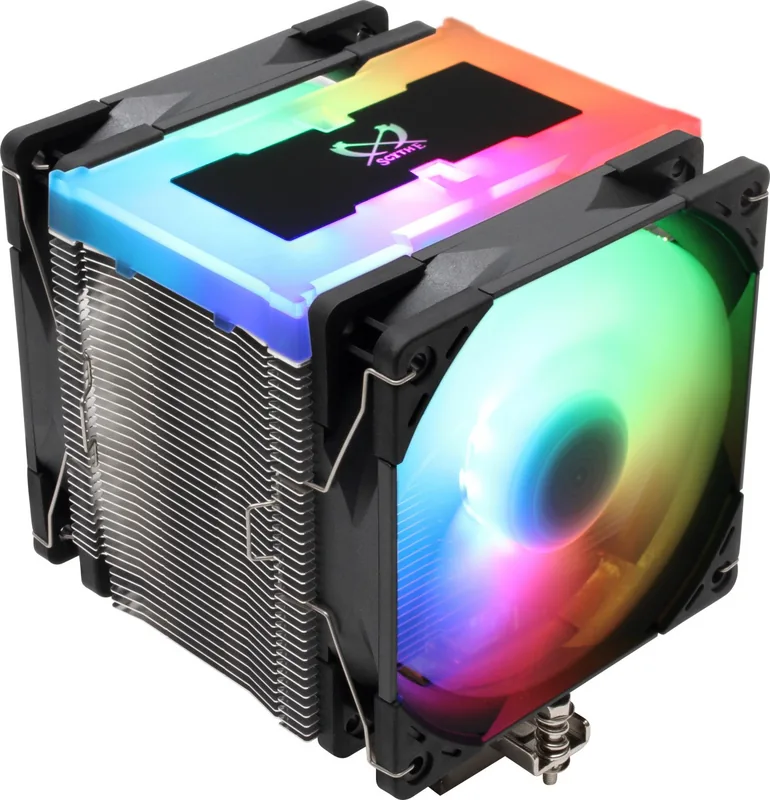
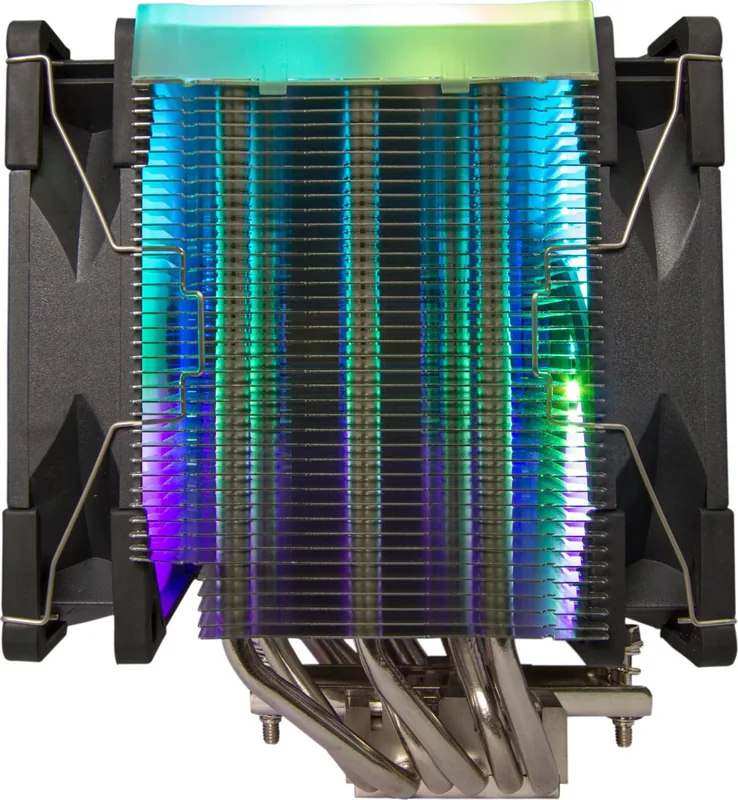
Scythe Mugen 5 Manual
PDF manual · 1 Pages
English


Quick check
Incorrect answer, please try again.
Chat with your Scythe Mugen 5 manual using AI
Get instant AI answers from your Scythe Mugen 5 manual
Ask anything about the Scythe Mugen 5. Answers come from this manual, with the pages they are based on.
Ask a Question
Do you recommend Mugen 5?
Yes NoFrequently Asked Questions
This cooler supports AMD AM4, AM3, FM1, and Intel LGA series including 1366, 1151, and 2011. Always verify specific compatibility for your processor model before purchase.
Is this answer helpful?
Apply the thermal grease evenly across the CPU die. Ensure the amount is accurate so it does not overflow onto the motherboard or short circuit other components.
Is this answer helpful?
Yes. Pull the fan clip in the direction of the arrow and hook it into the groove on the heatsink side to complete the installation safely.
Is this answer helpful?
No. Fan speed can only be detected for the fan attached to the black connector head. Connect the primary fan to that socket to monitor RPM.
Is this answer helpful?
The fan requires a 3-Pin ARGB connector connected to the +5V ARGB header on the motherboard. Without this connection, the fan will not illuminate.
Is this answer helpful?
Yes. You must use the original backplate from the motherboard manufacturer to ensure structural integrity and prevent damage during the heatsink mounting process.
Is this answer helpful?
Advantages and Disadvantages
Advantages

- Supports wide variety of socket types including AMD and Intel.
- Easy installation process with clear screw tightening instructions.
- ARGB lighting support for aesthetic customization.
- Effective cooling performance for high-end processors.
Disadvantages

- Fan speed detection only works on black connector head.
- Requires original motherboard backplate for installation stability.
- ARGB lighting requires specific 3-Pin header connection.
- Fan clip installation must be done with care.
- Thermal paste application requires precision to avoid mess.
Product Specification
Type
Tower Cooler
Product Description
Scythe Mugen 5 Performance Guide
The Scythe Mugen 5 stands out as a superior air cooling solution for enthusiasts seeking high performance without excessive noise. When you follow the Scythe Mugen 5 Manual guidelines carefully, maintenance becomes a straightforward process that ensures optimal thermal transfer. This cooler is designed to handle high-end processors efficiently while maintaining a compact footprint suitable for various case sizes. It is essential to understand the setup steps to avoid potential damage during the upgrade process and to maximize the lifespan of your hardware components safely. It is also recommended to keep the fan cables organized for better airflow in the system.
Installation and Setup Requirements
Start by preparing the CPU surface thoroughly before assembly begins on your machine. You should apply the thermal paste evenly across the processor die without using too much material. Avoid amounts that might overflow onto the surrounding motherboard areas and cause short circuits. When securing the cooler onto the socket, it is critical to tighten all screws evenly. Do not lock one side completely before moving to the other side carefully. Tighten them alternately from both sides to ensure even pressure distribution across the chip. This prevents damage to the motherboard traces and ensures proper contact for heat conduction.
Fan and Lighting Configuration
The included fans are versatile but have specific requirements for monitoring performance data accurately. Fan speed can only be detected for the fan attached to the black connector head on the controller. If you have multiple fans, ensure the primary one connects here for RPM monitoring purposes. For aesthetic enhancements, the unit supports dynamic ARGB lighting effects for visibility. Connect the 3-Pin ARGB connector to the +5V ARGB header found on your motherboard. The arrow indicates the +5V position, so verify your pin definitions first. Without this connection, the fan will not illuminate for your system build properly.
Hardware Compatibility
This unit supports a vast range of sockets including AM4, AM3, FM1, and various Intel LGA series like 1366 and 1151. Always use the original backplate provided by the motherboard manufacturer for stability and safety. This ensures structural integrity during installation and prevents warping or bending of components. Pull the fan clip carefully in the direction of the arrow and hook it into the groove on the heatsink side to finish the assembly process. Proper alignment is vital for consistent cooling performance over time and efficiency.
Notes:
- Use original backplate only.
- Check pinout before ARGB.
- Even tightening is mandatory always.
- Black connector for speed detection.
Search for 67,706 Manuals online


Type-in Brand or Model