
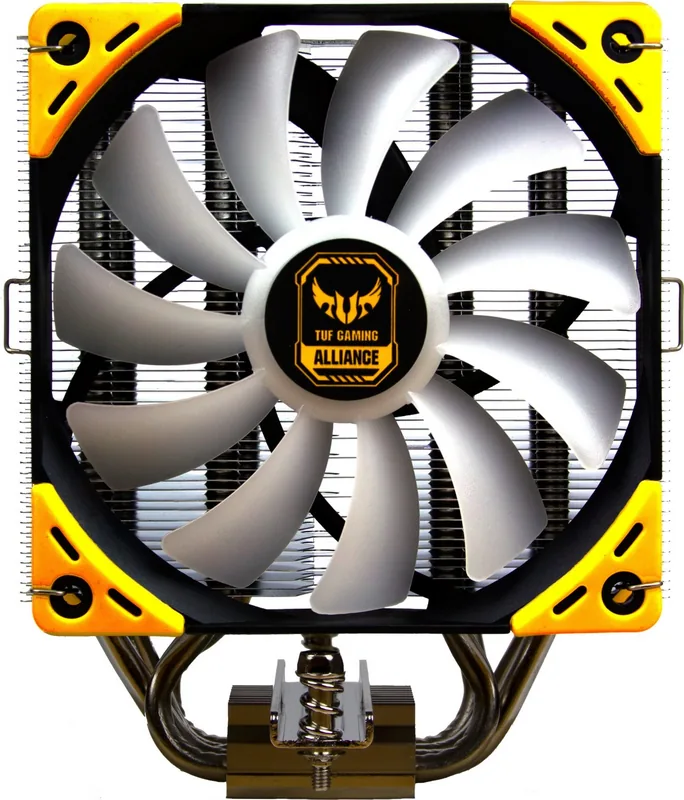
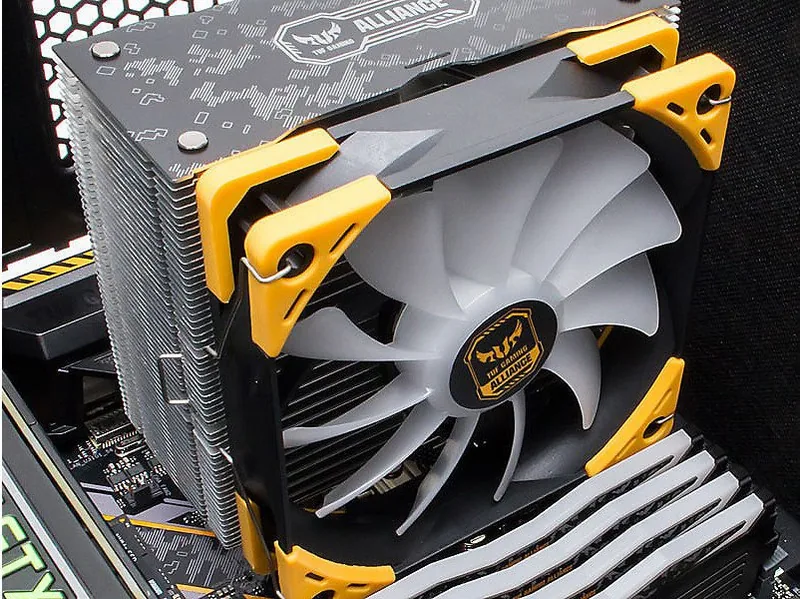
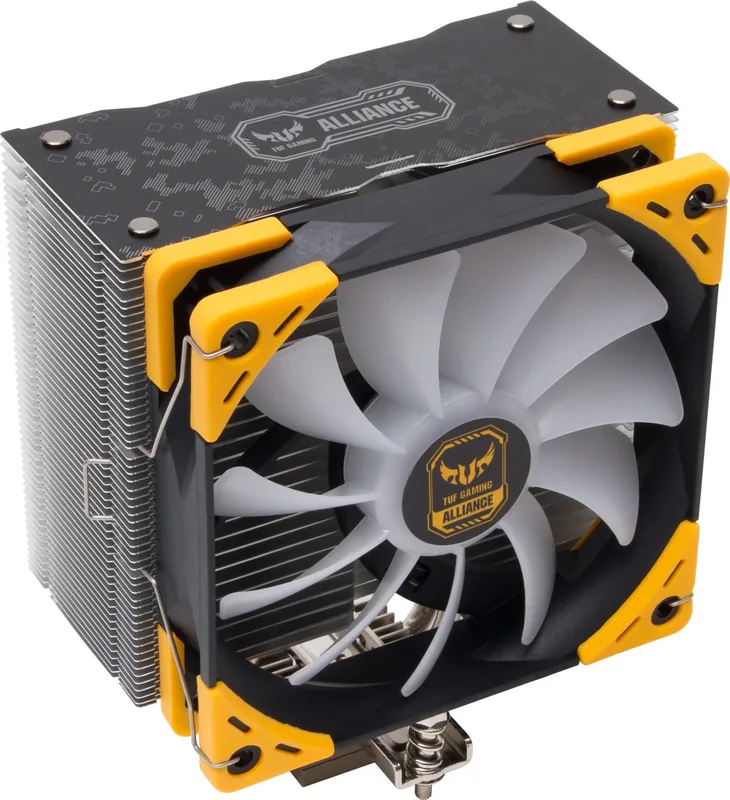
Scythe Kotetsu Mark II Manual
PDF manual · 2 Pages
English



Quick check
Incorrect answer, please try again.
Chat with your Scythe Kotetsu Mark II manual using AI
Get instant AI answers from your Scythe Kotetsu Mark II manual
Ask anything about the Scythe Kotetsu Mark II. Answers come from this manual, with the pages they are based on.
Ask a Question
Do you recommend Kotetsu Mark II?
Yes NoFrequently Asked Questions
Adjust the CPU Fan Speed Low Limit setting in your UEFI BIOS menu. Consult your motherboard manual for exact location.
Is this answer helpful?
It supports Intel LGA 1700, 1200, 115x, and 2066 as well as AMD AM4, AM3+, and FM2+ sockets.
Is this answer helpful?
Yes, the Kaze Flex II fan is PWM controlled and adjusts speed based on motherboard signals.
Is this answer helpful?
The manufacturer provides a two-year warranty covering mechanical defects from the date of purchase.
Is this answer helpful?
Yes, you must peel off the film before installation to ensure proper heat transfer performance from the heatsink.
Is this answer helpful?
Always power off and unplug the PC. Wear gloves and avoid touching sharp edges inside the case to prevent injury.
Is this answer helpful?
Clean the old paste with alcohol before applying a new pea-sized amount of fresh grease from the included packet.
Is this answer helpful?
Advantages and Disadvantages
Advantages

- Quiet operation with noise levels starting at 4 dBA for peaceful computing environments.
- PWM fan control allows dynamic speed adjustments based on system temperature requirements efficiently.
- Wide socket support covers major Intel and AMD platforms for versatile upgrade options.
- Pre-installed mounting bar simplifies the heatsink setup process for faster installation times.
- Includes thermal grease to facilitate proper connection between the cooler and processor.
Disadvantages

- Some motherboards require manual BIOS adjustment to clear fan error messages during startup.
- Protective film removal must be done carefully before mounting to avoid performance issues.
- Fan clips require precise alignment into the groove during assembly of the unit.
- Backplate compatibility varies by motherboard and may need verification prior to purchase.
- Sharp edges on the heatsink fins pose an injury risk if not handled with care.
Product Specification
Form Factor
Tower Cooler
Weight with Fan
1.42 lbs
Connector
4-Pin PWM
Features
4 Heatpipes
Product Description
Enhancing System Stability
Building a reliable computer requires precise thermal control to ensure longevity. The Scythe Kotetsu Mark II Manual provides essential steps for proper configuration and usage. This cooler helps maintain optimal temperatures for your processor under demanding conditions.
Key Features
The unit utilizes a Kaze Flex II 120 PWM fan for efficient air movement. It generates significant airflow capabilities while maintaining a silent operation profile. The rotational speed adjusts automatically between three hundred and one thousand five hundred RPM depending on the system signal. This flexibility suits various usage patterns from idle states to heavy computational loads. The noise levels stay between four and twenty-eight decibels for a quiet environment.
Installation Details
Before mounting the hardware, users must carefully remove the protective film from the base surface. The heatsink includes a pre-installed bar to simplify the attachment process significantly. Applying thermal grease evenly on the CPU surface is crucial for heat transfer efficiency. Screws must be tightened diagonally and alternately to ensure balanced pressure distribution. Avoid forcing the cooler down to prevent motherboard damage or warping components.
Compatibility Range
This model supports a wide array of sockets available in modern PCs. Intel LGA 1700, 1200, and 115X series are definitely included in the supported list. AMD platforms such as AM4 and AM3 plus are also covered extensively by this unit. Some installations require the motherboard backplate for stability and structural integrity.
Troubleshooting Tips
UEFI settings may display a CPU Fan Error message during the initial boot sequence occasionally. You can resolve this issue by changing the minimum speed limits in the BIOS interface. Consult your motherboard documentation for specific menu locations to adjust these values correctly. This step ensures the system does not halt startup procedures due to false warnings.
Safety Instructions
Electricity poses significant risks during this installation process and must be managed carefully. Always turn off the power supply unit and unplug the main cord completely. Work in a well-lit area to avoid losing screws or misplacing small parts inside. Keep small parts away from children to prevent ingestion accidents or loss. Follow all listed guidelines to avoid electrical shocks or short circuits inside the chassis.
Warranty Information
The manufacturer guarantees the unit mechanically for two years from the date of purchase. Proof of purchase is strictly required for any claims service or repairs. The warranty covers mechanical issues arising strictly from normal and intended use only. It excludes damage caused by misuse, modification, or external environmental factors. Minor cosmetic scratches may appear during processing but do not affect cooling function.
Conclusion
Careful adherence to the provided steps ensures long-term performance and stability. The cooler remains a strong choice for desktop upgrades or new system builds. Users should respect the safety protocols listed thoroughly throughout the comprehensive guide to avoid injury.
Search for 67,706 Manuals online


Type-in Brand or Model