
Raspberry Pi High Quality Camera Manual
PDF manual · 7 Pages
English



Quick check
Incorrect answer, please try again.
Chat with your Raspberry Pi High Quality Camera manual using AI
Get instant AI answers from your Raspberry Pi High Quality Camera manual
Ask anything about the Raspberry Pi High Quality Camera. Answers come from this manual, with the pages they are based on.
Ask a Question
Do you recommend High Quality Camera?
Yes NoFrequently Asked Questions
Ensure the Raspberry Pi is powered off. Release the plastic catch on the camera connector, insert the ribbon with contacts facing away from the catch, then push the ribbon in fully and secure the catch before powering on.
Is this answer helpful?
The camera accepts C-mount lenses using the included adapter and CS-mount lenses directly without the adapter. Third-party examples include 6 mm CS-mount and 16 mm C-mount lenses.
Is this answer helpful?
Loosen the lock screw with a small flat screwdriver. Turn the back focus adjustment ring clockwise or anti-clockwise until the camera is in focus. Finally, tighten the lock screw securely.
Is this answer helpful?
Yes, the board can be rotated 180 degrees. Ensure the sensor faces downwards working in a dust-free environment. Reassemble using the nylon and steel washers in the correct order.
Is this answer helpful?
Yes, it is possible to remove the filter, but this action will void the product warranty and is likely irreversible. It controls sensitivity to infrared light.
Is this answer helpful?
This product should only be connected to and powered by a Raspberry Pi computer. Do not use external power supplies not compliant with relevant regulations.
Is this answer helpful?
Operate in a well-ventilated environment, place on a stable non-conductive surface, avoid water or moisture, and do not expose to heat above normal room temperatures.
Is this answer helpful?
Advantages and Disadvantages
Advantages

- High sensor quality provides sharp images for all projects.
- Supports both C-mount and CS-mount lenses effectively.
- Back focus adjustment for precise focus control.
- Optional tripod mount for stable positioning.
- Rotatable camera board for flexible installation.
Disadvantages

- Removing IR filter voids warranty permanently.
- Ribbon cable is sensitive and can be damaged easily.
- Requires manual Raspberry Pi configuration to enable.
- Not waterproof and must avoid moisture at all times.
- Delicate screws require careful handling during rotation.
Product Specification
Manufacturer
Various
Type
Camera (12.3MP, 0.31 inch Diagonal, 4056x3040, Sony IMX477R, Variable Focus)
Platform
Universal
Interface
MIPI CSI
Power Supply
Via Host
Features
M12-Mount, M12-Mount Adapter
Dimensions (WxHxD)
1.50 x 1.50 x 0.73 inches
Product Description
Revolutionize Your Raspberry Pi Projects with the High Quality Camera
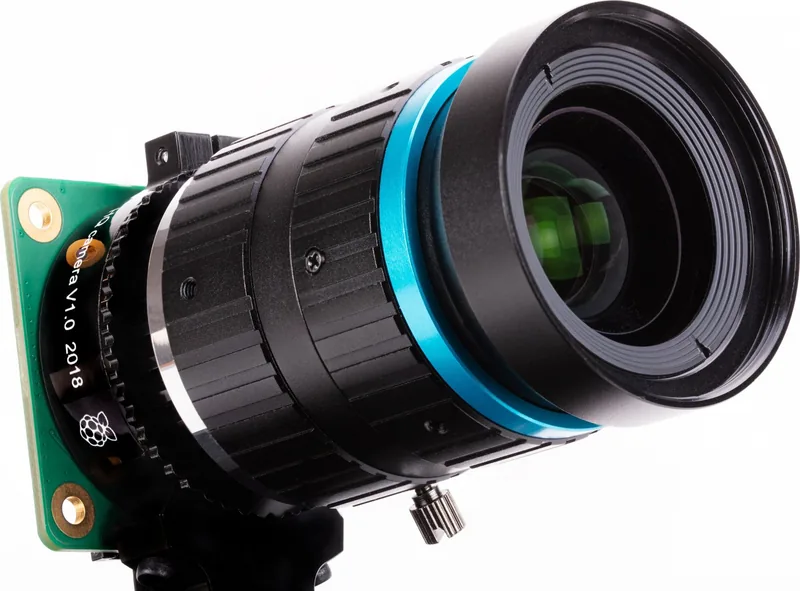
If you are looking to significantly upgrade your computing setup, the Raspberry Pi High Quality Camera M12 Mount Manual provides essential guidance for enthusiasts and professionals alike who demand precision. This camera system stands out due to its premium sensor quality and flexible lens mounting options compared to other modules. Unlike standard cameras, this unit supports C-mount and CS-mount lenses, giving you creative control over your visual projects within compact form factors for various applications.
Getting Started with Precision
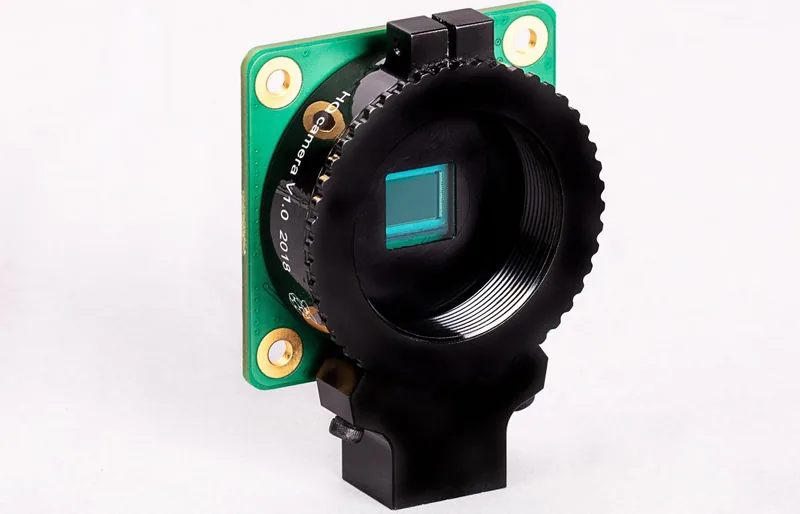
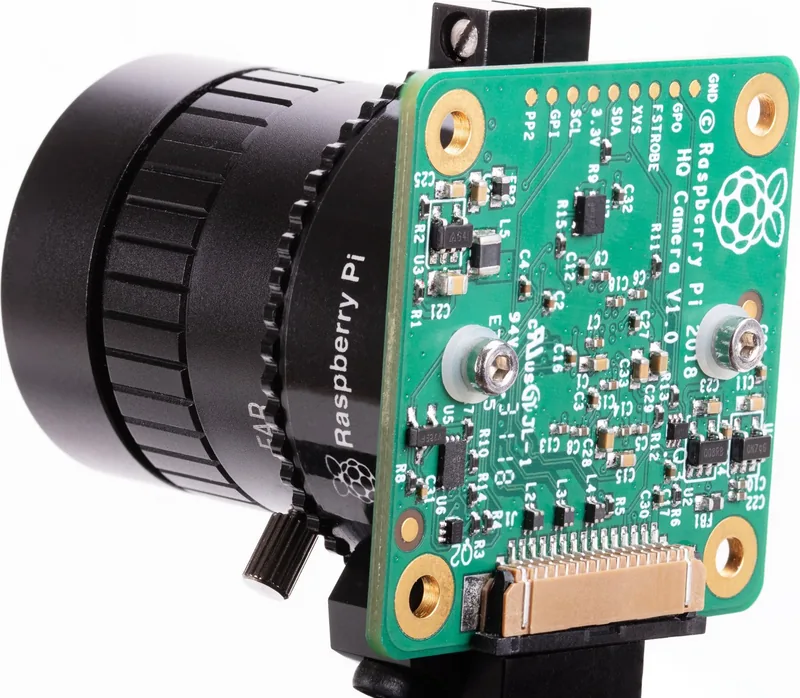
Proper installation is key to achieving peak performance daily without errors. The device includes a dust cap to protect the sensitive sensor when no lens is attached to the front. Users must remove the C-CS adapter when fitting a CS-mount lens, but keep it on for C-mount lenses correctly. This flexibility allows users to utilize third-party optics like the 6 mm CS-mount or 16 mm C-mount lenses found in the market today for macro or telephoto work. Focusing is managed through a dedicated back focus adjustment ring located on the body. This mechanism helps both fixed-focus and adjustable-focus lenses achieve sharp images accurately under different conditions. Simply loosen the lock screw, turn the ring, and retighten securely. Remember to handle the ribbon cable carefully when connecting to the board to avoid damage or signal loss during transport.
Advanced Features and Safety
The camera unit supports rotation, allowing the circuit board to be flipped upside down easily. This is useful for specific mounting configurations but requires careful reassembly of the washers and hex lock keys for stability. An optional tripod mount also increases stability during long exposures or steady shot sequences on uneven ground. It is recommended to work in a dust-free environment when opening the housing. An infrared filter is included by default to reduce sensitivity to bright IR light sources from the sun. Removing this filter is possible but voids the warranty permanently and might not be reversible without tools. Safety is paramount when working with sensitive electronics. The device must be powered by a Raspberry Pi only and kept in a ventilated area away from heat or moisture accumulation on boards to prevent short circuits. For further details on operations like image capturing with commands such as raspistill, refer to the official online resources continuously. Whether for security, science, or art, this hardware delivers clarity. Remember to follow all safety guidelines regarding conductive surfaces and handling to ensure longevity. Compliance with EU and FCC regulations ensures reliability across different regions and use cases worldwide for safe operation.
Search for 67,706 Manuals online


Type-in Brand or Model