
Raspberry Pi 6mm CS-mount Manual
PDF manual · 1 Pages
English


Quick check
Incorrect answer, please try again.
Chat with your Raspberry Pi 6mm CS-mount manual using AI
Get instant AI answers from your Raspberry Pi 6mm CS-mount manual
Ask anything about the Raspberry Pi 6mm CS-mount. Answers come from this manual, with the pages they are based on.
Ask a Question
Do you recommend 6mm CS-mount?
Yes NoFrequently Asked Questions
A CS-mount lens does not need the C-CS adapter included with the camera. Using the adapter will prevent proper focusing.
Is this answer helpful?
Turn the middle ring clockwise while holding the outer ring steady. Then tighten the side screw to lock the setting.
Is this answer helpful?
It typically takes four or five whole turns to bring the image into focus using the outer two rings.
Is this answer helpful?
Yes, it is suitable for macro photography because it can focus objects at very short distances effectively.
Is this answer helpful?
Tighten the screw on the focus ring labelled NEAR FAR before turning the main focus rings.
Is this answer helpful?
You may need to adjust the aperture again after focusing since lighting conditions change with adjustments.
Is this answer helpful?
Screwing it in fully provides the shortest possible back-focal length for better optical performance.
Is this answer helpful?
Advantages and Disadvantages
Advantages

- Low cost option for high quality camera users
- Capable of macro photography at very short distances
- CS-mount design eliminates need for C-CS adapter
- Aperture screw allows for locking light settings
- Manual focus offers tactile control over composition
Disadvantages

- Requires removal of standard adapter ring for proper fit
- Focus adjustment requires multiple turns for distant objects
- Manual aperture control needs careful handling to avoid slips
- No autofocus mechanism included with the basic unit
- Focus and aperture adjustments may need rechecking after changes
Product Specification
Manufacturer
Various
Type
Lens (6mm, CS-Mount)
Platform
Raspberry Pi HQ Camera
Product Description
Overview
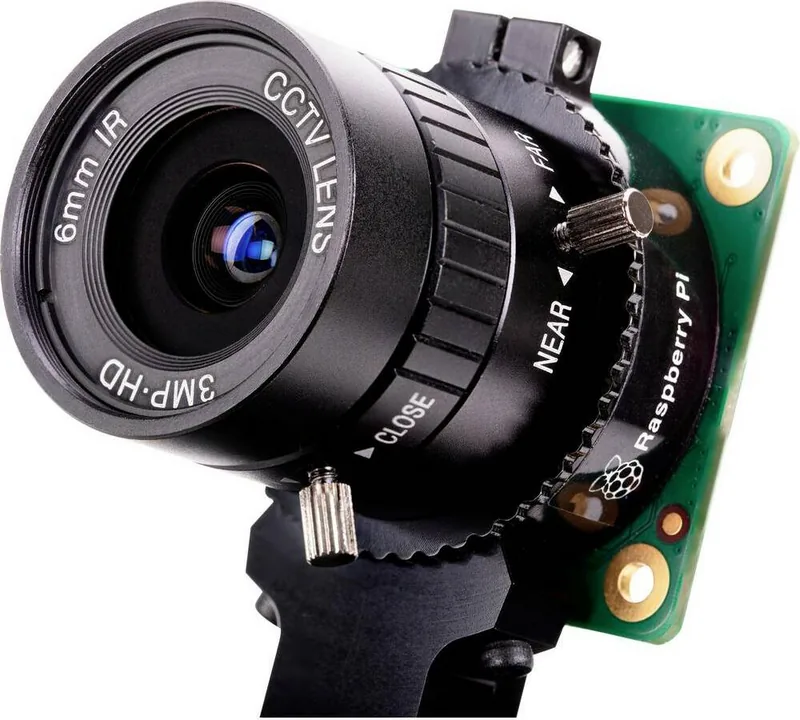
The Raspberry Pi 6mm Lens for High Quality Camera Manual provides essential guidance for enhancing your imaging capabilities with the Raspberry Pi Foundation High Quality Camera. This lens is designed specifically for users seeking high quality photography without breaking the bank. It offers a versatile solution for both standard photography and specialized macro photography tasks. Many hobbyists and professionals alike choose this lens due to its affordability combined with robust performance.
Installation
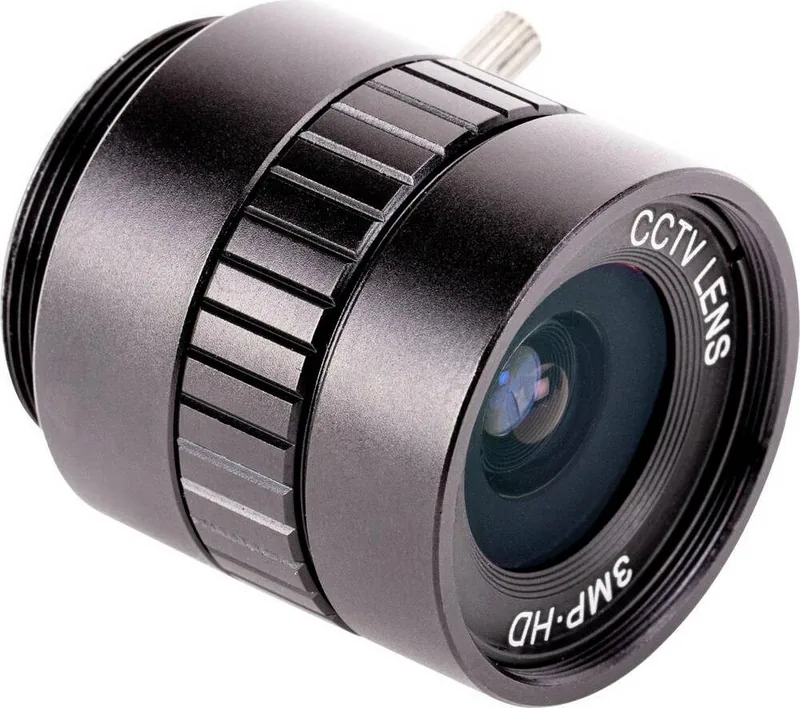
Fitting the lens to the camera is a straightforward process that requires attention to detail. The lens operates as a CS-mount device, meaning it possesses a short back focus. Consequently, it does not require the C-CS adapter that typically comes with the High Quality Camera. Using the adapter ring with this specific lens will prevent proper focusing. Therefore, it is crucial to identify the part correctly and remove the adapter ring if necessary before proceeding. Once the adapter is removed, rotate the lens clockwise all the way into the back focus adjustment ring carefully.
Aperture
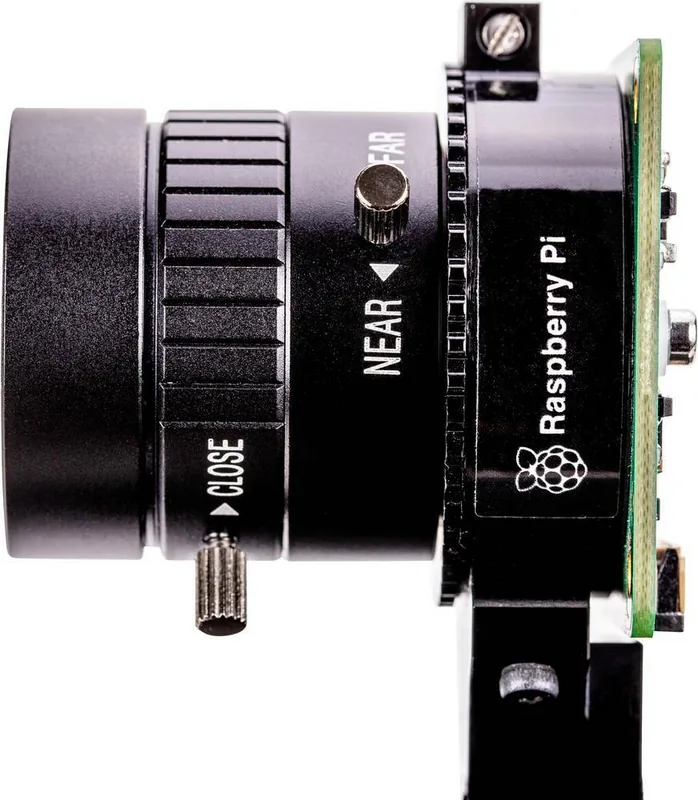
Adjusting the aperture allows you to control the light entering the camera effectively. To adjust the aperture, hold the camera with the lens facing away from you. Turn the middle ring while holding the outer ring, furthest from the camera, steady. Turn clockwise to close the aperture and reduce image brightness. Turn anti-clockwise to open the aperture. Once you are happy with the light level, tighten the screw on the side of the lens to lock the aperture securely in place. This prevents accidental changes during handling.
Back Focus
The back focus adjustment ring and lock screw ensure the lens maintains alignment. The back focus adjustment ring should be screwed in fully for the shortest possible back-focal length. Use the back focus lock screw to make sure it does not move out of this position when adjusting the aperture or focus. This stability is vital for consistent image quality during extended shooting sessions. Without this lock, environmental factors could shift the focus plane.
Focusing
Focusing requires precision and patience. First, lock the inner focus ring labelled NEAR FAR in position by tightening its screw. Now hold the camera with the lens facing away from you. Hold the outer two rings of the lens and turn them both clockwise until the image comes into focus. It will take four or five whole turns. To adjust focus, turn the outer two rings clockwise to focus on a nearby object. Turn them anti-clockwise to focus on a distant object. You may find you need to adjust the aperture again after this. Patience ensures the sharpest results.
Search for 67,706 Manuals online


Type-in Brand or Model
Thomas Weber
5 months ago
I noticed the lens on my Raspberry Pi Camera Module adjusts easily, unlike reviews mentioning old batches needed a lathe. Did you change suppliers or manufacturing?
Manual.ly
5 months ago
Thank you for your feedback. We are constantly working with our manufacturers to improve production consistency. The latest batches feature an updated lens mount design that allows for manual adjustment without the need for a lathe. This change was made to simplify the setup process for all customers.