
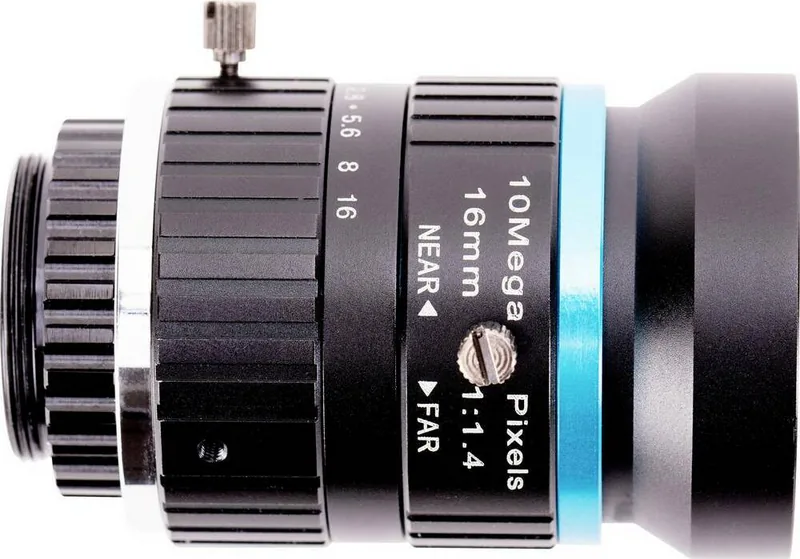
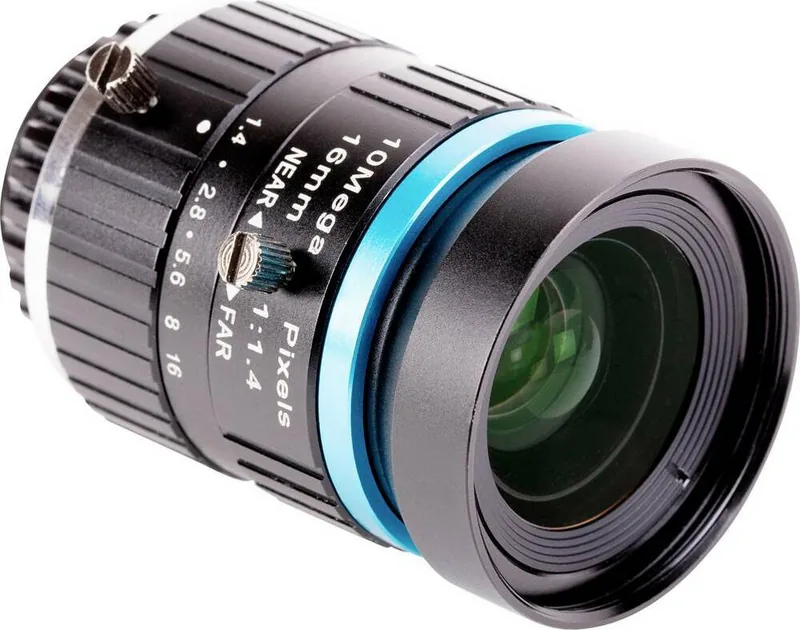
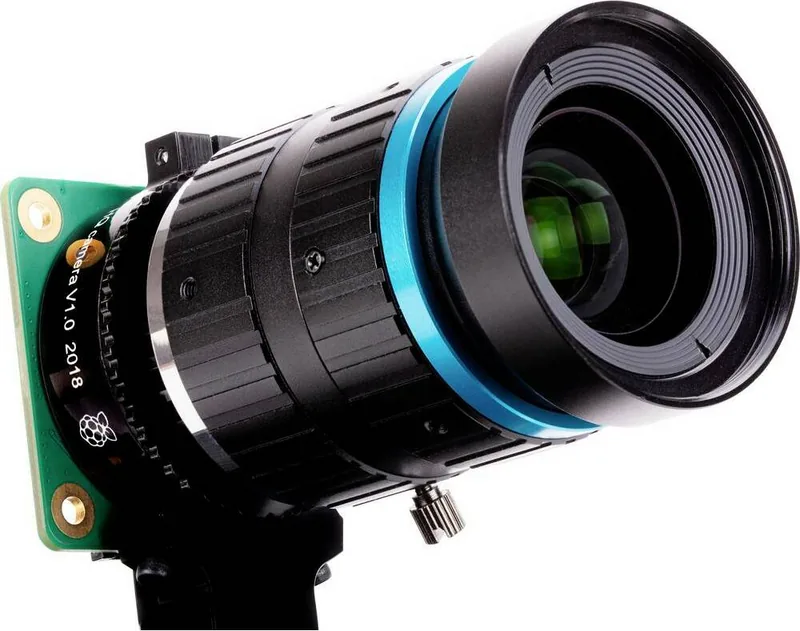
Raspberry Pi 16mm C-mount Manual
PDF manual · 1 Pages
English


Quick check
Incorrect answer, please try again.
Chat with your Raspberry Pi 16mm C-mount manual using AI
Get instant AI answers from your Raspberry Pi 16mm C-mount manual
Ask anything about the Raspberry Pi 16mm C-mount. Answers come from this manual, with the pages they are based on.
Ask a Question
Do you recommend 16mm C-mount?
Yes NoFrequently Asked Questions
This lens provides higher quality images and a narrower angle of view suited for distant objects while using a C-mount standard that differs from the 6mm option.
Is this answer helpful?
Yes, a C-CS adapter is included to accommodate the longer back focus of the C-mount lens for proper mounting to the camera body.
Is this answer helpful?
Turn the ring labelled NEAR FAR. Anti-clockwise for near objects and clockwise for distant objects. Adjust aperture after focus changes.
Is this answer helpful?
Turn the inner ring closest to the camera. Clockwise closes it to reduce brightness. Anti-clockwise opens it for more light.
Is this answer helpful?
It must be screwed in fully to maintain stability and prevent movement during focus or aperture changes during use.
Is this answer helpful?
No, you must fit the C-CS adapter to the lens because of the longer back focus distance required by the C-mount system.
Is this answer helpful?
Yes, tighten the side screw after adjusting the aperture to ensure settings do not shift accidentally during transport or operation.
Is this answer helpful?
Advantages and Disadvantages
Advantages

- Higher image quality compared to the 6 mm lens found in entry-level kits
- Narrow angle of view is ideal for capturing distant objects clearly
- C-mount standard ensures compatibility with specific adapters and accessories
- Manual control allows for fine-tuning exposure and focus settings
Disadvantages

- Requires specific C-CS adapter for correct back focus distance
- Manual adjustments may take time to master for new users
- Aperture screw must be tightened to prevent accidental shifting
Product Specification
Manufacturer
Various
Type
Lens (0.63 in, C-Mount)
Platform
Raspberry Pi HQ Camera
Product Description
Mastering the Raspberry Pi 16mm Lens for High Quality Camera Manual Experience
Enhance Your Imaging Capabilities
Unlock the full potential of your imaging setup with the dedicated 16 mm lens designed specifically for the High Quality Camera system. This optical component offers a significantly superior visual image quality compared to standard options like the 6 mm lens found in basic kits. The most defining characteristic of this lens is the narrow angle of view it provides. This optical property makes it perfectly suited for capturing high-resolution images of distant objects that other lenses might blur or distort. It is an essential upgrade for hobbyists and professionals who demand precision optics without sacrificing clarity in their project builds. This gear is vital for anyone looking to enhance their optical resolution significantly.
Installation and Mechanical Setup
Fitting this precision lens requires careful attention to mechanical details to ensure optimal performance. The lens operates as a robust C-mount device, which means it possesses a longer back focus distance than the 6 mm lens found in entry-level models. Consequently, you must ensure the specific C-CS adapter included with the High Quality Camera is properly fitted to the lens before attempting installation. Never attempt to mount the lens directly without this adapter. You need to rotate both the lens and the adapter clockwise all the way into the back focus adjustment ring. Once secured, ensure the back focus adjustment ring is screwed in fully to maintain maximum stability during operation. This prevents unwanted shifting when you handle the device.
Precise Manual Control
Adjusting the focus involves specific hand movements and patience to achieve the sharpest results possible. Use the ring labelled NEAR FAR to change the focal point accurately. Turn the focus ring anti-clockwise to focus on nearby objects and clockwise to focus on a distant object. It is crucial to note that you may need to adjust the aperture again after changing the focus to maintain optimal exposure levels. To adjust the aperture controls, hold the camera steady with the lens facing away from you. Turn the inner ring closest to the camera body directly. Turn clockwise to close the aperture and reduce image brightness if the scene is too bright. Turn anti-clockwise to open the aperture for more light in darker environments.
Finalizing Your Setup
Once you are satisfied with the light level, tighten the screw on the side of the lens to lock the aperture into position permanently. This ensures your settings do not shift accidentally during transport or operation. This manual control allows for fine-tuning that automated systems often lack. The rigidity provided by the lock screw is vital for consistent image output. By following these steps you ensure longevity and peak performance for your optical project. Regular checks on the lock screw can prevent accidental misalignment over time in the field. Experience the difference in quality today.
Search for 67,706 Manuals online


Type-in Brand or Model