
PDP Afterglow Wave 500-238 Manual
PDF manual · 29 Pages
English



Quick check
Incorrect answer, please try again.
Chat with your PDP Afterglow Wave 500-238 manual using AI
Get instant AI answers from your PDP Afterglow Wave 500-238 manual
Ask anything about the PDP Afterglow Wave 500-238. Answers come from this manual, with the pages they are based on.
Ask a Question
Do you recommend Afterglow Wave 500-238?
Yes NoFrequently Asked Questions
Turn on the Switch and press any controller button. If not connecting automatically go to controllers menu select change grip order. Hold the sync button for 3 seconds until player indicator light is solid. This establishes the wireless connection reliably.
Is this answer helpful?
Use the included USB-C cable to connect to the Nintendo Switch dock or USB port. The LED indicator will blink red while charging and turn white when fully charged. Avoid overcharging to maintain battery health.
Is this answer helpful?
Yes hold the function button and press the back button you want to map then press the front button you want to assign. The LED blinks three times to confirm success. This allows advanced gameplay inputs.
Is this answer helpful?
Four pre-programmed effects are included: wave breathing static and stick. You cycle between them using the function button and L or R keys. These adjust to your preference and save automatically.
Is this answer helpful?
Battery lasts only one or two hours out of box. Fully charge before initial use. Recharge every three months even if stored to prevent deep discharge issues affecting longevity.
Is this answer helpful?
Hold function button and use D-pad left or right to change LED color. Release to save. White option available via clicking the left analog stick. Wave mode remains rainbow by default.
Is this answer helpful?
Hold the sync button on the top of the controller for at least one second. This removes the pairing from the Nintendo Switch device effectively.
Is this answer helpful?
Advantages and Disadvantages
Advantages

- Customizable RGB lighting effects including wave breathing static and stick modes enhance visual appeal.
- Programmable back buttons allow for complex command mapping and enhanced gameplay mechanics.
- Wireless connectivity works seamlessly with Nintendo Switch and OLED models without lag.
- Long battery life after full charge plus USB-C charging convenience for users.
- Solid build quality suitable for extended gaming marathon sessions without fatigue.
Disadvantages

- Initial battery life is short requiring immediate charging before first play session.
- Lighting colors for specific modes like wave cannot be customized to user preference.
- Programming buttons requires specific button combinations that may confuse new users initially.
- Sync button is located at the top which might be awkward for some grips.
- Need to charge every three months even if not used to prevent battery drain.
Product Specification
Type
Gamepad
Compatibility
Switch
Connection
Wireless (Bluetooth)
Power Supply
Battery (integrated)
Buttons
17 (total), 5 (function buttons), 4 (action buttons), 2 (triggers), 2 (shoulder buttons), 2 (analog sticks), 2 (rear)
Analog Sticks
1 concave (left above D-pad), 1 concave (right below action buttons)
D-pad
concave
Features
LED lighting, 2 programmable buttons
Product Description
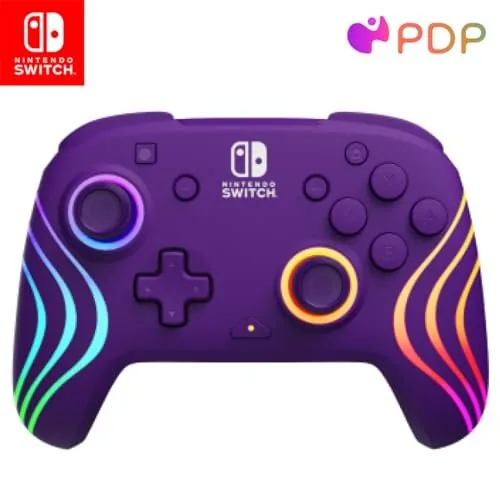
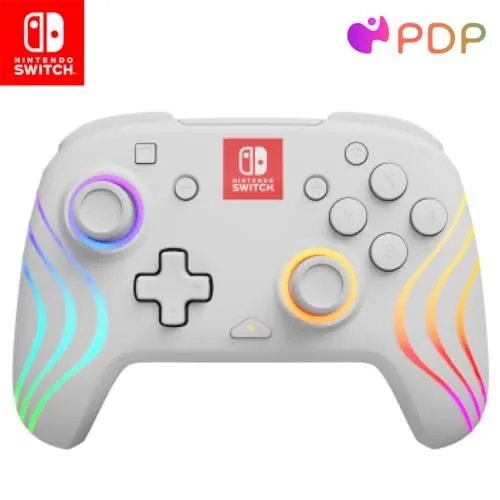
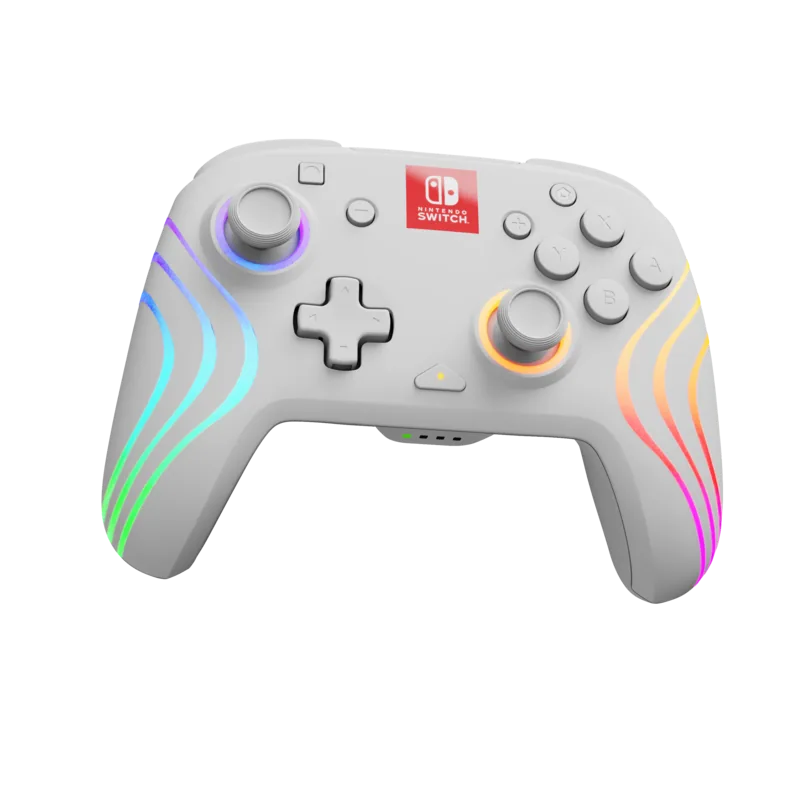
Unlock Your Gaming Potential with the PDP Afterglow Wave Wireless Controller (Switch)
Step into the arena of competitive gaming with enhanced precision and style. The PDP Afterglow Wave Wireless Controller (Switch) is designed to elevate your Nintendo Switch experience significantly. Whether you are exploring the vast landscapes of Hyrule or battling opponents in Super Smash Bros this device offers reliability and extensive customization options. When you start using your new peripheral it is wise to review the PDP Afterglow Wave Wireless Controller (Switch) Manual to ensure optimal performance from day one. This guide covers essential setup procedures and advanced configurations necessary for full utilization.
One of the standout features is the immersive lighting system designed to reflect your play style. You can choose from several pre-programmed effects including Wave Breathing Static and Stick modes. The RGB lights react dynamically to analog stick movement or pulse with chosen colors for visual flair. Adjusting brightness is straightforward using the function button and shoulder triggers like ZR or ZL. For those who want full control over their controls the back buttons can be remapped for quick access to complex commands. Simply hold the function key and map specific actions to the rear triggers during the programming phase. This customization helps streamline gameplay and gives you a competitive edge in tight matches. The ability to cycle through these modes allows for personal expression during streaming or recording gameplay footage. Colors can be customized for specific moods though some modes like Wave remain rainbow patterns. Programming back buttons involves holding the function key while pressing the target rear button and then mapping the front button action.
Connectivity is seamless with compatible Nintendo Switch devices including the OLED model. Pairing occurs quickly via the sync button located at the top near the charging port. If connection issues arise the device supports simple reconnection protocols through the change grip order menu in settings. Battery health is also managed effectively though you should charge it fully before first use to maximize session time. The LED indicator shows charging status turning red while powered and white when complete. Regular maintenance every three months prevents deep discharge issues when storing the unit between uses.
Important Setup Notes
Before gaming you must charge the battery as it may only last one or two hours out of the box initially. Use the included USB-C cable to connect to a dock or wall adapter. To disable custom lighting effects simply press the function button combinations specified in the guide. Keeping these tips in mind ensures your wireless controller performs at its peak for long marathon gaming sessions. The robust build quality combined with wireless freedom makes this an ideal accessory for any fan looking to upgrade their handheld console experience today. If you notice the function button LED blinking red every thirty seconds battery replacement or recharging is required promptly. Regular upkeep ensures long-term reliability for your daily gaming routine across all platforms. Understanding the pairings for home button wake functions saves time when resuming interrupted sessions from sleep mode quickly.
Search for 67,706 Manuals online


Type-in Brand or Model