
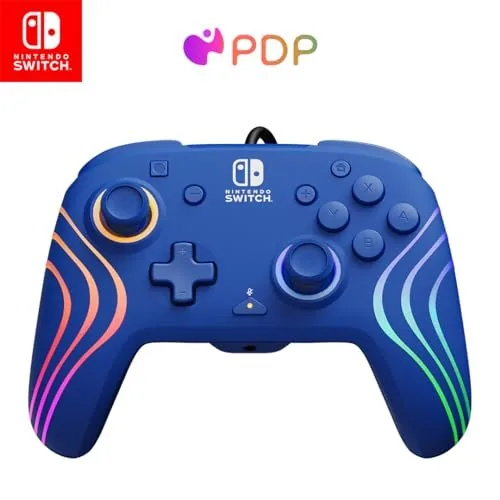
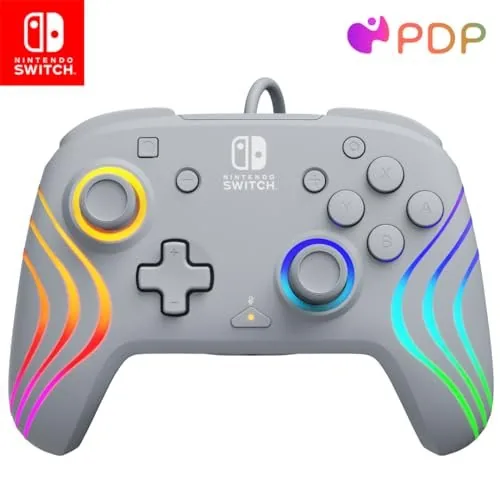
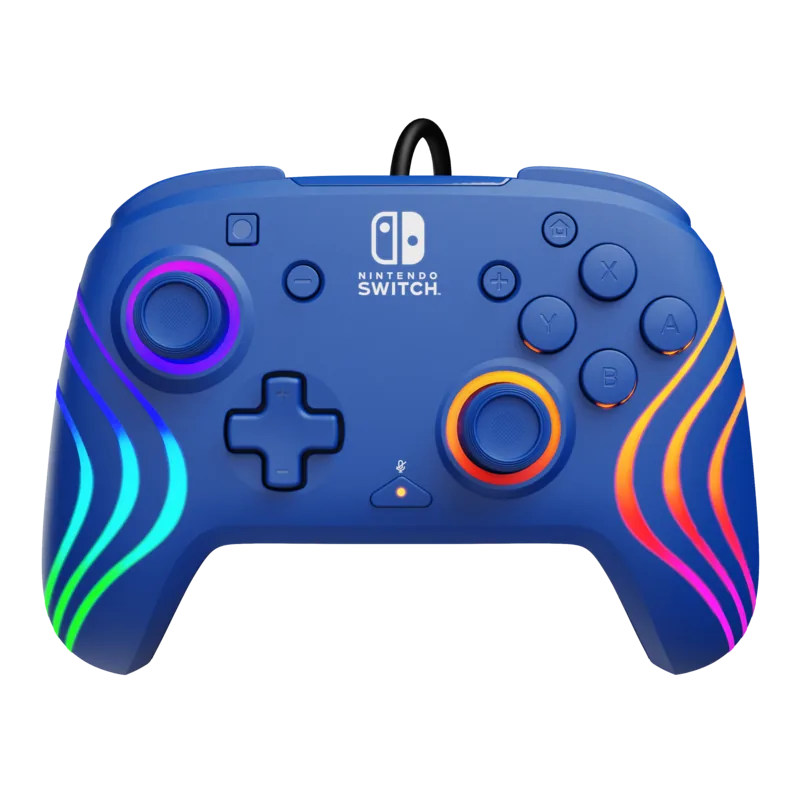
PDP Afterglow Wave 500-237 Manual
PDF manual · 43 Pages
English



Quick check
Incorrect answer, please try again.
Chat with your PDP Afterglow Wave 500-237 manual using AI
Get instant AI answers from your PDP Afterglow Wave 500-237 manual
Ask anything about the PDP Afterglow Wave 500-237. Answers come from this manual, with the pages they are based on.
Ask a Question
Do you recommend Afterglow Wave 500-237?
Yes NoFrequently Asked Questions
Plug the USB cable into the Nintendo Switch dock. The controller should automatically pair with the device. If it does not, go to System Settings, Controller and Sensors, Change Grip/Order, and press L and R when prompted to connect.
Is this answer helpful?
Yes, plug a 3.5mm headset directly into the port on the controller. When connected, audio via HDMI devices will be disabled. You may need to reconnect the controller and adjust volume by holding the Home button if sound is too low.
Is this answer helpful?
Hold down the function button and press either L or R to cycle through modes like Wave, Breathing, Static, and Stick. To change colors or brightness, hold the function button and use the D-pad or TRZ/R buttons respectively.
Is this answer helpful?
To quickly mute the connected headset microphone, press the function button twice. Pressing it twice again will unmute the microphone for future calls.
Is this answer helpful?
Yes, the controller is designed for the Nintendo Switch and the Nintendo Switch OLED Model. You can follow the same setup procedures found in the documentation for both devices.
Is this answer helpful?
Hold down the function button and double press any back button. This action will clear the mapped function or disable the back buttons completely for a fresh start.
Is this answer helpful?
Advantages and Disadvantages
Advantages

- Customizable RGB lighting effects with four distinct modes including wave and breathing
- Dedicated 3.5mm audio jack allows direct headset connection without HDMI interference
- Programmable back buttons enable advanced control mapping for competitive gameplay
- Simple volume controls located on the controller for quick adjustments
- Compatible with both Nintendo Switch and Nintendo Switch OLED Model consoles
Disadvantages

- Wired connection restricts player mobility compared to wireless options
- Single audio output restriction prevents playing sound on TV and headset simultaneously
- Learning curve required for mapping custom functions to back buttons effectively
- Volume controls adjust controller output rather than the system OS level
- Some lighting colors cannot be customized in specific modes like wave
Product Specification
Type
Gamepad
Compatibility
Switch
Connectivity
Wired (9.84 ft), USB
Power
USB
Buttons
17 (total), 5 (function buttons), 4 (action buttons), 2 (triggers), 2 (shoulder buttons), 2 (analog sticks), 2 (back)
Analog Sticks
1 concave (left above D-pad), 1 concave (right below action buttons)
D-Pad
concave
Special Features
3.5mm jack, LED lighting, 2 programmable buttons
Product Description
Welcome to Your Ultimate Gaming Setup
Welcome to the ultimate gaming setup guide featuring detailed insights associated with the PDP Afterglow Wave Wired Controller (Switch) Manual. This wired controller transforms your Nintendo Switch into a premium gaming device designed for maximum comfort and extensive customization options. The initial setup begins by connecting the USB cable securely to the dock. It pairs automatically with the device for immediate play without delay. If connection fails, users can access System Settings to navigate to Controller and Sensors to change grip order. Pressing the L and R buttons finalizes the pairing process directly. This straightforward approach ensures minimal downtime and maximum fun for every gamer eager to start their journey.
Audio functionality is a standout feature with its dedicated 3.5mm jack port. You can plug a headset directly into the controller port for immersive sound. Note that HDMI devices will disable audio while the headset is connected. When connecting more than one USB device, the first one works exclusively. The system prompts a controller reconnection after audio setup is complete. If sound is missing, check volume levels on the external device. Holding the Home button on the controller adjusts the gain significantly. This ensures clear communication during intense team matches and voice chats.
The volume controls allow precise adjustments for your specific audio setup needs. Holding the function button lets you press D-pad up or down to change levels efficiently. Muting the microphone is as simple as double-pressing the function button again. These settings manage the controller output without changing the OS level system settings. Programming the back buttons adds another layer of custom gameplay strategy. Hold the function button and press the back button to map specific controls. A flashing LED confirms the mapping was successful every time. You can clear these mappings if needed for different games or playstyles.
Lighting effects provide a visual customization experience with four selectable options. Styles include Wave, Breathing, Static, and Stick modes for dynamic visuals. Cycling through these modes requires holding the function button and pressing L or R. Changing colors uses the function button combined with left and right D-pad inputs. White is selected by clicking the left analog stick while holding the function key for a moment. Adjusting brightness involves ZR and ZL buttons to increase or decrease light intensity levels.
Important Notes
Following the guidelines ensures you get the most out of your hardware investment. The information reflects the standards set within the PDP Afterglow Wave Wired Controller (Switch) Manual for optimal performance. Always verify your firmware and settings match the latest recommendations provided by the manufacturer. These features combine to create a responsive and visually stunning peripheral for competitive and casual play alike. The OLED model is fully supported by these instructions. Enjoy the enhanced precision and lighting aesthetics that define this essential accessory for your daily gaming routine.
Search for 67,706 Manuals online


Type-in Brand or Model