
Palram Canopia Milano 4300 Manual
PDF manual · 64 Pages
English



Quick check
Incorrect answer, please try again.
Chat with your Palram Canopia Milano 4300 manual using AI
Get instant AI answers from your Palram Canopia Milano 4300 manual
Ask anything about the Palram Canopia Milano 4300. Answers come from this manual, with the pages they are based on.
Canopia Milano 4300 Maintenance Schedule
Regularly remove snow, dirt, and leaves from the roof and gutters to prevent unsafe heavy loads and blockages.
Use a mild detergent solution and rinse with cold clean water. Do not use acetone, abrasive cleaners, or special detergents on panels.
Ask a Question
Do you recommend Canopia Milano 4300?
Yes NoFrequently Asked Questions
You must build the gazebo on a solid, leveled surface such as concrete, asphalt, or a wood deck. Soil foundations are also possible if holes are dug and filled with concrete.
Is this answer helpful?
While possible, it is strongly recommended that at least two people assemble the product for safety reasons due to the size and weight of the components.
Is this answer helpful?
The panels have a UV-protected side marked with "THIS SIDE OUT". You must install them with this side facing outward for proper protection and warranty coverage.
Is this answer helpful?
Yes, anchoring the product to the ground is essential for its stability and rigidity. Failure to complete this step will invalidate your warranty.
Is this answer helpful?
Use a mild detergent solution and rinse with cold clean water. Do not use acetone, abrasive cleaners, or special detergents as they may damage the panels.
Is this answer helpful?
Advantages and Disadvantages
Advantages

- UV-protected polycarbonate panels for long-lasting durability
- Modern gray design complements various garden styles
- Requires minimal maintenance with simple cleaning
- Solid construction ensures stability against wind and snow
Disadvantages

- Assembly requires at least two people for safety
- Must be anchored to a solid base like concrete or wood
- Does not include curtains or netting accessories
- Strict adherence to assembly steps needed for warranty validity
Product Specification
Color
gray
Frame Material
Aluminum
Roof Material
Polycarbonate
Side Panels
No
Shape
Square
Features
UV-resistant, weatherproof
Dimensions (LxWxH)
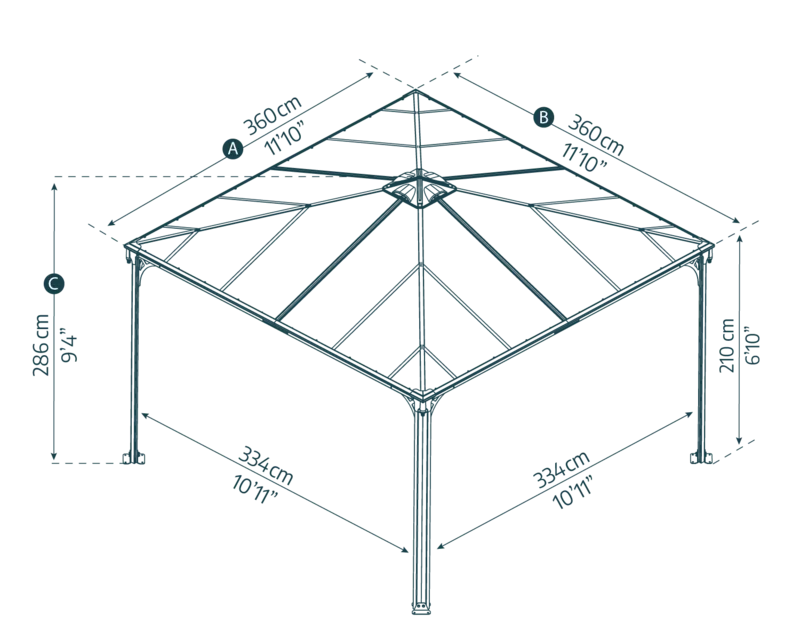
121.65x121.65x88.58in
Product Description
Elevate Your Outdoor Living with the Palram Canopia Milano Gazebo
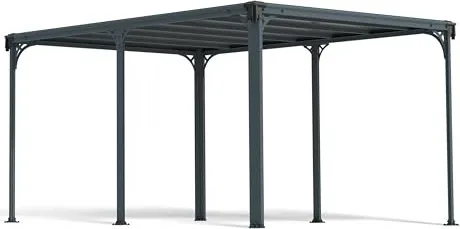
Transform your backyard into a sophisticated retreat with the Palram Canopia Milano Gazebo 4300 Pavilion in sleek gray. This structure is designed to provide a durable and stylish shelter that enhances any garden or patio space. The modern aesthetic of the gray finish blends seamlessly with various landscape designs, offering a clean and contemporary look that stands the test of time.
The Milano 4300 model is engineered for stability and longevity. Constructed with high-quality materials, it features UV-protected panels that ensure the interior remains cool and protected from harsh sunlight while maintaining clarity. The assembly process is straightforward when following the included manual, allowing homeowners to create their own outdoor sanctuary. It is crucial to prepare a solid foundation, such as concrete or a wood deck, to ensure the gazebo performs optimally under all weather conditions.
Safety is a priority during installation. The manufacturer recommends assembling this unit with at least two people to handle the components safely and efficiently. Always wear protective gear like gloves and eye protection. Remember to install the panels with the UV-protected side facing outward, marked clearly on the material. Proper anchoring to the ground is not just a recommendation but a requirement for the warranty to remain valid, ensuring the structure can withstand wind and heavy snow loads.
Maintenance is simple and requires only mild detergent and cold water to keep the panels looking pristine. Avoid abrasive cleaners or acetone which could damage the surface. With proper care, this gazebo will serve as a reliable gathering spot for years to come, providing shade and shelter for family events or quiet afternoons reading.
Important Installation Notes
- Ensure the ground is perfectly level before starting assembly.
- Do not tighten all screws until the entire structure is complete.
- Keep children away from the assembly area for safety.
- Remove plastic stickers immediately after panel installation.
Search for 67,706 Manuals online


Type-in Brand or Model