
Palram Bella 8x20 Manual
PDF manual · 82 Pages
English



Quick check
Incorrect answer, please try again.
Chat with your Palram Bella 8x20 manual using AI
Get instant AI answers from your Palram Bella 8x20 manual
Ask anything about the Palram Bella 8x20. Answers come from this manual, with the pages they are based on.
Bella 8x20 Maintenance Schedule
Use a mild detergent solution and rinse with cold clean water. Do not use acetone, abrasive cleaners or special detergents.
Check that the roof panel stoppers (plastic part 329 and profile 981) are in place.
Ask a Question
Do you recommend Bella 8x20?
Yes NoFrequently Asked Questions
You will need work gloves, a Phillips head screwdriver, an adjustable wrench, a level, a tape measure, a step ladder, scissors, and optionally an electric screwdriver and silicone lubricant.
Is this answer helpful?
While possible, it is strongly recommended that two people perform the assembly to ensure safety, accuracy, and efficiency during the process.
Is this answer helpful?
Yes, the manufacturer recommends securing the greenhouse directly to a solid concrete foundation to ensure stability and maintain warranty validity.
Is this answer helpful?
Use a mild detergent solution and rinse with cold clean water. Do not use acetone, abrasive cleaners, or special detergents that could damage the panels.
Is this answer helpful?
No, screws and masonry anchors are not supplied with the kit. You must purchase appropriate anchoring materials based on your existing base type.
Is this answer helpful?
Advantages and Disadvantages
Advantages

- High wind and snow load resistance ensures durability in various weather conditions
- Modular design allows for easy extension from 8x8 up to 8x20 feet
- UV-protected polycarbonate panels shield plants while maximizing natural light
- Sleek silver aluminum frame offers a modern aesthetic and long-lasting corrosion resistance
- Roof windows provide effective ventilation to regulate internal temperature and humidity
Disadvantages

- Assembly is complex and strongly recommended for two people to complete efficiently
- Anchoring screws and masonry anchors are not included and must be purchased separately
- Requires a flat, solid concrete foundation for proper stability and warranty validity
- Cleaning requires specific non-abrasive products to prevent panel damage
- Initial setup takes approximately half a day to complete according to instructions
Product Specification
Glazing
Polycarbonate 6mm (hollow chamber sheets)
Frame
Aluminum
Color
silver
Area
161.46 sq ft
Door
Double swing door
Dimensions (WxDxH)
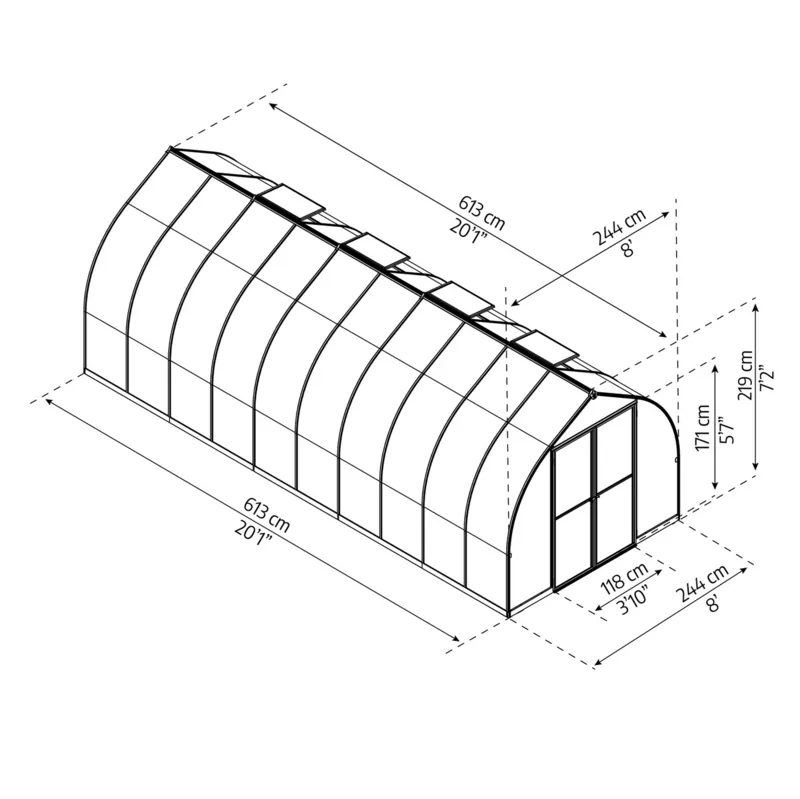
158.27x96.13x86.22 in
Weight
229.71 lbs
Scope of delivery
Steel foundation
Product Description
Cultivate Your Garden with the Palram Bella 8X20 Greenhouse Silver
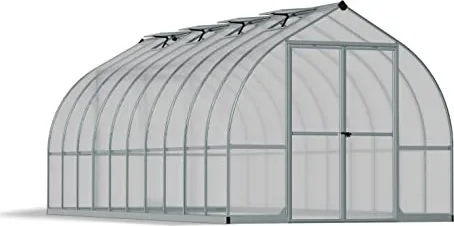
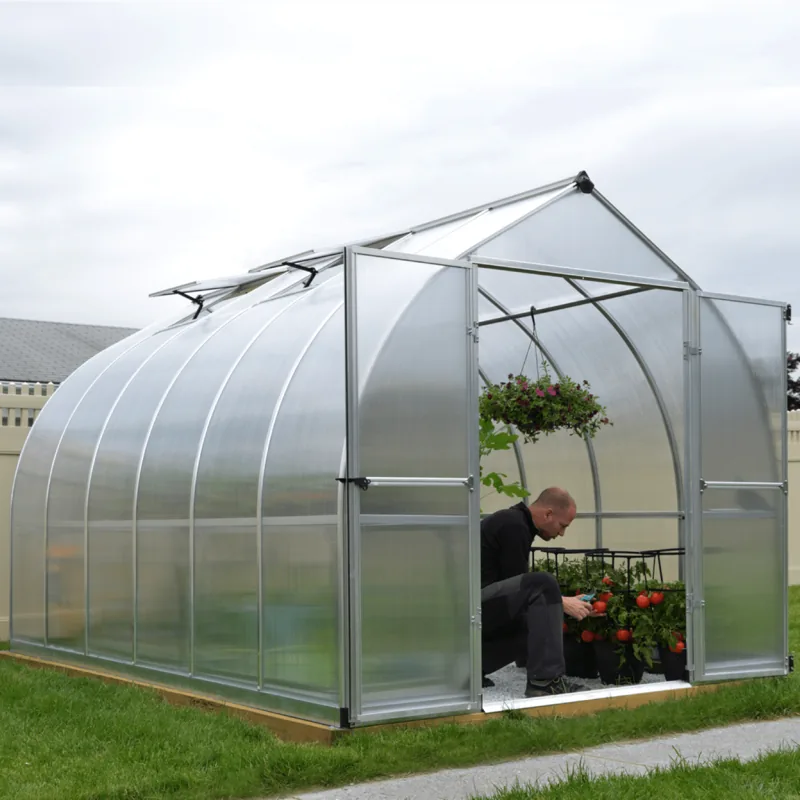
The Palram Bella 8X20 Greenhouse Silver is a premier choice for gardeners seeking to extend their growing season in style and durability. This expansive structure offers ample room for cultivating a wide variety of plants, from delicate seedlings to robust vegetables and ornamental flowers. Designed with the user in mind, this manual assembly kit features a sleek silver aluminum frame paired with durable polycarbonate panels that provide superior light transmission while protecting your plants from harsh UV rays.
Constructed for longevity, the greenhouse boasts impressive wind resistance and snow load capacity, ensuring your harvest remains safe even during inclement weather. The modular design allows for easy expansion, making it adaptable to your evolving gardening needs. Whether you are a seasoned horticulturist or a weekend hobbyist, the Palram Bella provides a stable, climate-controlled environment that encourages healthy plant growth year-round. Its thoughtful engineering includes pre-drilled holes for secure anchoring, which is essential for maintaining stability and keeping your warranty valid. With proper care and maintenance, this greenhouse becomes a reliable sanctuary for your green thumb projects.
Key Features and Assembly Insights
Assembly requires patience and attention to detail. It is best performed by two people over the course of half a day. The process involves sorting parts, ensuring the base is perfectly level and square, and carefully sliding UV-protected panels into the profiles. Remember to keep the film on until installation is complete to avoid scratches. The roof windows offer excellent ventilation control, crucial for regulating temperature and humidity inside the structure. Always follow the step-by-step instructions precisely to ensure all screws and nuts are tightened correctly without over-tightening during the initial phases.
Important Maintenance Notes
Keep your greenhouse looking new by cleaning panels with mild detergent and cold water. Avoid abrasive cleaners or acetone, as these can damage the polycarbonate surface. Regularly check the roof window mechanisms and ensure all anchors remain tight after seasonal changes. Proper anchoring to a solid concrete foundation is not just recommended; it is required for structural integrity and warranty compliance.
Search for 67,706 Manuals online


Type-in Brand or Model