
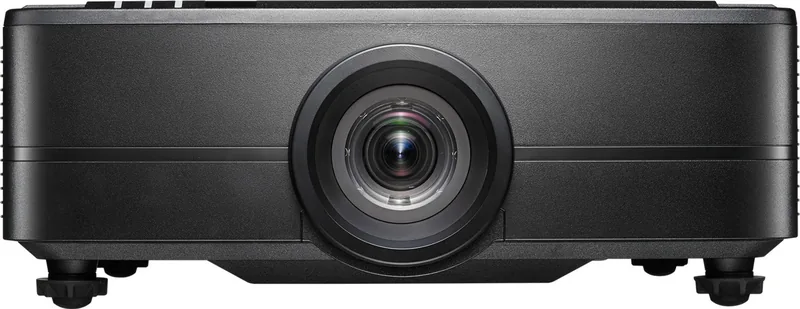
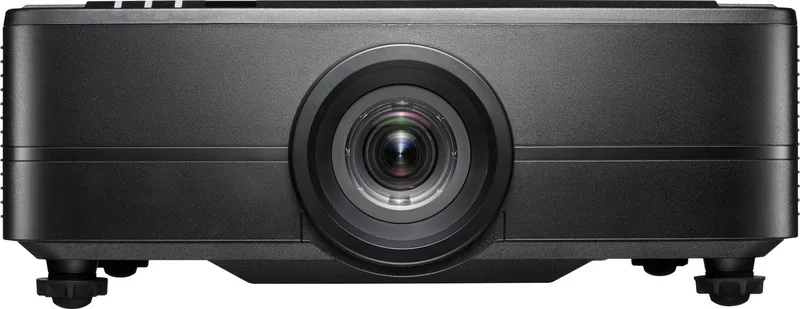
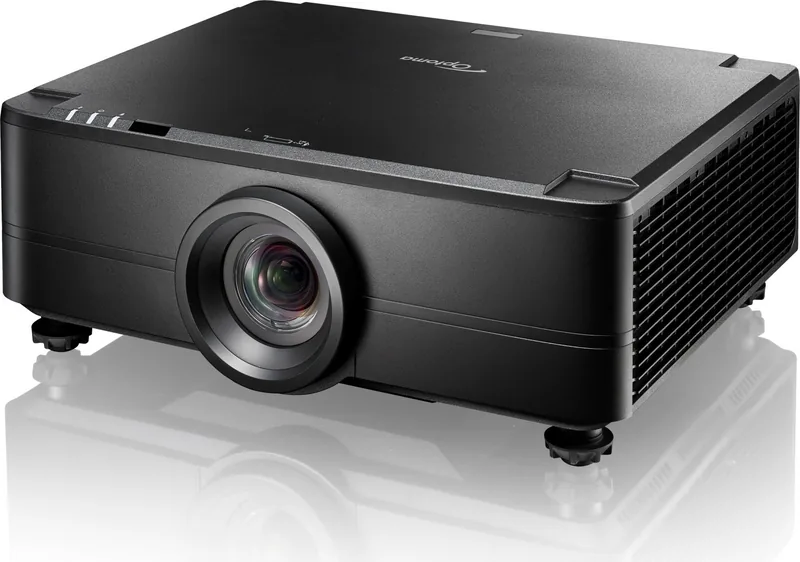
Optoma ZU820T Manual
PDF manual · 89 Pages
English



Quick check
Incorrect answer, please try again.
Chat with your Optoma ZU820T manual using AI
Get instant AI answers from your Optoma ZU820T manual
Ask anything about the Optoma ZU820T. Answers come from this manual, with the pages they are based on.
ZU820T Maintenance Schedule
Turn off and unplug projector. Use compressed air to remove dust, then gently wipe with a special cloth. Do not use alcohol or solvents.
Remove battery cover, insert two AAA batteries, and replace cover. Remove batteries if storing for extended periods to prevent leakage.
Ask a Question
Do you recommend ZU820T?
Yes NoFrequently Asked Questions
Turn off and unplug the projector. Use compressed air to remove dust and a special cloth to wipe gently. Do not touch with fingers or use solvents.
Is this answer helpful?
Yes ceiling mount is supported. Use Optoma mount or ensure third party screws meet specifications like M4*4 type.
Is this answer helpful?
Supports up to 4096 x 2160 at 60Hz via HDMI 2.0. Also includes 1080p 720p and standard PC resolutions.
Is this answer helpful?
Enable 3D mode in the Image menu. Select DLP Link technology and ensure glasses are compatible with the projector signal.
Is this answer helpful?
Enable network setup in Communication menu. Use web browser or RS232 commands to send control protocols like PJ Link or Crestron.
Is this answer helpful?
Lens shift varies by model. 1.6x lens models offer 50 percent horizontal and 110 percent vertical shift capability for flexible placement.
Is this answer helpful?
Allow 90 seconds for cooling cycle after turning off. Disconnect power only after LED indicates standby mode is active.
Is this answer helpful?
Advantages and Disadvantages
Advantages

- Motor-driven lens shift adjusts projection position horizontally and vertically without moving the device.
- Extensive connectivity options include HDMI VGA and HDBaseT terminals for versatile source connections.
- Supports multiple resolutions up to 4K inputs ensuring crisp visuals across various content types.
- 3D compatibility brings depth to entertainment content when paired with appropriate glasses.
- Network integration allows for remote management through web browsers or control systems.
Disadvantages

- Proper ventilation is vital to prevent overheating requiring at least 500mm clearance around vents.
- Cleaning the lens requires gentle approved materials to avoid damage to the optical surface.
- Laser safety warnings must be followed to protect viewers from direct beam exposure.
- Ceiling mounting requires specific clearance and screw specifications to ensure stability and warranty safety.
- Power management requires understanding eco modes to balance energy consumption and brightness levels.
Product Specification
Type
DLP, 1x 0.67"
Light Source
Phosphor-Laser
Resolution (supported)
WUXGA (1920x1200)
Resolution (native)
WUXGA (1920x1200)
Contrast
3,000,000:1
Video Connections
1x HDMI 2.0 Input, 1x HDMI 1.4a Input, 1x HDMI 2.0 Output, 1x VGA Input
Audio Connections
1x 3.5mm Audio Input, 1x 3.5mm Audio Output
Additional Connections
1x USB, 1x RJ-45, HDBaseT, 1x RS-232
Features
3D Ready (Active), Integrated Speaker (2x 10W)
Lamp Life
30,000 / - / - Hours (Standard / Eco / Eco+)
Noise Level
36 / 34 dB(A) (Standard / Eco)
Power Consumption
520 / 260W (Standard / Eco)
Manufacturer Warranty
5 Years
Product Description
Introduction to Optoma ZU820T
Step into the realm of high definition visual presentations with the Optoma ZU820T projector. This advanced device is designed to meet the diverse needs of modern environments ranging from corporate boardrooms to home theater setups. Achieving optimal performance requires understanding the core functionalities integrated within this sophisticated unit. Users often benefit from consulting the Optoma ZU820T Manual during the initial setup phase to maximize capabilities like lens shifting and image calibration. Detailed menus guide users through image adjustments including brightness contrast sharpness and color temperature settings.
Connectivity and Features
Connecting various media sources is straightforward thanks to extensive input options. HDMI ports VGA connectors and HDBaseT terminals offer versatile connectivity for computers consoles and media players. Network integration allows for remote management through web browsers or control systems. RS232 support enables automation for larger installations. The projector handles multiple resolutions including Full HD and 4K inputs ensuring crisp visuals across various content types. Audio output supports external speakers for immersive soundscapes without additional hardware.
Installation and Maintenance
Installation flexibility is a key highlight. Motor-driven lens shift adjusts the projection position horizontally and vertically without moving the physical device. This feature saves time during setup. 3D compatibility brings depth to entertainment content when paired with appropriate glasses. Safety protocols include laser warnings to protect viewers during operation. Proper ventilation is vital to prevent overheating. Ensure at least 500mm clearance around intake and exhaust vents to maintain reliability. Users should position the device at the correct throw distance for desired screen size. Maintenance involves cleaning the lens gently with approved materials. Avoiding liquid exposure ensures longevity. Power settings manage energy consumption through eco modes. Remote control batteries require regular checks. Ceiling mounting options provide further installation freedom provided clearance requirements are met. Always allow cooling cycles before disconnecting power to protect internal components. Security features allow password protection to prevent unauthorized changes. Users can save up to five geometry memories for different configurations. Image shift and geometric correction allow fitting screens of various shapes. Wall color settings optimize contrast against painted surfaces. Schedule modes enable automatic power on and off actions based on daily routines.
Conclusion
In summary this projector delivers reliability and versatility. Adhering to guidelines ensures consistent output quality. Whether for professional tasks or leisure viewing the system excels. Continuous feature updates via network keep the unit compatible with evolving standards. Prioritize safety and maintenance for years of uninterrupted service. The user experience is enhanced when configurations are applied correctly according to specifications provided in official guides. Remember to check compatibility lists for resolutions and 3D formats. Regular cleaning of ventilation prevents dust accumulation which can affect performance over time. Consult specific documentation for lens models like 1.6x or 1.15x variations to understand throw ratios accurately. Troubleshooting steps include checking power indicators and input source selection if no image appears. Adherence to these practices ensures long term satisfaction with the equipment.
Important Notes
- Ensure ventilation is unobstructed.
- Clean lens carefully.
- Follow safety warnings for laser.
Search for 67,706 Manuals online


Type-in Brand or Model