
Optoma OWM3000ST Manual
PDF manual · 54 Pages
English



Quick check
Incorrect answer, please try again.
Chat with your Optoma OWM3000ST manual using AI
Get instant AI answers from your Optoma OWM3000ST manual
Ask anything about the Optoma OWM3000ST. Answers come from this manual, with the pages they are based on.
Ask a Question
Do you recommend OWM3000ST?
Yes NoFrequently Asked Questions
The mount is intended for short-throw and ultra short throw projectors that match the listed mounting hole groups on the plate. It includes guidance for selecting the correct hole group (A to G) based on your specific Optoma projector model.
Is this answer helpful?
The instructions cover concrete walls, wooden stud walls, and calcium silicate board. Each wall type has minimum thickness or sizing guidance, and it specifies using the appropriate anchors and M6x55 screws for secure attachment.
Is this answer helpful?
The extendable length is listed at 495 mm to 1250 mm. The mount also provides a vertical shift of 80 mm, plus image adjustments for vertical tilt, horizontal roll, and horizontal rotation, each specified at up to +/- 5 degrees.
Is this answer helpful?
A telescopic arm guides power and signal cables through the mount. The wall plate supports multiple cable routing options, allowing you to route cables without sharp bends or strain, then secure the projector position.
Is this answer helpful?
The provided information lists a net weight of 6.8 kg and a weight capacity of 7.5 kg. The mount is TUV certified with a safety factor of 4, but correct installation using the right fixings is still essential.
Is this answer helpful?
The procedure references Allen keys provided for tightening and loosening (including L5 and L3 types) and specific screw/anchor selections (such as M6x55, plus other screw sizes for projector connection). Using the specified tools helps ensure correct torque and alignment.
Is this answer helpful?
The guidance states that at least two persons should install both the mount and the projector. This helps with positioning, securing the wall plate, routing cables, and aligning the projector safely.
Is this answer helpful?
Advantages and Disadvantages
Advantages

- Extendable arm length supports varied throw distances (495 mm to 1250 mm).
- Multi-axis image alignment with vertical shift, tilt, roll, and horizontal rotation.
- Guidance for concrete, wood stud, and calcium silicate board mounting.
- Cable routing through the telescopic arm and wall plate for cleaner setup.
- Rated for up to 7.5 kg and TUV certified with safety factor 4.
Disadvantages

- Requires careful wall assessment and correct anchors/screws for each wall type.
- Compatibility depends on selecting the correct projector mounting hole group.
- Adjustment process relies on loosening and tightening screws in a specific sequence.
- Wall cover installation order matters to fully cover blank areas neatly.
Product Specification
Type
Wall mount
Tilt angle
5°
Max. load capacity
15.00kg
Color
white
Weight
6.80kg
Suitable for
Optoma EH319, EH320, W319, W320, ZH400
Product Description
Optoma OWM3000ST Manual: Short-Throw Projector Wall Mount for Flexible Installations
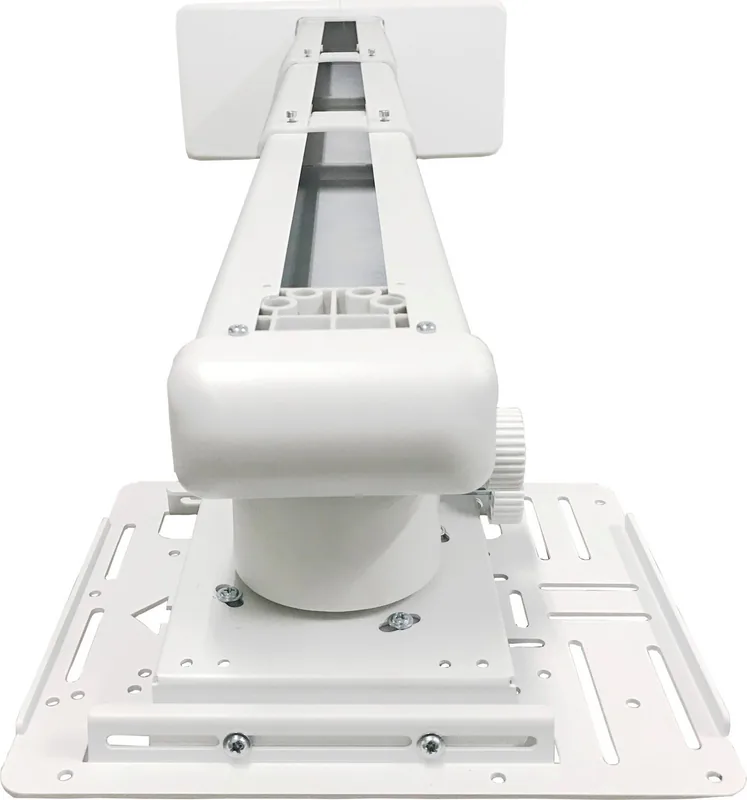
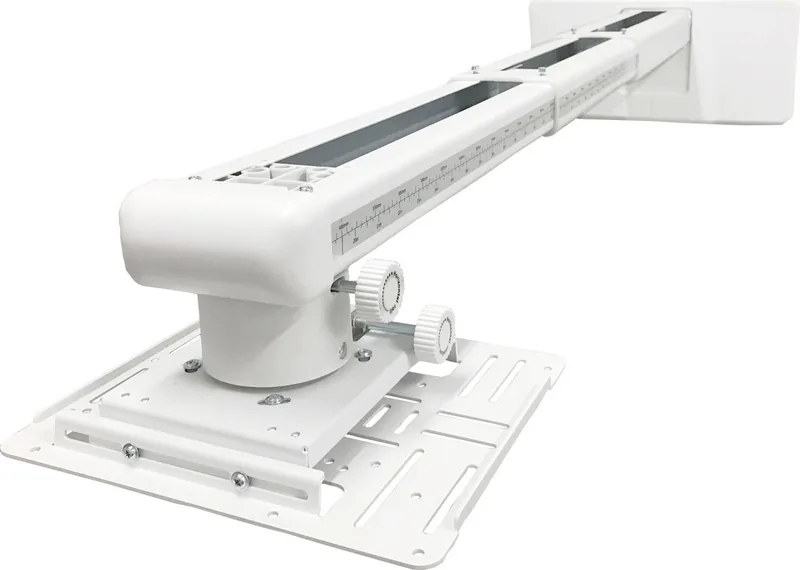
The Optoma OWM3000ST is a short-throw projector wall mount designed to help you place an ultra short throw (UST) or short-throw projector at the right distance and angles for a clean, screen-filling image. With a tool-free feel for day-to-day positioning (using adjustment knobs and controlled loosening/tightening steps), it is built for repeatable alignment rather than guesswork.
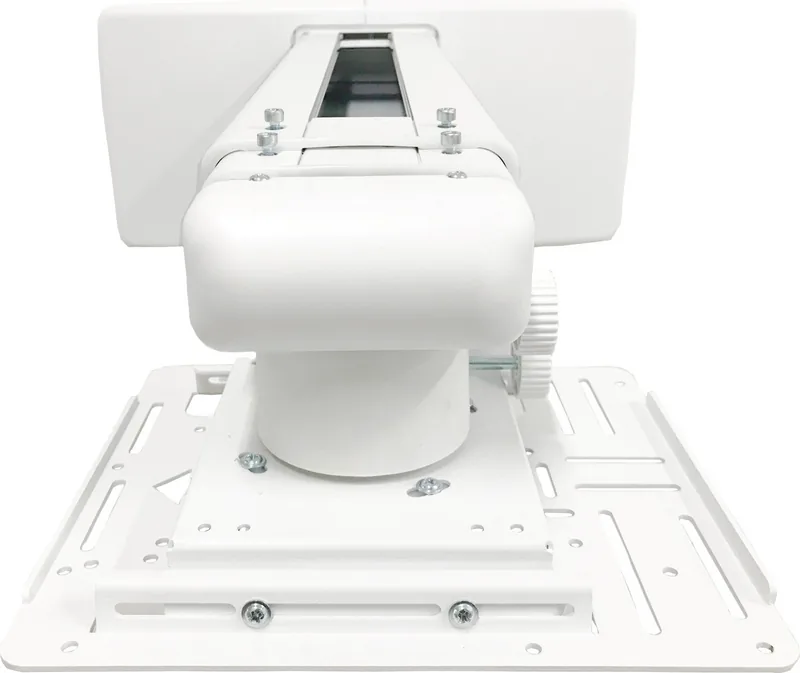
This mount supports careful horizontal and vertical positioning, plus image roll and horizontal rotation. The extendable arm length ranges from 495 mm to 1250 mm, with a vertical shift of 80 mm. Adjustment angles include vertical tilt, horizontal roll, and horizontal rotation, each supported at up to +/- 5 degrees. The result is a mount that can adapt to real room layouts while keeping the projector stable.
A key installation focus is wall compatibility and secure anchoring. The wall plate is intended for concrete, wooden stud walls, and calcium silicate boards. For concrete, the wall thickness should be at least 100 mm, using anchor bolts and M6x55 screws. For wood stud installations, the minimum wall size is specified and the wall thickness must meet requirements; for gypsum board, the guidance limits thickness. The mount also specifies using the provided fixing points and the correct screw sizes for different projector mounting hole patterns.
The Optoma OWM3000ST setup also considers cable management. The telescopic arm helps route power and signal cables through the mount, with multiple cable paths through the wall plate so you can route cleanly without excessive cable strain.
In terms of capacity and safety, the mount lists a net weight of 6.8 kg and a weight capacity of 7.5 kg. It is TUV certified with a safety factor of 4, reinforcing the emphasis on correct installation. Supported projector families include ultra short throw models that use specific mounting hole groups on the plate (for example, EH415ST, W305ST/W303ST series, and other listed UST models).
Top benefits (key results)
- Extendable range from 495 mm to 1250 mm helps fit different throw distances.
- Multi-axis adjustments: vertical shift and controlled tilt, roll, and horizontal rotation.
- Secure wall mounting guidance for concrete, wood stud, and calcium silicate boards.
- Cable routing via telescopic arm supports tidy power and signal installation.
- TUV-certified with safety factor 4 and rated 7.5 kg weight capacity.
Top tradeoffs (key results)
- Installation depends on wall thickness and correct anchoring hardware.
- Proper projector hole-group selection is required for secure mounting.
- Image size and alignment require loosening screws in the specified order.
- Wall cover pieces must be installed in the correct sequence for neat finishing.
Notes
- Use at least two people for installation.
- Do not install near heat or moisture, and do not modify the mount components.
Search for 67,706 Manuals online


Type-in Brand or Model