
Optoma Manual Pull-Down Screen Manual
PDF manual · 4 Pages
English



Quick check
Incorrect answer, please try again.
Chat with your Optoma Manual Pull-Down Screen manual using AI
Get instant AI answers from your Optoma Manual Pull-Down Screen manual
Ask anything about the Optoma Manual Pull-Down Screen. Answers come from this manual, with the pages they are based on.
Ask a Question
Do you recommend Manual Pull-Down Screen?
Yes NoVideo Manual
How to Tension the Spring Mechanism - Manual Screen Z-Type
Frequently Asked Questions
Pull the handle down evenly until the screen reaches the desired height. The mechanism stops at its maximum and the screen will retract slightly before locking. Do not force the screen past its stop.
Is this answer helpful?
Pull the screen down a small distance, then release to allow it to rise quickly into the case. Hold the handle until fully retracted to avoid damage and prevent the drop bar from hitting the casing.
Is this answer helpful?
You can mount the screen on a wall, on a ceiling, or suspend it using hanging brackets and hooks/cables. Choose the method that suits your room and ensure proper fasteners and support for the screen’s weight.
Is this answer helpful?
For wood supports, use 5 x 40 screws through the bracket holes. For concrete, install appropriate anchors and then 5 x 40 screws. Use hardware rated for your wall/ceiling material and ensure brackets are horizontal and secure.
Is this answer helpful?
No. Suspension hooks or cables are not provided. Use appropriately rated hangers to support each end of the casing and confirm the suspension system can safely bear the screen’s weight.
Is this answer helpful?
Position the mounting brackets as close as possible to the casing end caps, tighten locking screws, ensure brackets are level, and use sturdy fixings. Properly adjusted slipper blocks and secure clamps minimize vibration and noise.
Is this answer helpful?
Avoid forcing the screen beyond its stops, do not release the handle until the screen is fully retracted, and prevent the drop bar from striking the case. Regularly check mounting hardware and retighten locking screws if needed.
Is this answer helpful?
Advantages and Disadvantages
Advantages

- Large 120" viewing surface ideal for classrooms, home cinema, and presentations.
- Simple manual operation with a reliable pull-down and locking mechanism.
- Multiple mounting options: wall, ceiling, or suspended hang for flexible placement.
- Sturdy protective casing reduces wear and minimizes noise when installed correctly.
- Adjustable bracket clamp and sliding casing allow fine positioning and reduced vibration.
Disadvantages

- Manual retraction requires care—retracting too quickly can damage the mechanism.
- Mounting hardware for suspension (hooks/cables) is not provided and must be sourced separately.
- Requires appropriate screws/anchors for different wall materials; improper fixings risk instability.
- Screen can retract slightly before locking—may need attention to achieve exact height every use.
- Large size demands solid support; improper installation can cause vibration or noise.
Product Specification
Screen Area
104.72x58.66in
Diagonal Screen Size
120"/120.08"
Aspect Ratio
16:9
Operation Mode
Manual
Border Masking
1.85in left/1.57in right, 11.81in top, 1.57in bottom
Product Description
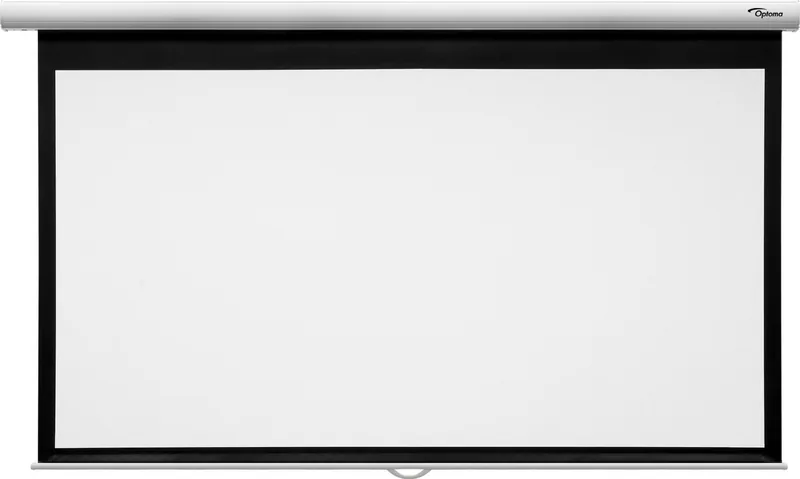
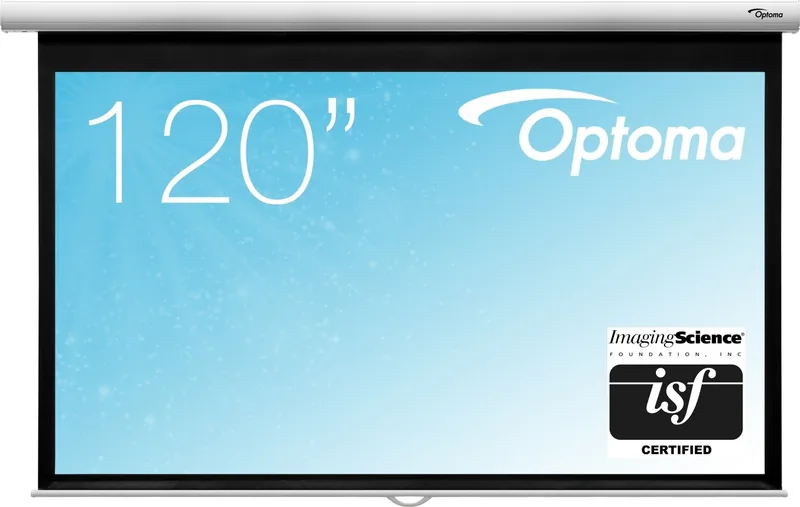
Optoma Manual Pull Down Leinwand 120" Manual
The Optoma Manual Pull Down Leinwand 120" Manual is a reliable projection screen designed for home theaters, classrooms, and meeting rooms. Built for simplicity and durability, this 120-inch screen offers a large viewing surface with a smooth manual pull-down mechanism. Its sturdy casing protects the screen when retracted, and the design supports multiple installation methods—wall mount, ceiling mount, or suspended ceiling hang—so you can place it where it works best for your space.
Practical operation and build
Lowering and raising the screen is straightforward: pull the handle down evenly until the desired height is reached; the screen will lock in place and will not extend past its maximum. To retract, pull down slightly and release to allow the screen to rise into the case. Users should avoid forcing the screen past stops, letting the mechanism operate smoothly, and preventing the drop bar from hitting the casing when retracting. The casing and handle are built to resist wear from repeated use and to minimize noise when installed correctly.
Installation flexibility
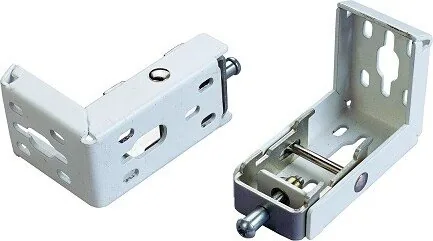
The included hardware and mounting brackets let you adapt installation to the mounting surface. For wood supports, use 5 x 40 screws; for concrete, use anchors plus the same screws. Brackets should be positioned horizontally and near the ends of the casing for stable support. The bracket clamp is adjustable and secured with a locking screw; sliding the casing onto bracket hooks and tightening the lock secures the screen. For suspended installations, use appropriately rated hooks or cables (not supplied) and ensure each end of the casing is supported to bear the screen’s weight.
Notes
- Use correct fasteners for your wall or ceiling material. - Ensure brackets are level and near casing ends to reduce vibration and noise. - Do not drop the screen quickly or let the drop bar strike the case. - Suspension hooks/cables must be rated to safely support the screen.
Search for 67,706 Manuals online


Type-in Brand or Model