
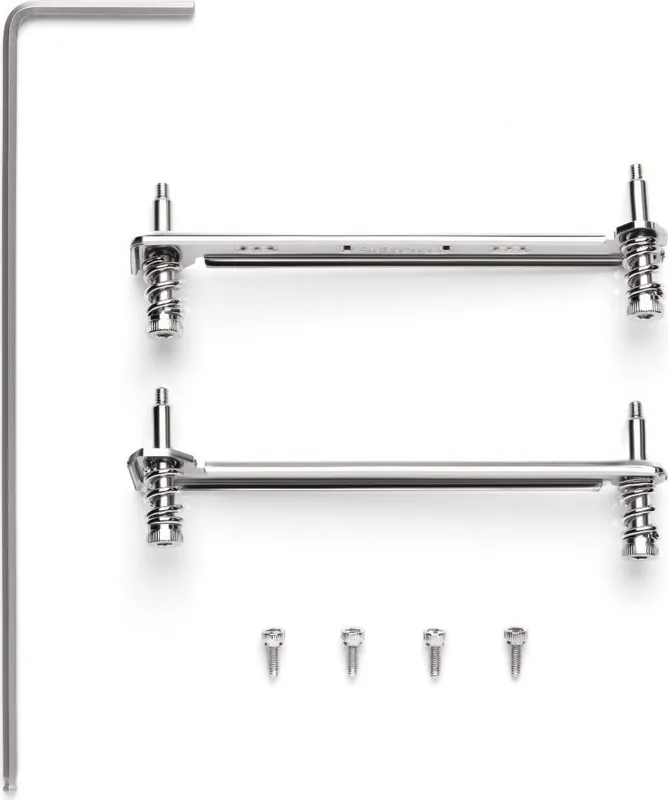
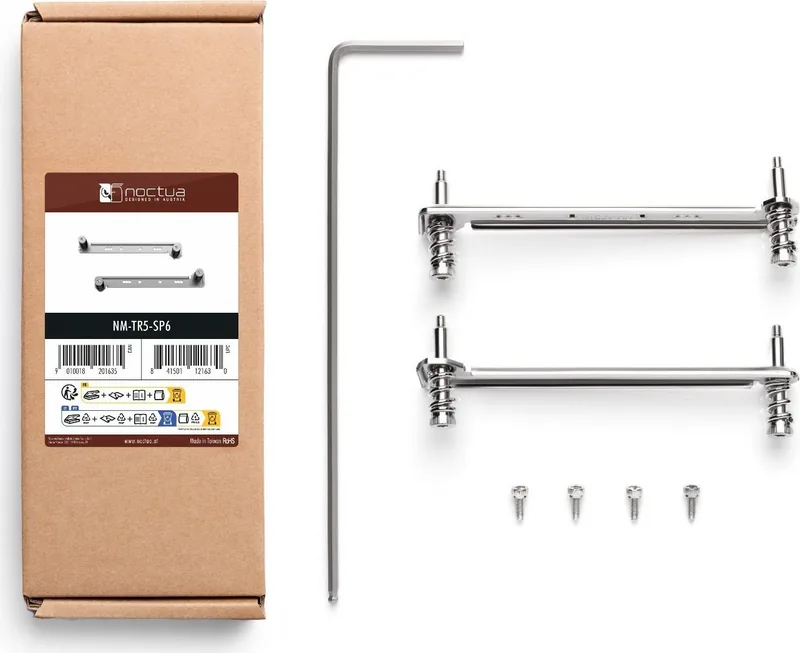
Noctua NM-TR5-SP6 Manual
PDF manual · 2 Pages
English



Quick check
Incorrect answer, please try again.
Chat with your Noctua NM-TR5-SP6 manual using AI
Get instant AI answers from your Noctua NM-TR5-SP6 manual
Ask anything about the Noctua NM-TR5-SP6. Answers come from this manual, with the pages they are based on.
Ask a Question
Do you recommend NM-TR5-SP6?
Yes NoFrequently Asked Questions
The kit is intended for compatible Noctua CPU coolers installed on AMD TR5 and SP6 platforms. Confirm both the cooler and motherboard compatibility before installation.
Is this answer helpful?
Yes. The NM-AFB11 brackets allow standard positioning or offsets of +3 mm and +6 mm. This can improve clearance near the rear I/O area or PCIe slots, depending on motherboard socket orientation.
Is this answer helpful?
Noctua recommends tightening the mounting screws carefully until they stop without excessive force. The maximum specified torque is 0.6 Nm.
Is this answer helpful?
A new cooler with undamaged pre-applied thermal compound does not require additional paste. When reinstalling a used cooler, clean old residue from the CPU and heatsink, then apply fresh thermal paste.
Is this answer helpful?
Connect the fans to appropriate motherboard fan headers. If both fans need to use one CPU fan header, the included NA-YC1 Y-cable can connect them to that single header.
Is this answer helpful?
Noctua recommends removing the cooler before transporting the system. Shipping and other movement can create unpredictable forces that may stress the cooler, motherboard, or mounting hardware.
Is this answer helpful?
Advantages and Disadvantages
Advantages

- Supports AMD TR5 and SP6 workstation platforms with compatible Noctua CPU coolers.
- Offers 0 mm, +3 mm, and +6 mm offset positions to improve I/O or PCIe clearance.
- SecuFirm2 hardware and the NM-SMT4 tool support controlled, secure installation.
- Includes support for dual-fan connections through the supplied NA-YC1 Y-cable.
- Covered by Noctua's six-year warranty and direct technical support.
Disadvantages

- Requires careful compatibility checks for the motherboard, chassis, memory, and PCIe cards.
- Mounting screws must not exceed 0.6 Nm, so overtightening can be a concern.
- Large installed coolers should be removed before transporting the system.
- Offset options apply to compatible cooler series and may not solve every clearance issue.
Product Specification
Type
Mounting kit
Compatibility
NH-U14S DX-4677, NH-U12S DX-4677, NH-D9 DX-4677 4U, NH-U9 DX-4677, NH-U14S DX-4189, NH-U12S DX-4189, NH-D9 DX-4189 4U, NH-U9 DX-4189, NH-U14S DX-3647, NH-U12S DX-3647, NH-D9 DX-3647 4U, NH-U14S TR4-SP3, NH-U12S TR4-SP3, NH-U9 TR4-SP3
Product Description
Noctua NM-TR5-SP6 Mounting Kit Manual: Secure TR5 and SP6 Cooler Installation
The Noctua NM-TR5-SP6 Mounting Kit is designed for users building or upgrading high-performance workstation systems based on AMD TR5 and SP6 platforms. Built around Noctua's proven SecuFirm2 mounting design, it provides a stable, precise foundation for compatible Noctua CPU coolers while supporting the clearance demands of professional-grade motherboards, memory, PCIe devices, and large chassis layouts.
Flexible Cooler Positioning for Workstation Builds
A key advantage highlighted in the Noctua NM-TR5-SP6 Mounting Kit Manual is adjustable cooler offset positioning. The included NM-AFB11 mounting brackets can be installed at standard, +3 mm, or +6 mm positions. This flexibility can help increase clearance around the rear I/O area on east-west socket layouts or create more room for PCIe cards on north-south oriented boards.
This adjustment is especially useful in dense workstation configurations, where graphics cards, expansion cards, tall memory modules, and case dimensions can all affect cooler placement. Before installation, verify that the chosen cooler is compatible with the motherboard and that fan clips will not interfere with graphics cards or other PCIe hardware.
Straightforward Mounting With Important Care Steps
The kit uses an NM-SMT4 mounting tool to access and tighten the cooler's mounting screws. The screws should be tightened carefully until they stop, without excessive force. Noctua specifies a maximum torque of 0.6 Nm, helping protect the mounting hardware and motherboard components.
For a first-time installation, remove the protective cover from the cooler base. If the cooler has pre-applied thermal compound, avoid touching or damaging the layer. For a reused cooler, clean old thermal material from the CPU and heatsink, then apply fresh thermal paste before securing the cooler. Once mounted, reinstall the fans with the supplied wire clips and connect them to the motherboard CPU fan headers. The included NA-YC1 Y-cable can be used when two fans need to share one header.
Designed for Long-Term Reliability
The NM-TR5-SP6 kit supports compatible Noctua coolers from the NH-U14S, NH-U12S, and NH-U9 families on TR5/SP6 systems. It is backed by Noctua's six-year warranty and direct support, offering added confidence for demanding workstations that run under sustained loads.
Notes
- Remove the installed cooler before transporting a completed system whenever possible.
- Check motherboard, memory, PCIe, and chassis clearance before beginning installation.
- Keep the mounting brackets oriented with their markings facing toward the CPU.
- Use only gentle tightening force and stay within the 0.6 Nm maximum torque guidance.
Search for 67,706 Manuals online


Type-in Brand or Model