
Noctua NM-i20xx Manual
PDF manual · 1 Pages
English


Quick check
Incorrect answer, please try again.
Chat with your Noctua NM-i20xx manual using AI
Get instant AI answers from your Noctua NM-i20xx manual
Ask anything about the Noctua NM-i20xx. Answers come from this manual, with the pages they are based on.
Ask a Question
Do you recommend NM-i20xx?
Yes NoFrequently Asked Questions
It is compatible with specific models like NH-D14 and NH-U12 series on LGA 2011 platforms. Check compatibility list before buying.
Is this answer helpful?
Use a high-quality paste like Noctua NT-H1. Apply a small drop to the center of the CPU heatspreader for best results.
Is this answer helpful?
Noctua recommends taking off the heatsink when moving or transporting your PC to prevent socket damage from stress.
Is this answer helpful?
Yes, Noctua provides a warranty period of six years and offers direct, fast, and straightforward RMA service for defects.
Is this answer helpful?
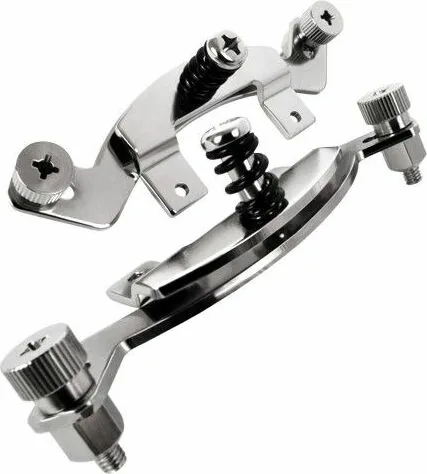
Ensure the curved sides of the mounting bars are pointing outwards according to the desired final orientation of the cooler.
Is this answer helpful?
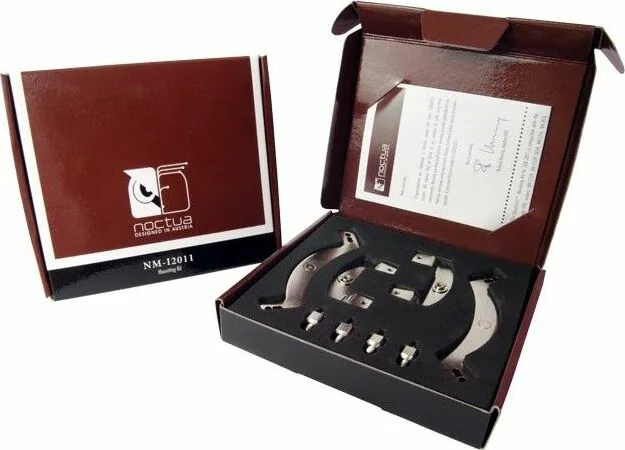
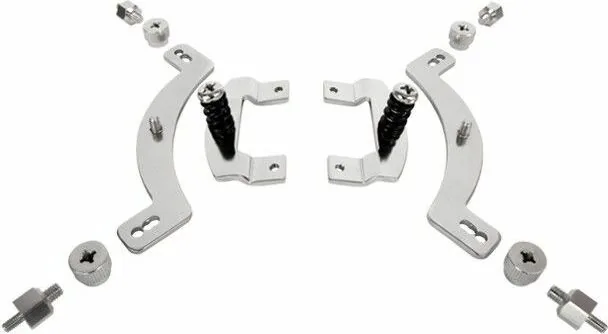
The kit includes four NM-ITS1 thumbscrews, four NM-SSC1 short screws, and other necessary mounting parts for installation.
Is this answer helpful?
Check the FAQs on the website or contact the support team at [email protected] for assistance and guidance.
Is this answer helpful?
Advantages and Disadvantages
Advantages

- Compatible with multiple high-end Noctua heatsink models for long-term use.
- SecuFirm2 mounting system ensures a secure fit and minimizes vibration.
- Allows reuse of existing hardware to save money and reduce electronic waste.
- Includes specific mounting bars and thumbscrews for easier installation.
- Backed by a comprehensive six-year warranty period for reliability.
Disadvantages

- Large coolers can cause stress on the socket during physical transport.
- Requires careful cleaning of surface before applying thermal paste.
- Installation requires specific tools to remove original fastening brackets.
- Manual must be consulted for correct orientation of mounting bars.
- Damage liability is limited if excessive socket stress occurs during move.
Product Specification
Type
Mounting Kit
Product Description
Elite Cooling Solutions for Advanced Systems
When upgrading a high-end workstation or server, ensuring your processor remains cool is paramount for stability. The Noctua NM-i20xx Mounting Kit Socket 2011/2011-3/2066 Manual provides the necessary guidance for maintaining thermal efficiency on modern platforms. This kit allows enthusiasts to reuse existing high-performance air coolers on newer sockets without purchasing an entirely new unit. It represents a smart investment strategy for building enthusiasts who value longevity and performance over constant hardware replacement. Keeping your current hardware saves money and reduces electronic waste.
Broad Compatibility for High-End Build
Many premium heatsinks are designed to last for years without performance degradation. Noctua understands this desire for durability and supports their users with upgrade paths. By providing specific mounting solutions, they enable users to continue using trusted hardware like the NH-D14, NH-U12 series, or NH-C14 on newer chipsets. The SecuFirm2 mounting system ensures a secure fit while minimizing vibration. This compatibility extends across various models including the NH-U9B SE2 and NH-C12P. Whether you are running a heavy workstation or a gaming rig, this upgrade path keeps costs down while maintaining cooling power. It is essential to verify your specific heatsink model before proceeding with the installation process to ensure a seamless installation.
Installation Highlights and Best Practices
The process involves removing original brackets and securing new fastening brackets to the cooler carefully. You will use thumbscrews and mounting bars to align the unit correctly. Careful attention is paid to the orientation of mounting bars to ensure proper clearance for your fans and RAM. Applying the right amount of thermal paste is crucial for performance. Too much compound can reduce heat conductivity from the CPU to the cooler base. Cleaning the CPU surface and applying a small drop ensures optimal thermal transfer during operation. Secure screws must be tightened until they stop without excessive force to avoid damaging the delicate socket pins underneath the cooler assembly.
Transport and Warranty Considerations
Large coolers add significant weight to the motherboard. Moving your PC with the unit installed can cause stress on the socket during transit. Removing the heatsink during transport is highly recommended to prevent physical damage to the hardware. Noctua stands behind their products with a six-year warranty period. Direct RMA service is available for those encountering defects or manufacturing issues. Support teams are ready to assist with any questions regarding compatibility or installation difficulties. This level of reliability ensures peace of mind for long-term users. Always verify all parts before starting the build.
Notes:
- Handle screws gently.
- Check socket alignment.
Search for 67,706 Manuals online


Type-in Brand or Model