
Noctua NH-U9S Manual
PDF manual · 6 Pages
English



Quick check
Incorrect answer, please try again.
Chat with your Noctua NH-U9S manual using AI
Get instant AI answers from your Noctua NH-U9S manual
Ask anything about the Noctua NH-U9S. Answers come from this manual, with the pages they are based on.
Ask a Question
Do you recommend NH-U9S?
Yes NoFrequently Asked Questions
Place the backplate on the rear side so bolts stick through holes. Ensure the three cut-outs align with the stock backplate screws. Do not remove the stock backplate. Attach plastic spacers then mounting bars.
Is this answer helpful?
Gently tighten screws until they stop but do not exceed 0.6 Nm. Excessive force can damage the motherboard or cooler components.
Is this answer helpful?
Yes, connect the NA-RC7 adaptor to reduce noise. You must monitor CPU temperatures via software to ensure no throttling occurs due to increased temps.
Is this answer helpful?
The manual mentions using NT-H1 paste. While often included in the box, check contents. Apply a small 3-5mm drop to the center of the CPU.
Is this answer helpful?
Use the extra set of steel clips provided to mount a second NF-A9 fan in push/pull mode on the heatsink fins for better cooling.
Is this answer helpful?
Advantages and Disadvantages
Advantages

- Award-winning reputation with over 800 industry accolades for quality and silence.
- Versatile SecuFirm2 mounting system supports numerous Intel and AMD socket types.
- Includes low-noise adapter and clips for adding a second fan for enhanced performance.
Disadvantages

- Requires removal of motherboard for backplate installation if rear cut-outs are missing.
- Strict torque limits require careful handling during screw tightening to prevent damage.
- May conflict with tall RAM modules or large graphics cards due to heatsink height.
Product Specification
Type
Tower Cooler
Connection
4-Pin PWM
Manufacturer Warranty
6 years
Product Description
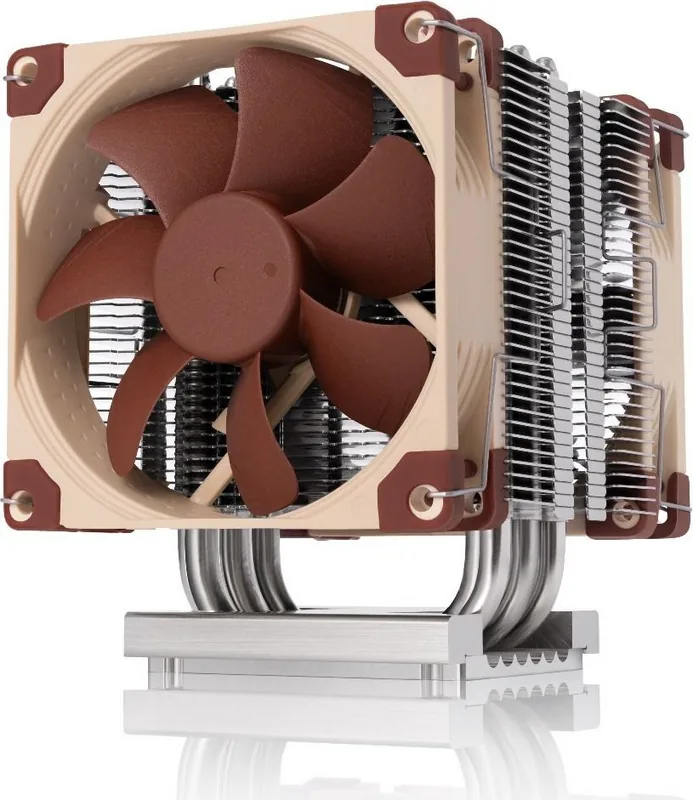
Experience Premium Quiet Cooling with the Noctua NH-U9S chromax.black
The Noctua NH-U9S chromax.black stands as a testament to decades of engineering excellence in the world of PC cooling. As part of the legendary NH-U series, first introduced in 2005, this cooler has garnered over 800 awards and recommendations from top hardware publications globally. It is designed for users who demand silent operation without compromising on thermal performance. The sleek chromax.black aesthetic allows it to blend seamlessly into modern builds while delivering reliable heat dissipation.
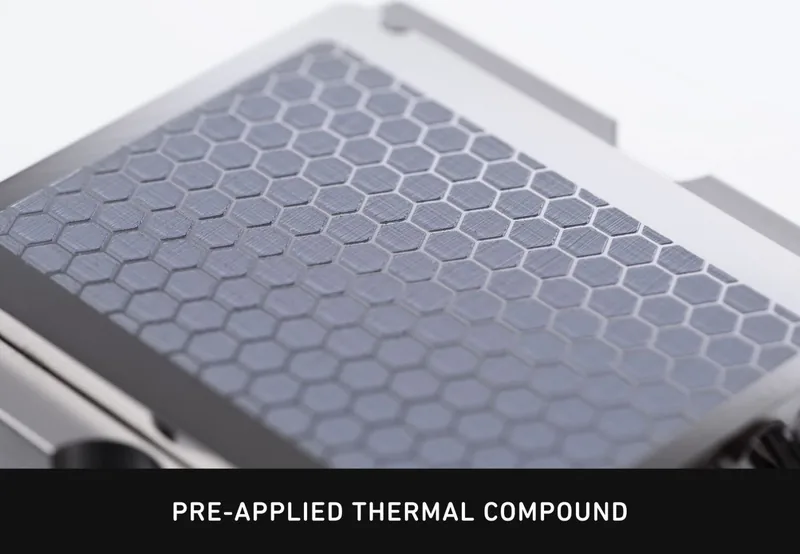
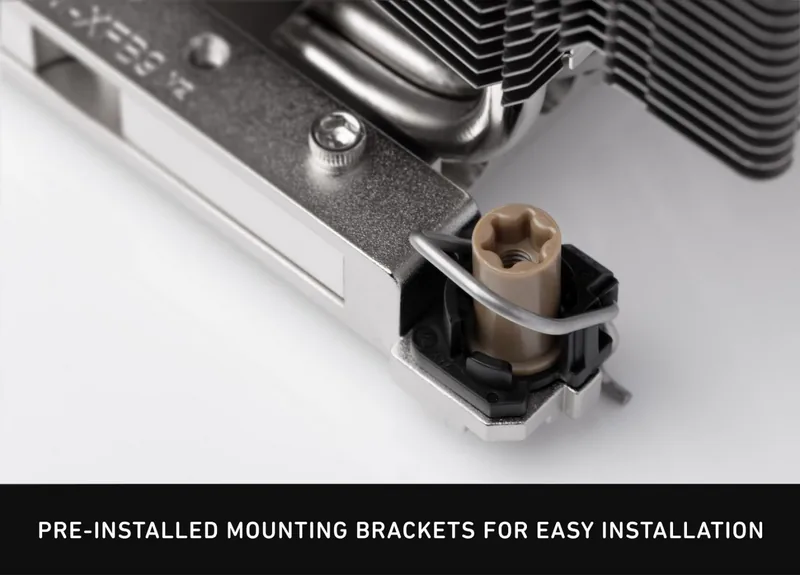
Installation is straightforward thanks to the SecuFirm2 mounting system, which supports a wide array of Intel and AMD sockets including LGA115x, LGA1200, LGA20xx, AM4, and older AM2/AM3 platforms. The manual guides you through removing stock retention modules if necessary and correctly aligning the backplate and mounting bars. Users must ensure the curved sides of the mounting bars face outward and tighten screws gently to a maximum torque of 0.6 Nm to avoid damage. Proper application of NT-H1 thermal paste is crucial; a small drop of 3-5mm diameter ensures optimal conductivity without excess waste.
For those seeking even quieter operation, the included NA-RC7 Low-Noise Adaptor allows fans to run at reduced speeds. However, monitoring CPU temperatures is essential when using this adapter to prevent throttling. The design also accommodates a second NF-A9 fan for push-pull configurations, significantly boosting airflow and cooling efficiency for demanding workloads. With a robust six-year warranty and dedicated support, the NH-U9S offers peace of mind alongside its superior cooling capabilities.
Important Installation Notes
- Always verify case clearance before installation to avoid conflicts with RAM or graphics cards.
- Do not remove the motherboard's stock backplate when installing the Noctua backplate.
- Clean old thermal paste thoroughly before applying new paste.
- Use the correct plastic spacers for your specific CPU socket type.
Search for 67,706 Manuals online


Type-in Brand or Model