
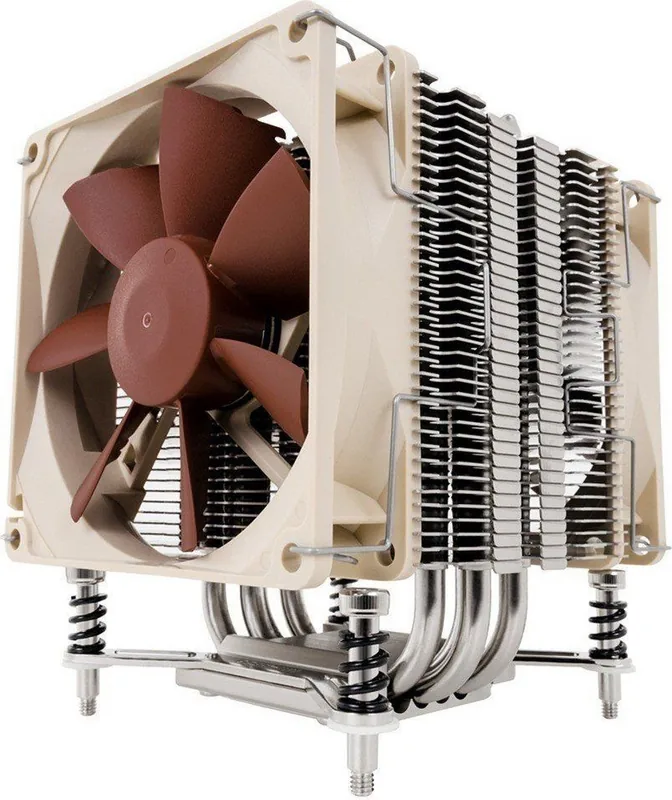
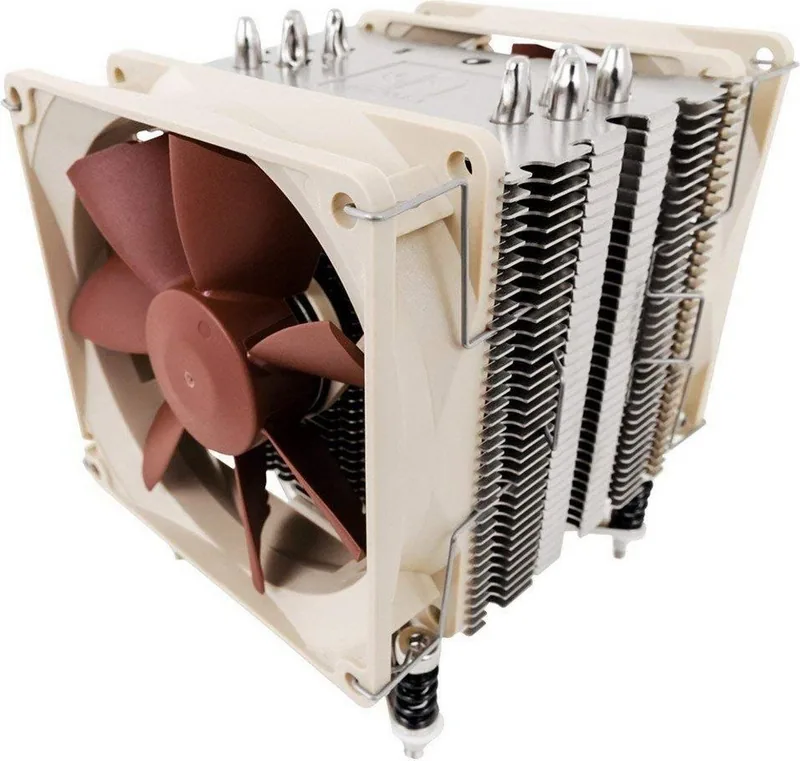
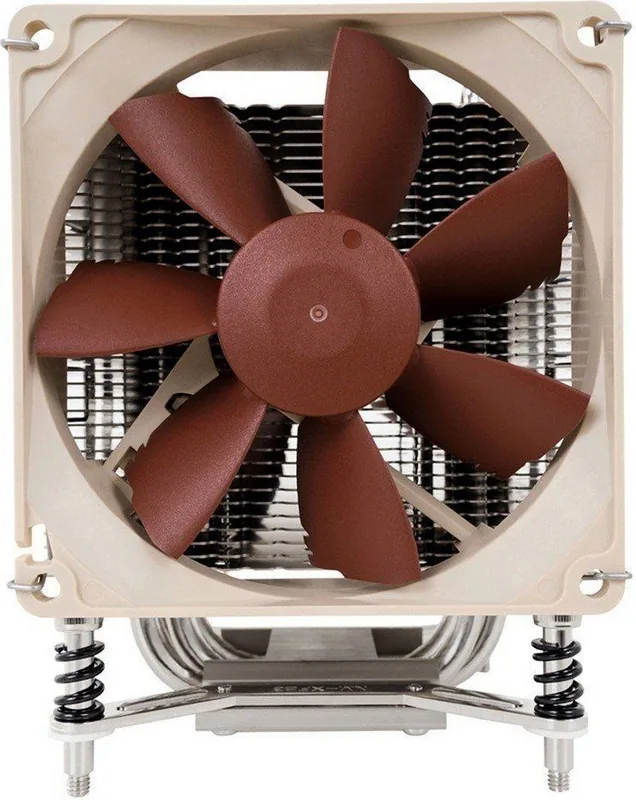
Noctua NH-U9DX i4 Manual
PDF manual · 2 Pages
English



Quick check
Incorrect answer, please try again.
Chat with your Noctua NH-U9DX i4 manual using AI
Get instant AI answers from your Noctua NH-U9DX i4 manual
Ask anything about the Noctua NH-U9DX i4. Answers come from this manual, with the pages they are based on.
Ask a Question
Do you recommend NH-U9DX i4?
Yes NoVideo Manual
How to install a Noctua NH-U9DX i4 in to a Dell Precision T5810 Workstation
Frequently Asked Questions
The NH-U9DX i4 supports Intel LGA2011 (both Square-ILM and Narrow-ILM), LGA1356 and LGA1366. The package includes alternative brackets and screws to accommodate these socket types.
Is this answer helpful?
Apply a small dot of NT-H1 thermal paste approximately 4–5mm in diameter in the center of the CPU heatspreader. Excessive paste can reduce heat transfer and lower cooling performance.
Is this answer helpful?
Yes. Noctua provides a NA-YC1 Y-cable to connect both fans to a single CPU fan header. Ensure your motherboard fan header and BIOS fan control can handle two fans and monitor RPM/temperatures.
Is this answer helpful?
Use one L.N.A. per fan—never place a single adapter before the Y-cable for two fans. After installing L.N.A.s, monitor CPU temperatures and, if cooling is insufficient, increase case ventilation or remove the adapters to avoid automatic CPU throttling.
Is this answer helpful?
Unscrew and remove the preinstalled Square-ILM brackets (NM-XFB3), transfer the springs, screws and lock-rings into the Narrow-ILM brackets (NM-XFB4 or NM-XFB5), then screw the new brackets onto the heatsink before proceeding with standard installation steps.
Is this answer helpful?
Yes. Remove the fan and the protective cover from the bottom of the heatsink, ensure the thermal paste is applied correctly, and tighten the four spring-loaded screws evenly until they stop using the supplied screwdriver.
Is this answer helpful?
Noctua provides a six-year warranty for the NH-U9DX i4 and direct support including an RMA process. For assistance contact [email protected] or consult the online FAQs at noctua.at/faqs.
Is this answer helpful?
Advantages and Disadvantages
Advantages

- Strong compatibility: supports LGA2011 Square/Narrow ILM, LGA1356 and LGA1366 with included hardware.
- Quiet, efficient cooling: dual-fan setup with low-noise adapters and dense heatsink for Xeon workloads.
- Reliable mounting: SecuFirm2™ system with spring-loaded screws ensures even contact and secure fit.
- Comprehensive accessories: includes NT-H1 thermal paste, Y-cable, L.N.A.s, and multiple mounting brackets.
- Long warranty and support: Noctua offers a six-year warranty and direct customer support channels.
Disadvantages

- Installation complexity: swapping brackets and screws between ILM types requires careful steps and small parts.
- Size constraints: while compact, the heatsink and dual fans may still conflict with tight server or case layouts.
- Thermal compromise with L.N.A.s: using low-noise adapters can increase temperatures and risk throttling.
- Single-header dependency: connecting both fans to one header requires the supplied Y-cable and proper fan control.
- No tool-free mounting: tightening spring-loaded screws needs the supplied screwdriver and precise torque until they stop.
Product Specification
Design
Tower cooler
Dimensions with fan
3.74x4.92x4.72in (WxHxD), alternative mounting: 3.74x4.92x3.74in (1 fan)
Dimensions without fan
3.74x4.92x2.80in (WxHxD)
Fan
2x 3.62x3.62x0.98in, 300-1600rpm, 64.3m^3/h, 37.84 CFM, 17.6dB(A), 0.06inH2O (NF-B9 PWM, Link)
Weight with fan
1.32lb, 1.21lb (1 fan)
Connector
4-Pin PWM
Intel Socket
2011-0/2011-1/2011-3/2066, 2011-Narrow-ILM, 1356/1366
Note AMD Socket
Socket AM4 mounting kit available commercially
Special features
4 Heatpipes, nickel-plated
Manufacturer warranty
6 years
Note
Please note motherboard compatibility (Noctua Compatibility Centre)
Product Description
Noctua NH-U9DX i4 Manual
The Noctua NH-U9DX i4 is a compact, high-performance air cooler designed specifically for Intel Xeon platforms. Built for reliability and quiet operation, it supports LGA2011 (Square and Narrow ILM), LGA1356, and LGA1366 sockets. The cooler features Noctua's proven SecuFirm2™ mounting system, dual-fan compatibility, and premium NT-H1 thermal compound for consistent heat transfer. With a focus on server-grade stability and long-term use, the NH-U9DX i4 balances dense heatsink design with effective airflow management, making it suitable for rack-mounted and workstation builds where space and noise control matter.
Design and Compatibility
Noctua engineered the NH-U9DX i4 to address different ILM standards on Intel Xeon platforms. The package includes parts for Square-ILM (80x80mm) and Narrow-ILM (56x94mm) LGA2011 layouts, plus dedicated screws for LGA1356/1366. Exchanging preinstalled brackets and screws is straightforward with the supplied hardware, enabling flexible mounting orientations and ensuring secure contact with the CPU heatspreader.
Installation Highlights
Preparation begins with cleaning residual thermal paste and applying a small 4–5mm dot of NT-H1 at the heatspreader center. The SecuFirm2™ system uses spring-loaded screws—tighten until they stop—for even clamping pressure. Fans are clipped to the heatsink and should be aligned in the same direction; both can be connected via the supplied Y-cable to a single CPU header. Low-noise adapters (NA-RC7) are included to reduce RPM and acoustic output when needed, but users should monitor CPU temperatures to avoid throttling and adjust case airflow if cooling becomes marginal.
Practical Notes
The NH-U9DX i4 ships preassembled with Square-ILM brackets; Narrow-ILM users must swap brackets (NM-XFB4 or NM-XFB5) following the included steps. For LGA1356/1366, replace the preinstalled LGA2011 screws (NM-XBT1) with the black NM-XBT2 screws and reuse springs and lock-rings. Noctua provides clear step-by-step guidance and support contact for compatibility questions.
Notes:
- Apply thermal paste sparingly—too much reduces thermal conductivity.
- Remove the fan and protective cover before fastening the heatsink.
- Use one low-noise adapter per fan; do not place a single adapter before the Y-cable.
- Monitor CPU temperatures if running with L.N.A.s to prevent automatic throttling.
Search for 67,706 Manuals online


Type-in Brand or Model
Vio
10 months ago
Is the Noctua cooler suitable for workstation/server builds, how quiet is it, and does it come only with 3-pin fans (or does it support my 4-pin PWM header)?
Manual.ly
10 months ago
Yes, it is widely used in workstations and server setups and reviewers highlight the excellent build quality and very low noise, even with a closed case. For compatibility, make sure the cooler model matches your CPU socket and that you have enough clearance in your case. Some Noctua variants are supplied with 3-pin fans, so if your motherboard uses a 4-pin PWM header and you want PWM control, you will likely need to purchase compatible PWM (4-pin) fans or use a 3-pin-to-header setup depending on your board. Check your CPU socket (and, for server boards, the supported mounting kit) plus available space before ordering.