
Noctua NH-U14S Manual
PDF manual · 6 Pages
English



Quick check
Incorrect answer, please try again.
Chat with your Noctua NH-U14S manual using AI
Get instant AI answers from your Noctua NH-U14S manual
Ask anything about the Noctua NH-U14S. Answers come from this manual, with the pages they are based on.
Ask a Question
Do you recommend NH-U14S?
Yes NoFrequently Asked Questions
It is designed for AMD TR5 and SP6 socket platforms, commonly used by Threadripper and EPYC workstation or server processors. Always verify motherboard compatibility before installation.
Is this answer helpful?
The 3 mm and 6 mm offset options let users shift the cooler for better clearance. Depending on socket orientation, this can create more room near the I/O panel or PCIe expansion slots.
Is this answer helpful?
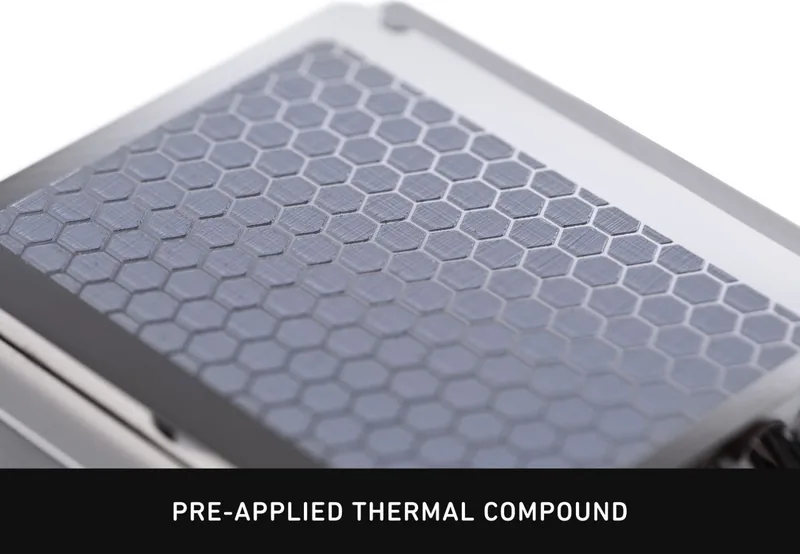
The heatsink base has a pre-applied thermal compound layer for initial installation. If the cooler is removed and installed again, clean old residue and apply fresh thermal paste before remounting.
Is this answer helpful?
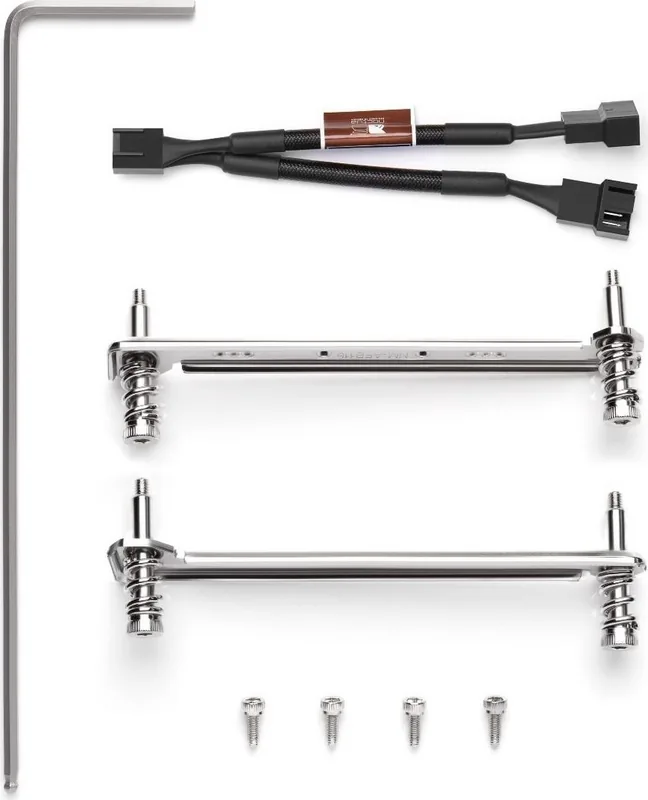
Connect the fans to the motherboard CPU fan header or headers. If only one suitable header is available, use the included NA-YC1 splitter cable to connect both fans to it.
Is this answer helpful?
Place the heatsink so its four spring-loaded screws align with the socket threads. Tighten each screw in alternating steps of about three turns until secure. Do not exceed 0.6 Nm of torque.
Is this answer helpful?
No. Removing the cooler before transporting or shipping the system is recommended because impacts and movement can place excessive stress on the motherboard and CPU socket area.
Is this answer helpful?
Advantages and Disadvantages
Advantages

- Purpose-built support for AMD TR5 and SP6 workstation and server platforms.
- Adjustable 0 mm, 3 mm, and 6 mm offsets can improve I/O panel or PCIe clearance.
- SecuFirm2 mounting uses four spring-loaded screws for secure, even installation.
- Dual-fan setup can use motherboard CPU headers or the included splitter cable.
- Six-year warranty and direct support add value for long-term professional systems.
Disadvantages

- Large heatsink requires checking case dimensions, memory clearance, and nearby expansion cards.
- Fan clips may interfere with graphics cards or other PCIe cards in tight layouts.
- The cooler should be removed before transporting or shipping the system.
- Reinstallation requires cleaning old compound and applying new thermal paste.
- Mounting screws must be tightened carefully and kept below 0.6 Nm torque.
Product Specification
Design
Tower cooler
Dimensions without fan
5.91 x 6.5 x 2.05 in (W x H x D)
Connector
4-pin PWM
Features
6 nickel-plated heat pipes, pre-applied thermal paste (Noctua NT-H2)
Manufacturer warranty
6 years
Product Description
Noctua NH-U14S - Read, Download & Print Free
Quiet Workstation Cooling for AMD TR5 and SP6 Platforms
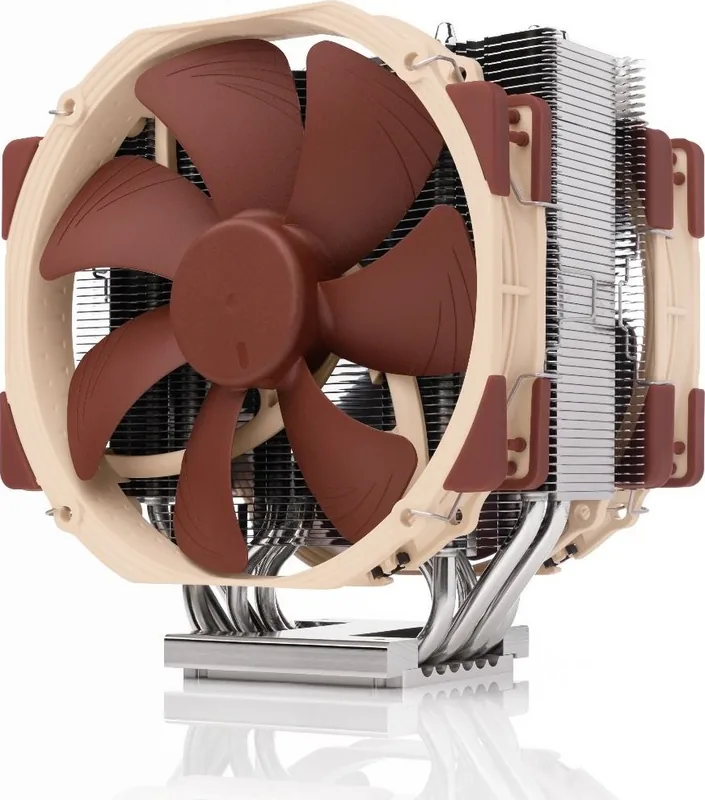
The Noctua NH-U14S TR5-SP6 is a premium air cooler designed for demanding AMD Threadripper and EPYC workstation or server systems. Built around Noctua's established focus on acoustic comfort, build quality, and dependable thermal performance, it is intended for users who need serious CPU cooling without the additional complexity of liquid cooling. Its large heatsink and dual-fan capability make it a practical choice for professional builds where sustained workloads and low noise matter.
Designed specifically for TR5 and SP6 sockets, this model uses the SecuFirm2 mounting system to provide a secure, precise installation. The cooler attaches with four spring-loaded screws, helping distribute mounting pressure evenly across the CPU. A pre-applied thermal compound layer simplifies first-time installation, while repeat installations require fresh thermal paste after old residue has been cleaned away.
Flexible Placement and Component Clearance
A notable feature of the Noctua NH-U14S TR5-SP6 is its adjustable mounting offset. The fastening brackets can be set to a standard position or shifted by 3 mm or 6 mm. This flexibility can improve clearance around I/O panels, PCIe cards, and other nearby components, depending on the motherboard socket orientation. It is especially useful in densely populated workstations where expansion cards or board layouts leave little room for a large tower cooler.
Before installation, it is important to confirm motherboard compatibility, case clearance, memory height, and clearance for the fan clips. The cooler's size delivers strong cooling potential, but it also means careful planning is essential. Users should verify that the chassis can accommodate the heatsink and that adjacent graphics or PCIe cards will not contact the fan hardware.
Fan Configuration and Long-Term Support
The included fans connect to the motherboard CPU fan headers. Where only one header is available, the supplied splitter cable can connect both fans to a single CPU fan header. This arrangement supports a clean setup while enabling the system to manage fan speed according to processor temperature.
For system moves or shipping, removing the cooler first is recommended. Large air coolers can experience substantial force during transport, and detaching the unit helps reduce the risk of damage to the motherboard or socket area. Noctua also supports the NH-U14S TR5-SP6 with a six-year warranty and direct technical support, adding confidence for long-lived professional systems.
Notes
- Tighten mounting screws gradually and avoid excessive force; the stated maximum torque is 0.6 Nm.
- Remove the protective cover from the heatsink base before mounting.
- Reapply thermal paste whenever reinstalling a cooler without a fresh pre-applied compound layer.
Search for 67,706 Manuals online


Type-in Brand or Model