
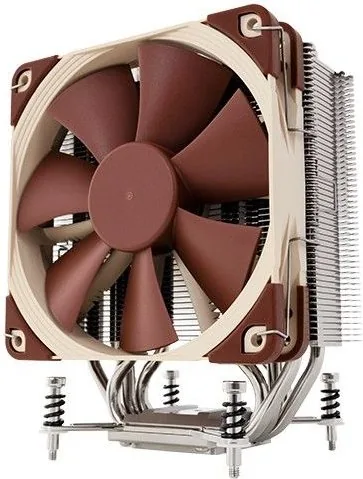
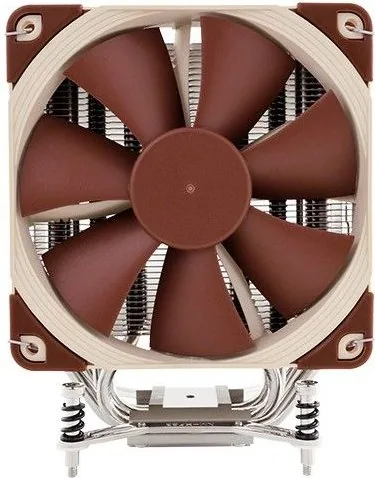
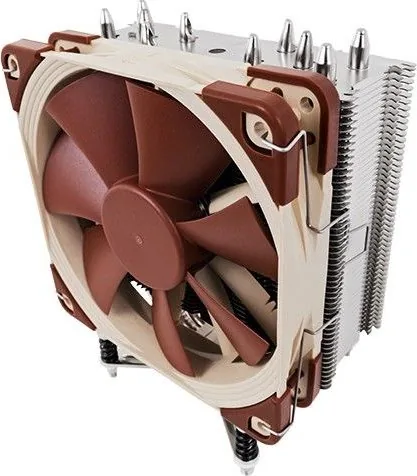
Noctua NH-U12DX i4 Manual
PDF manual · 2 Pages
English



Quick check
Incorrect answer, please try again.
Chat with your Noctua NH-U12DX i4 manual using AI
Get instant AI answers from your Noctua NH-U12DX i4 manual
Ask anything about the Noctua NH-U12DX i4. Answers come from this manual, with the pages they are based on.
Ask a Question
Do you recommend NH-U12DX i4?
Yes NoFrequently Asked Questions
Yes, it supports Square-ILM and Narrow-ILM LGA2011 sockets requiring specific bracket replacement.
Is this answer helpful?
Yes, an extra set of clips and pads are included for push-pull configurations.
Is this answer helpful?
The product comes with a six-year warranty covering reliability and manufacturing defects.
Is this answer helpful?
Use NT-H1 paste and apply a small drop in the center of the heatspreader.
Is this answer helpful?
Yes, using NM-XBT2 screws for correct thread compatibility on older platforms.
Is this answer helpful?
Excess paste lowers heat conductivity and cooling performance significantly.
Is this answer helpful?
Advantages and Disadvantages
Advantages

- High performance cooling for Intel Xeon CPUs and modern server platforms
- Dual fan configuration with push-pull options for improved airflow
- Six-year warranty ensures long-term reliability and manufacturer support
- Flexible mounting support for multiple socket types including LGA2011
- Low noise adapter included for reduced acoustic distraction
Disadvantages

- Installation requires replacing brackets for different ILM types correctly
- Thermal paste application must be precise to avoid conduction issues
- Throttling may occur without monitoring if low-noise adapter is used
- Complex mounting process for LGA1356 and 1366 older threads
Product Specification
Type
Tower Cooler
AMD Socket Note
AM4 socket mounting kit available separately
Features
3 Heatpipes, nickel-plated
Manufacturer Warranty
6 Years
Product Description
Premium Cooling Solutions for High Performance Systems
The Noctua NH-U12DX i4 establishes itself as a top-tier cooling solution designed for demanding computing platforms. Specifically engineered for Intel Xeon processors, this unit delivers reliability where others might falter. The focus lies on maintaining low operating noise while dissipating heat efficiently. Many enthusiasts consider the details found in the Noctua NH-U12DX Manual to fully utilize the hardware. The design prioritizes silent operation without sacrificing thermal performance. This balance makes it suitable for quiet workstations or server environments that require stability. Every aspect of construction is aimed at longevity and consistent airflow management.
Universal Mounting Compatibility
Flexibility is a major advantage of this cooling unit. It supports multiple socket types including LGA2011 Square and Narrow ILM configurations. Support also extends to older LGA1356 and LGA1366 architectures. The SecuFirm2 mounting system provides a robust and secure connection to the CPU. It is vital to check motherboard specifications before purchase to ensure bracket compatibility. Incorrect mounting can lead to issues, so verification is a recommended step in the process. The mounting brackets differ significantly based on the ILM type. Square ILM uses 80x80mm spacing while Narrow uses 56x94mm. You must replace brackets if changing between these types. NM-XBT2 screws are for these older threads instead of silver ones.
Advanced Fan Configuration
Acoustics are managed through the inclusion of premium fans. The system supports push-pull setups for enhanced air movement. A low-noise adapter allows for deeper reduction in volume during light tasks. However, thermal monitoring is essential if speed reduction occurs. Insufficient ventilation may cause throttling, so case airflow must be optimized. Proper fan alignment ensures cooling pads remain effective during peak loads.
Quality Assurance and Support
Reliability is backed by a comprehensive warranty period. Customers receive six years of direct support through official channels. Every unit undergoes strict testing before leaving production. This ensures that defects are minimized significantly compared to standard competitors. The company maintains a reputation for high-end quality. Support teams are reachable for any installation or troubleshooting assistance.
Installation Precautions
Installing the cooler requires precision for best results. Clean any residue from the previous application on the heatspreader first. Place a small drop of paste exactly in the center. Tighten screws with the provided tool until resistance is felt. Do not overfill the surface as it reduces conductivity. Use specific anti-vibration pads to minimize shaking sounds. Ensure spring-loaded screws are fully seated for even pressure.
Important Installation Notes
Check ventilation if using noise adapters. Contact support if compatibility issues arise. Ensure no residue on CPU before paste application.
Search for 67,706 Manuals online


Type-in Brand or Model