
Noctua NH-L9x65 Manual
PDF manual · 6 Pages
English



Quick check
Incorrect answer, please try again.
Chat with your Noctua NH-L9x65 manual using AI
Get instant AI answers from your Noctua NH-L9x65 manual
Ask anything about the Noctua NH-L9x65. Answers come from this manual, with the pages they are based on.
Ask a Question
Do you recommend NH-L9x65?
Yes NoFrequently Asked Questions
The cooler supports Intel LGA1851, LGA1700, LGA1200, and LGA115x sockets, including LGA1150, LGA1151, LGA1155, and LGA1156. It also supports AMD AM5 and AM4 platforms.
Is this answer helpful?
No. The mounting screws can be reached by passing a screwdriver through the fan blades. This allows the cooler to be installed without removing the fan.
Is this answer helpful?
Use one 4-5 mm drop in the center for Intel LGA1200 and LGA115x CPUs. For LGA1851, LGA1700, AM5, and AM4, use five drops: four 2 mm drops near the corners and one 3-4 mm drop in the center.
Is this answer helpful?
No. The factory-installed motherboard backplate must remain in place. Install the supplied Noctua backplate over the existing motherboard backplate.
Is this answer helpful?
The -7 mm offset position is recommended for AM5 and AM4 Ryzen 5000 or Ryzen 3000 CPUs to optimize contact quality and cooling. Use the standard position if clearance problems occur.
Is this answer helpful?
Yes, but monitor CPU temperatures after installing it. The adapter reduces fan noise but may increase temperatures. Improve case airflow or remove the adapter if cooling becomes insufficient.
Is this answer helpful?
Advantages and Disadvantages
Advantages

- Low-profile design suits compact and small form factor PC cases.
- Supports Intel LGA1851, LGA1700, LGA1200, LGA115x, plus AMD AM5 and AM4.
- SecuFirm2 hardware provides socket-specific mounting options and clear alignment guidance.
- Included NT-H1 thermal paste and low-noise adapter add practical value.
- Six-year warranty and direct manufacturer support improve long-term confidence.
Disadvantages

- Careful clearance checks are needed around tall RAM, PCIe cards, and case panels.
- Intel installation may require motherboard removal when the case lacks a rear access opening.
- Socket-specific spacer colors and bridge positions must be selected correctly.
- Low-noise adapter can raise CPU temperatures if case airflow is insufficient.
Product Specification
Type
Top-Blow Cooler
Dimensions with Fan
3.74 x 2.56 x 3.74 in (W x H x D)
Dimensions without Fan
3.74 x 2.01 x 3.74 in (W x H x D)
Weight with Fan
14.57 oz
Weight without Fan
12 oz
Connector
4-pin PWM
Features
4 nickel-plated heat pipes
Manufacturer Warranty
6 years
Product Description
Noctua NH-L9x65 Manual: Compact Cooling for Intel and AMD Systems
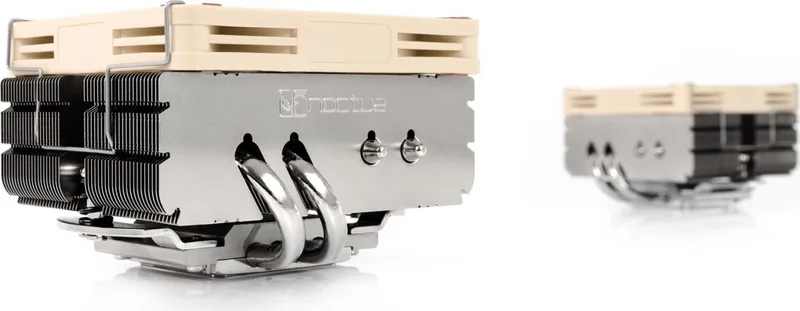
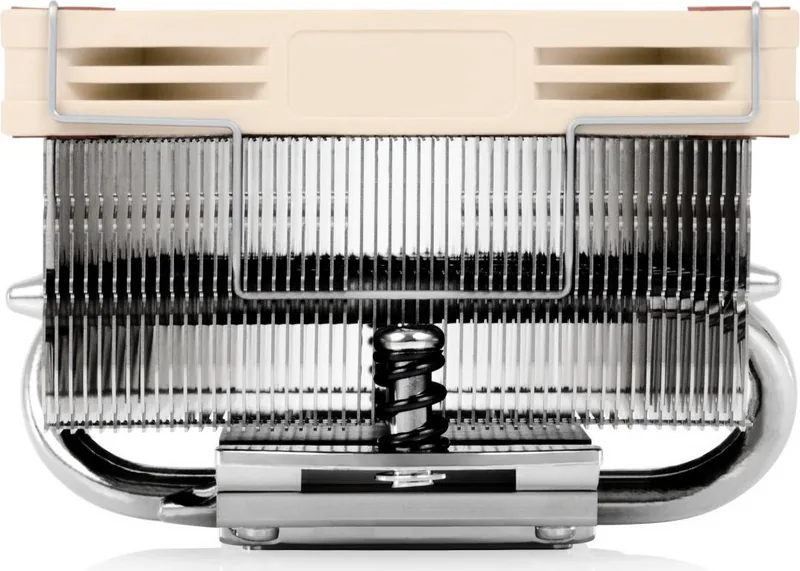
The Noctua NH-L9x65 chromax.black is a low-profile CPU cooler designed for compact PC builds that need dependable thermal performance without sacrificing valuable internal space. Its all-black finish gives small form factor systems a clean, understated appearance, while the slim design helps it fit cases where larger tower coolers are impractical. This Noctua NH-L9x65 Manual overview highlights the key considerations for planning a smooth installation.
Check Compatibility Before Installation
Before mounting the cooler, confirm that it is compatible with your motherboard, processor socket, memory modules, PCIe cards, and PC case. Clearance is especially important in compact systems: tall RAM, graphics cards, and case panels can interfere with cooler hardware or fan clips. The cooler supports several Intel platforms, including LGA1851, LGA1700, LGA1200, and LGA115x, as well as AMD AM5 and AM4 configurations.
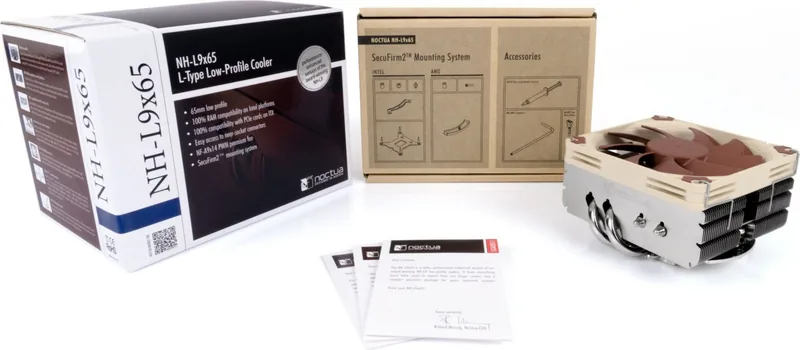
Intel installation uses the included SecuFirm2 mounting hardware and backplate. The motherboard's factory backplate should remain in place, with the supplied backplate installed over it. Black plastic spacers are intended for LGA1200 and LGA115x sockets, while blue spacers are used for LGA1851 and LGA1700. Mounting bridge position also changes according to the socket family, so selecting the proper hole position is essential.
AMD Mounting and Thermal Paste
For AMD AM4 and AM5 boards, remove the pre-installed CPU cooler retention module but keep the standard motherboard backplate. The mounting bridges must be fitted in the correct north and south positions, with their CPU direction markings facing the socket. Ryzen 5000 and Ryzen 3000 processors can use the offset -7 mm position to improve contact and cooling performance. Other AM4 processors should normally use the standard position, particularly if nearby motherboard heatsinks limit clearance.
Clean old thermal material from the CPU before applying the included NT-H1 compound. Intel LGA1200 and LGA115x processors require one central drop around 4-5 mm wide. LGA1851, LGA1700, AM5, and AM4 instructions use five drops: four small drops near the corners and a larger central drop. Excess paste can reduce heat transfer, so use only the recommended amount.
Final Setup Notes
After securing the cooler, connect its fan to the motherboard CPU fan header. The screwdriver can pass through the fan blades during mounting, so fan removal is unnecessary. Tighten screws only until they stop, observing the stated 0.6 Nm maximum torque. The included low-noise adapter can lower fan noise, but CPU temperatures should be monitored afterward. If temperatures become too high, improve case airflow or remove the adapter. Thanks to its low weight, the cooler does not need to be removed before transporting an assembled PC. Noctua also provides a six-year warranty and direct support for installation or operating concerns.
Note: Verify physical clearance and socket-specific mounting parts before beginning the build.
Search for 67,706 Manuals online


Type-in Brand or Model