
Noctua NH-L9a Manual
PDF manual · 1 Pages
English


Quick check
Incorrect answer, please try again.
Chat with your Noctua NH-L9a manual using AI
Get instant AI answers from your Noctua NH-L9a manual
Ask anything about the Noctua NH-L9a. Answers come from this manual, with the pages they are based on.
Ask a Question
Do you recommend NH-L9a?
Yes NoFrequently Asked Questions
This version is designed for AMD AM5 systems. Verify motherboard compatibility and surrounding component clearance before installation.
Is this answer helpful?
No. The existing backplate stays installed because the SecuFirm2 mounting screws connect through it. Remove only a preinstalled CPU cooler retention module if present.
Is this answer helpful?
Clean old residue first. Apply five small dots: four approximately 2 mm dots near the corners and one 3-4 mm dot in the center. Excess paste can reduce heat transfer.
Is this answer helpful?
Yes. It can lower fan noise, but it may increase CPU temperature. Monitor temperatures with motherboard software and remove the adapter or improve airflow if cooling is insufficient.
Is this answer helpful?
Yes. A 92 x 25 mm fan can be installed for higher cooling performance. Remove the preinstalled slim fan and use the supplied longer screws, while confirming case clearance.
Is this answer helpful?
Tighten the screws gradually in alternating stages until they reach their stop. Do not use excessive force; the stated maximum torque is 0.6 Nm.
Is this answer helpful?
Advantages and Disadvantages
Advantages

- Ultra-low-profile design suits HTPCs and small form factor AM5 systems.
- SecuFirm2 mounting uses the motherboard's existing backplate for a secure installation.
- Preinstalled NF-A9x14 fan provides cooling in a very compact package.
- Low-noise adapter allows quieter operation when CPU temperatures remain acceptable.
- Supports an optional 92 x 25 mm fan for increased cooling performance.
Disadvantages

- Cooling capacity may be limited in hot, poorly ventilated cases or with demanding CPUs.
- Using the low-noise adapter can raise CPU temperatures and requires monitoring.
- Installation requires access to the rear of the motherboard for mounting screws.
- Compatibility and case clearance must be checked before purchase or installation.
- Optional thicker fan improves cooling but may reduce clearance in compact cases.
Product Specification
Design
Top-blow cooler, 2U
Dimensions with fan
4.49 x 1.46 x 3.62 in (W x H x D)
Dimensions without fan
4.49 x 0.91 x 3.62 in (W x H x D)
Weight with fan
1.03 lb
Weight without fan
0.86 lb
Connector
4-pin PWM
Manufacturer warranty
6 years
Product Description
Noctua NH-L9a Manual: Compact Cooling for AM5 Systems
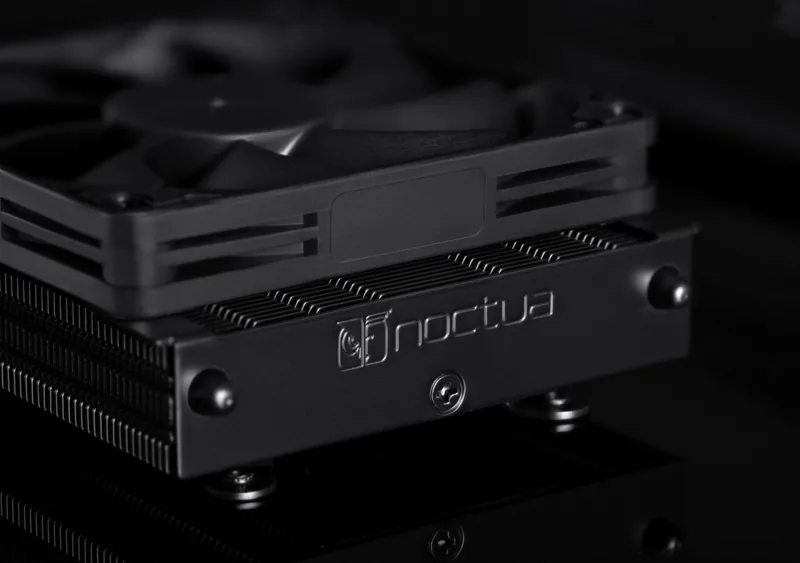
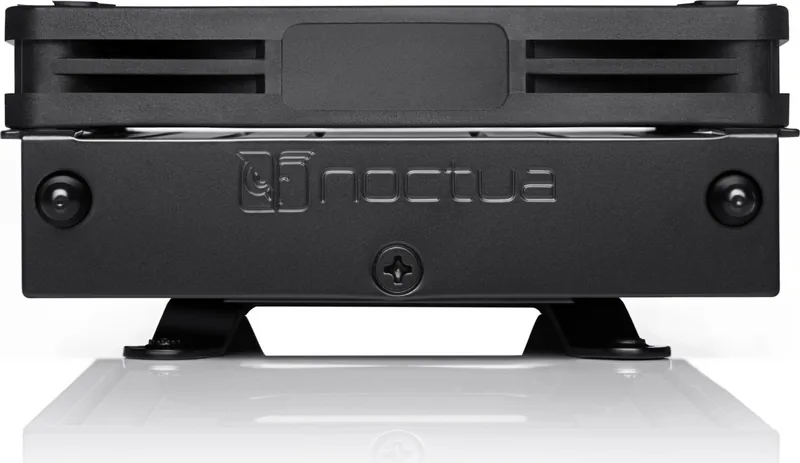
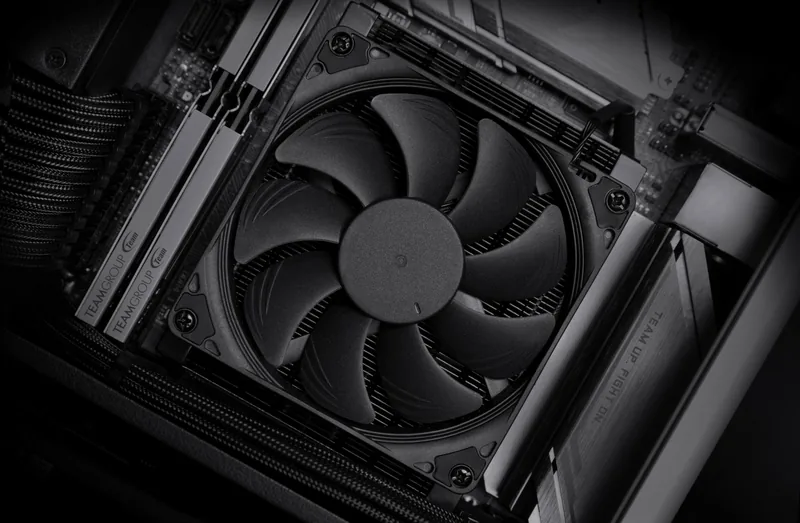
The Noctua NH-L9a-AM5 chromax.black is an ultra-low-profile CPU cooler designed for compact AMD AM5 builds. It brings Noctua's established cooling engineering to HTPCs, mini-ITX computers, and other small form factor systems where every millimeter matters. Its slim design helps it fit in tight cases while maintaining a premium finish and dependable operation.
Built for Space-Conscious PC Builds
With its low-profile heatsink and preinstalled 92 mm NF-A9x14 fan, the cooler is a practical choice for systems that cannot accommodate larger tower coolers. The black chromax finish gives the unit a clean, understated appearance that works well in modern builds. Its compact dimensions also support easier planning around memory, graphics cards, and case panels, although full motherboard and case clearance should always be verified before installation.
Straightforward SecuFirm2 Installation
The Noctua NH-L9a Manual emphasizes correct preparation for a secure installation. On compatible AM5 motherboards, the original backplate remains in place while any preinstalled CPU cooler retention module is removed. The heatsink is positioned on the CPU, and mounting screws are inserted through the motherboard from the rear into the cooler's mounting tabs.
For even mounting pressure, tighten each screw gradually in alternating stages rather than fully tightening one side first. The screws should be tightened carefully to their stop without excessive force, with a maximum recommended torque of 0.6 Nm. This approach helps ensure stable contact between the processor and cooler.
Thermal Paste and Fan Configuration
Good thermal paste application is essential to cooling performance. After cleaning away old paste or thermal pads, apply five small dots of thermal compound: four roughly 2 mm dots near the corners and one 3-4 mm dot in the center. Using too much compound can reduce heat transfer rather than improve it.
The included low-noise adapter can reduce fan noise when quieter operation is the priority. However, CPU temperatures should be monitored after installing it, especially in restricted cases. If temperatures become too high, improve case airflow or remove the adapter. Users seeking additional cooling capacity can replace the slim preinstalled fan with a 92 x 25 mm fan using the supplied longer screws.
Notes
- Confirm motherboard compatibility through Noctua's compatibility resources before beginning.
- Check that the case provides sufficient cooler clearance and airflow.
- Connect the fan to the appropriate motherboard fan header after installation.
- Noctua provides a six-year warranty and direct support for troubleshooting.
Search for 67,706 Manuals online


Type-in Brand or Model