
Noctua NH-L12Sx77 Manual
PDF manual · 2 Pages
English



Quick check
Incorrect answer, please try again.
Chat with your Noctua NH-L12Sx77 manual using AI
Get instant AI answers from your Noctua NH-L12Sx77 manual
Ask anything about the Noctua NH-L12Sx77. Answers come from this manual, with the pages they are based on.
Ask a Question
Do you recommend NH-L12Sx77?
Yes NoFrequently Asked Questions
The product comes with a warranty period of six years from the date of purchase. This covers manufacturing defects and ensures high reliability standards are met throughout the usage life of the cooler. Support services are available directly through the official team.
Is this answer helpful?
Yes, the unit ships with a low-profile configuration where the fan sits underneath the fins. You can also move it on top of the fins for high-clearance mode. High-clearance mode typically offers superior performance to noise efficiency ratios for system builds.
Is this answer helpful?
You must gently tighten the screws until they stop but avoid excessive force. The maximum torque allowed is 0.6 Nm to prevent damage to the motherboard or cooler components during the fastening process of the SecuFirm2 mounting system.
Is this answer helpful?
Connecting the supplied NA-RC7 Low-Noise Adaptor can further reduce operating noise depending on CPU temperatures. However, you should monitor CPU temperatures via software to evade automatic throttling if cooling performance becomes insufficient without ventilation upgrades.
Is this answer helpful?
Due to the low weight of the cooler, it is not necessary to take it off for transport. The design ensures stability during normal movement. Ensure the system is powered down and secured properly before moving the case to avoid accidental disconnection.
Is this answer helpful?
For LGA1851 or LGA1700 sockets, apply five dots consisting of four near the corners and one larger one in the centre. For older LGA1200 sockets, a single central dot is sufficient. Excessive paste lowers conductivity and cooling performance.
Is this answer helpful?
Advantages and Disadvantages
Advantages

- Improved cooling performance over previous versions
- Six year warranty provides long term reliability
- Flexible fan positioning for RAM clearance
- Includes high quality NT-H2 thermal paste
- Compatible with modern Intel and AMD sockets
Disadvantages

- Requires careful torque settings up to 0.6 Nm
- Taller profile than standard low-profile units
- Specific thermal paste dot patterns per socket
- Must verify VGA card clearance beforehand
- Backplate required for certain Intel installations
Product Specification
Type
Top-Blow Cooler
Dimensions with Fan
5.04x3.03x5.16 in (WxDxH)
Dimensions without Fan
5.04x3.03x5.16 in (WxDxH)
Included Fan
1x 4.72x4.72x0.59in, 450-1850 rpm, 55.44 CFM, 23.9 dB(A), 0.06 inH2O, 1.56W, Magnetic Fluid Dynamic Bearing (SSO2) (NF-A12x15 PWM, Left)
Optional Fan
1x 4.72x4.72x0.98in
Weight with Fan
1.15 lbs
Weight without Fan
0.90 lbs
Connector
4-Pin PWM
AMD Socket
AM5, AM4
Intel Socket
1851/1700, 1150/1151/1155/1156/1200
Features
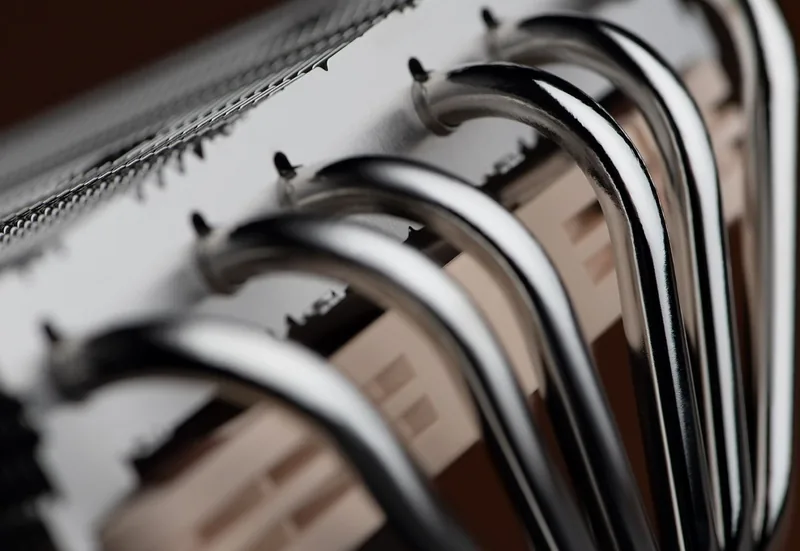
6 Heat Pipes, Nickel Plated
Manufacturer Warranty
6 Years
Note
Please verify motherboard compatibility (Noctua Compatibility Center)
Product Description
Enhancing Thermal Management
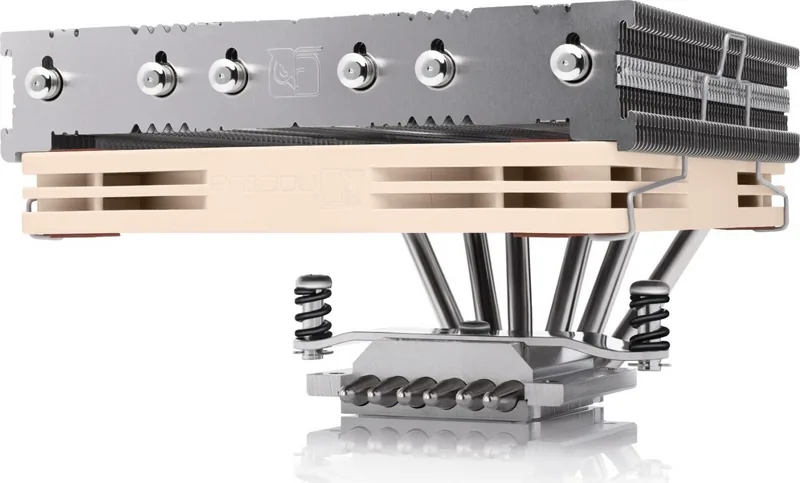
The Noctua NH-L12Sx77 represents a significant advancement in low-profile cooling solutions designed for enthusiasts who require silent operation and reliable temperature control. This unit offers improved cooling performance compared to its predecessors while maintaining enhanced compatibility with motherboards and RAM modules. When setting up your system, referencing the Noctua NH-L12Sx77 Manual ensures you achieve the best possible results during assembly. It is crucial to verify component compatibility before starting the process to avoid any potential issues with graphics cards or other PCIe components.
Versatile Configuration Options
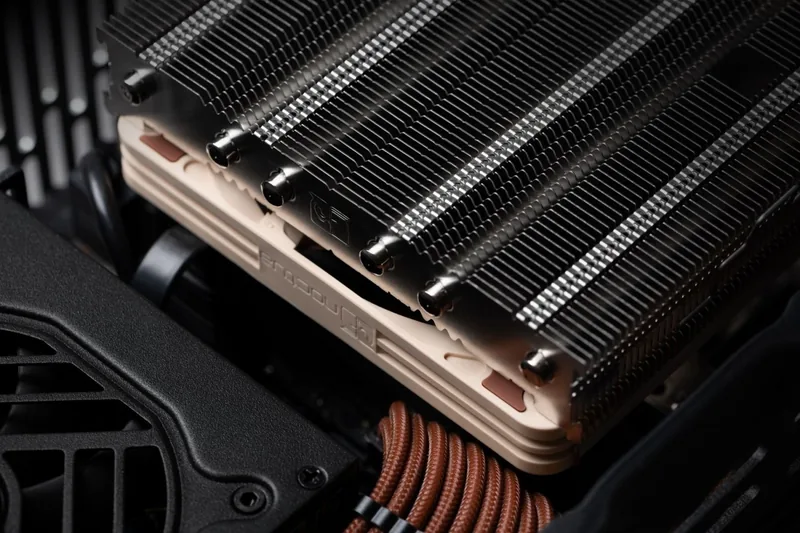
One of the standout features of this cooler is the ability to switch between low-profile mode and high-clearance mode. In low-profile mode, the fan sits beneath the fins to minimize height. Alternatively, removing the fan allows for installation on top of the fins, creating more room for tall memory sticks or other hardware. Although the low-profile mode saves space, placing the fan on top in high-clearance mode often delivers better performance and noise efficiency ratios for demanding tasks. This flexibility makes it suitable for various chassis designs and tight PC builds alike.
Comprehensive Mounting System
Installation involves the SecuFirm2 mounting system which simplifies the attachment process significantly. Users must ensure the heatsink contact area is clean before applying the included NT-H2 thermal paste. Proper application techniques vary by socket type, whether using LGA1700 or AM4 platforms. The instructions emphasize gentle tightening to prevent damage while securing the unit firmly. Specific torque limits should be respected during the process to avoid stripping screws. Always check that screw threads align correctly with the provided spacers and bars to maintain structural integrity throughout the lifespan of the build.
Reliable Support and Warranty
Every purchase comes with extensive backing from the manufacturer including a six-year warranty period. This commitment highlights the confidence Noctua places in the durability of their engineering and quality control standards. Should you encounter problems, direct support is available via email or website FAQs covering common troubleshooting scenarios. The low weight of the cooler also means transport preparation is minimal since removal is generally unnecessary for moving systems safely. Users can optionally connect the Low-Noise Adaptor to further reduce acoustic output. Note that monitoring temperatures remains essential when utilizing sound dampening accessories to ensure stability under load conditions. Enjoy peace of mind knowing help is nearby whenever needed.
Search for 67,706 Manuals online


Type-in Brand or Model