
Noctua NH-D9 Manual
PDF manual · 2 Pages
English



Quick check
Incorrect answer, please try again.
Chat with your Noctua NH-D9 manual using AI
Get instant AI answers from your Noctua NH-D9 manual
Ask anything about the Noctua NH-D9. Answers come from this manual, with the pages they are based on.
Ask a Question
Do you recommend NH-D9?
Yes NoFrequently Asked Questions
Yes, the cooler includes a layer of pre-applied thermal paste on the base. However, if reusing the unit, you must clean the old paste and apply new compound.
Is this answer helpful?
You should not exceed 0.6 Nm. Tighten the screws carefully using the provided tool, turning each three times in rotation to ensure even pressure.
Is this answer helpful?
It is designed for AMD TR5 and SP6 sockets. You must verify compatibility with your specific motherboard and check for case clearance before installing.
Is this answer helpful?
Connect the fans to the CPU fan headers. If needed, use the included NA-YC1 Y-cable to power both fans from a single motherboard header.
Is this answer helpful?
Yes, it is highly recommended to remove the cooler before transport to prevent damage from vibrations and shocks that could break the mounting bracket.
Is this answer helpful?
Noctua provides a six-year warranty period for the NH-D9 TR5-SP6 4U, covering manufacturing defects and ensuring reliable customer support.
Is this answer helpful?
Advantages and Disadvantages
Advantages

- Exceptional cooling performance for AMD Threadripper and EPYC processors
- Ultra-quiet operation thanks to premium NF-A12x25 fans
- Includes a comprehensive six-year manufacturer warranty
- SecuFirm2 mounting system ensures secure and even pressure distribution
Disadvantages

- Large physical dimensions may not fit all standard PC cases
- Requires careful handling of pre-applied thermal paste during setup
- Potential clearance issues with tall RAM sticks or long graphics cards
- Installation requires specific tools and adherence to strict torque limits
Product Specification
Type
Tower Cooler (Dual-Tower), 4HE
Dimensions with Fan
3.74x5.28x4.72in (WxHxD)
Fan
2x 3.62x3.62x0.98in, 400-2500rpm, 3.40cfm, 56.67 CFM, 30.6dB(A), 0.13inH2O (NF-A9 HS-PWM)
Weight with Fan
1.70lbs
Weight without Fan
1.29lbs
Connector
4-Pin PWM
Features
4 Heatpipes, nickel-plated, pre-applied thermal paste (Noctua NT-H2)
Manufacturer Warranty
6 Years
Product Description
The Noctua NH-D9: A Benchmark for Server Cooling
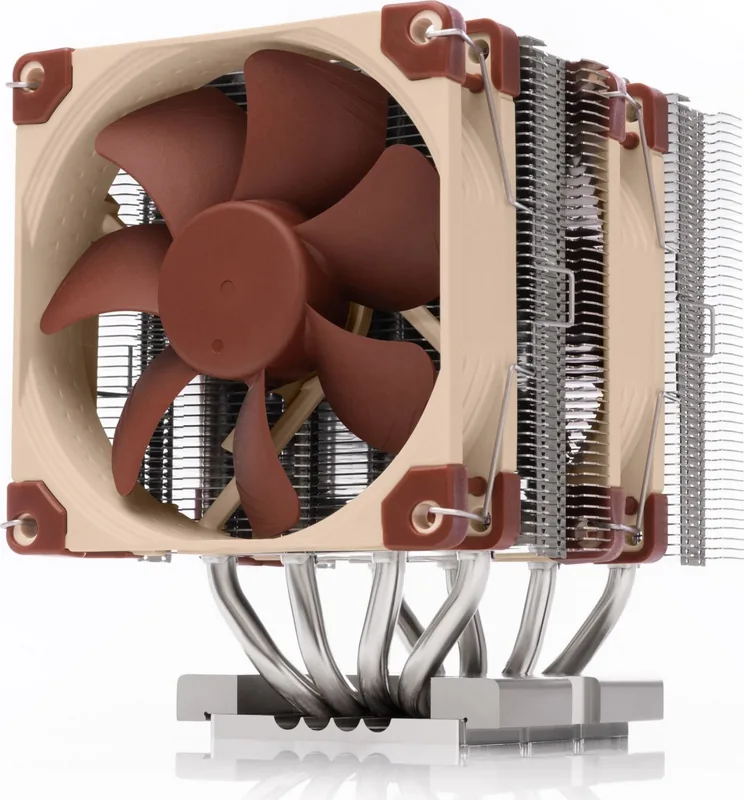
The Noctua NH-D9 TR5-SP6 4U represents the pinnacle of air cooling engineering designed specifically for high-performance AMD Threadripper and EPYC workstations. This dual-tower cooler is engineered to handle the immense thermal loads generated by modern server processors while maintaining the whisper-quiet operation that Noctua is famous for. It continues a legacy of reliability, offering a robust solution for professionals who demand stability in their data centers or high-end computing rigs.
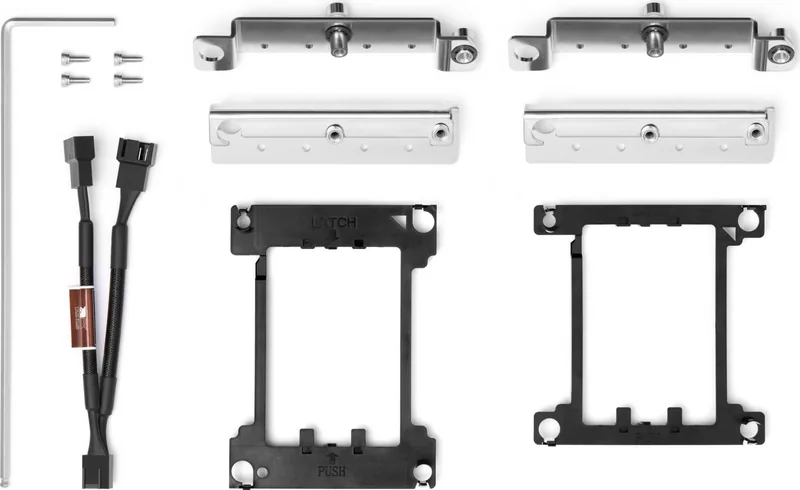
Installation begins with careful preparation. The unit comes pre-mounted with mounting brackets and features a layer of pre-applied thermal paste on the base. Users must ensure this layer remains intact before placing the heatsink onto the CPU socket. If the cooler has been used previously without a fresh paste application, users are advised to apply new thermal compound. The SecuFirm2 mounting system utilizes four spring-loaded screws that require a specific tightening sequence using the provided tool. Each screw must be turned three times in rotation until fully secured, ensuring even pressure distribution across the processor die.
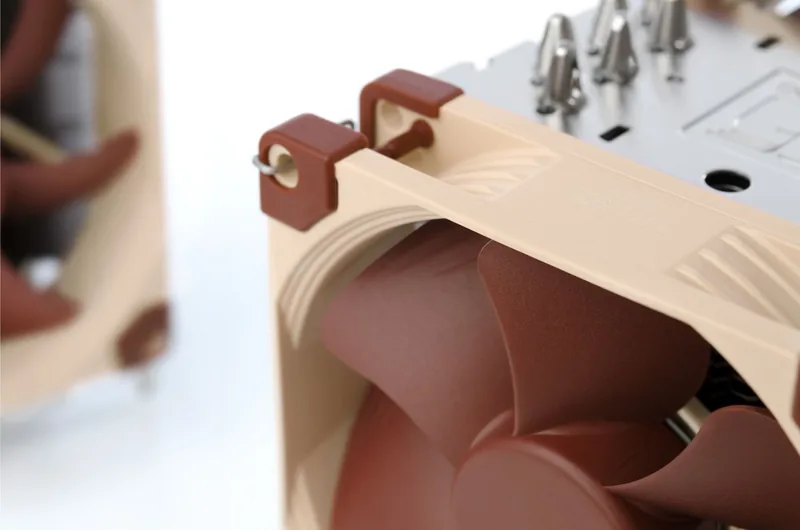
Compatibility is a critical factor when deploying this hardware. Before installation, it is essential to verify that the mainboard supports the TR5-SP6 socket and that the computer case offers sufficient clearance for the large heatsink profile. Users should also check for potential interference with tall RAM modules or PCIe expansion cards. Once mounted, the two NF-A12x25 fans are connected to the motherboard fan headers, often utilizing a Y-cable adapter if only one header is available. The fans are then secured with wire clips to prevent vibration-induced noise.
Noctua stands behind this product with an industry-leading six-year warranty, reflecting their confidence in build quality. For any operational issues, support is readily available through their dedicated team. Transporting a system with the cooler installed carries risks due to physical stress, so removing the unit is recommended before shipping to avoid damage.
Important Notes
- Always check the compatibility center on the Noctua website before purchasing.
- Do not exceed the maximum torque of 0.6 Nm during installation.
- Ensure the case provides adequate airflow around the massive heatsink fins.
Search for 67,706 Manuals online


Type-in Brand or Model