
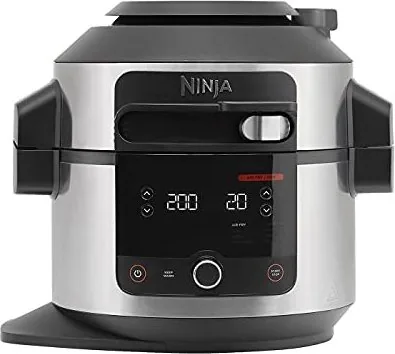
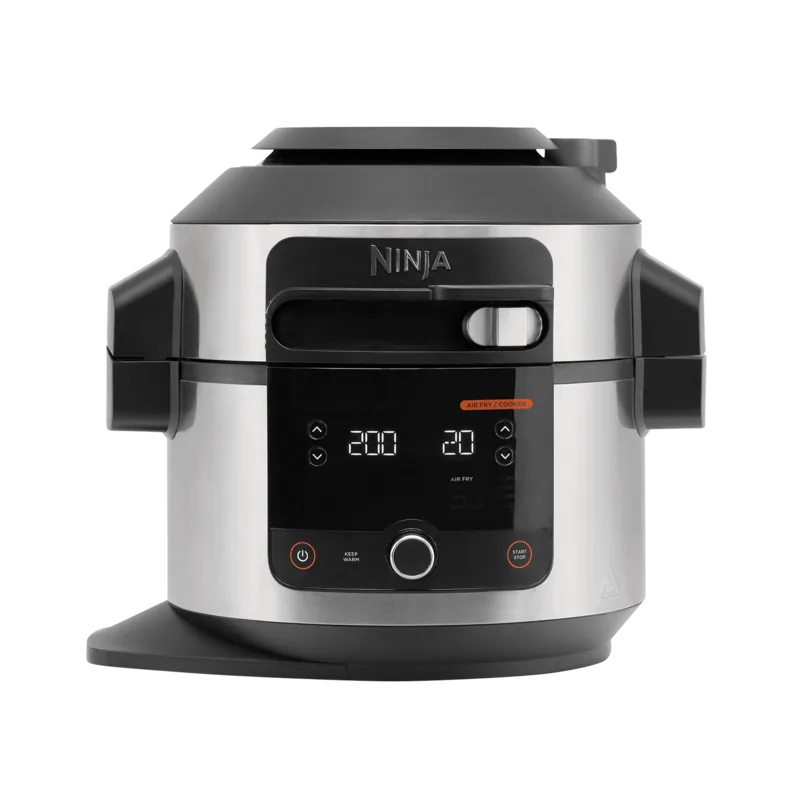
Ninja Foodi 12-in-1 SmartLid OL550EU Manual
PDF manual · 144 Pages
English



Quick check
Incorrect answer, please try again.
Chat with your Ninja Foodi 12-in-1 SmartLid OL550EU manual using AI
Get instant AI answers from your Ninja Foodi 12-in-1 SmartLid OL550EU manual
Ask anything about the Ninja Foodi 12-in-1 SmartLid OL550EU. Answers come from this manual, with the pages they are based on.
Foodi 12-in-1 SmartLid OL550EU Maintenance Schedule
Remove and clean the anti-clog cap protecting the pressure lid valve using a cleaning brush to prevent food splatters and clogging.
Slide out the condensation collector from the base after each cooking cycle to empty excess water and wash it by hand.
Check the pressure release valve and float valve for clogging or obstruction before operating the appliance. Clean if necessary.
Check the inside of the lid and heating elements for food residue or oil build-up before using Steam, Slow Cook, or Pressure modes.
If residue is found, fill pot with 700ml water, run Steam mode for 30 minutes, then wipe the lid interior and heating elements with a damp cloth.
Inspect the silicone ring for tears, cracks, or cuts. Replace it immediately if damaged to ensure proper sealing and safety.
Ask a Question
Do you recommend Foodi 12-in-1 SmartLid OL550EU?
Yes NoFrequently Asked Questions
You must wait until the internal pressure is fully released. Check that the float valve has dropped. Then move the SmartLid slider to the Combi-Steam or Air Fry position. The display will show OPN LID when it is safe to open.
Is this answer helpful?
No, never use metal utensils. They can scratch the non-stick coating. Always use nylon or silicone utensils to protect the pot's surface and ensure its longevity.
Is this answer helpful?
This error means the cooking pot is not seated correctly in the base unit. Remove the pot and place it back firmly to ensure it connects properly with the heating element.
Is this answer helpful?
Yes, the condensation collector slides out easily. It should be emptied and washed by hand after every use to prevent overflow and maintain hygiene.
Is this answer helpful?
The Ninja Foodi SmartLid comes with a two-year limited warranty from the date of purchase. Registration within 28 days is recommended to activate full coverage.
Is this answer helpful?
Advantages and Disadvantages
Advantages

- Versatile 12-in-1 functionality replaces multiple kitchen appliances
- SmartLid slider simplifies switching between pressure and air fry modes
- Steam Air Fry technology delivers crispy results with less oil
- Large 6-liter capacity suitable for family-sized portions
- Intuitive digital controls with clear display feedback
Disadvantages

- Base unit cannot be submerged in water or placed in a dishwasher
- Pressure cooking requires careful monitoring of liquid levels
- Silicone gasket may retain odors from strong-smelling foods
- Unit requires 15cm clearance around sides for proper ventilation
- Some advanced functions require specific accessories not included
Product Specification
Power
1560 W
Color
black, silver
Capacity
6 L (mixing container)
Features
Touch control, cooking function (11 automatic programs, slow-cook function, keep-warm function), timer
Package Contents
Mixing container, frying basket
Product Description
Discover the Ninja OL550EU Foodi SmartLid Multikocher
The Ninja OL550EU Foodi 12-in-1 SmartLid Multikocher represents a significant leap forward in kitchen versatility. Designed for the modern home cook, this appliance consolidates twelve distinct cooking functions into one sleek unit. Whether you are looking to prepare quick weeknight dinners or elaborate weekend feasts, this multicooker adapts to your needs with precision. The core of its innovation lies in the SmartLid technology, which allows users to switch seamlessly between pressure cooking and air frying modes without needing multiple devices.
At the heart of the experience is the ability to combine steam and heat. The Combi-Steam mode enables unique recipes like Steam Air Fry, where vegetables and proteins become crispy on the outside while remaining tender inside, all with minimal oil. For those who love baking, the Steam Bake function creates moist cakes and delicate pastries that traditional ovens often struggle to achieve. The device also features a robust Air Fry/Cooker section, perfect for grilling meats, dehydrating fruits for healthy snacks, and slow-cooking stews over long periods.
Safety is paramount in the design of the Ninja OL550EU. The unit includes a secure locking mechanism that prevents the lid from opening until pressure is fully released. Users are guided by an intuitive control panel featuring a slider, a dial, and directional arrows to select temperatures and times easily. The 6-liter capacity ensures there is enough room for family-sized meals, while the non-stick pot makes cleanup a breeze. With a powerful 1460-watt motor, it heats up quickly and maintains consistent temperatures throughout the cooking cycle.
Beyond cooking, the manual emphasizes proper maintenance and care. Regular cleaning of the silicone gasket and the condensation collector ensures longevity and optimal performance. The device also offers helpful troubleshooting tips for common issues, such as pressure buildup delays or error messages. By registering the product, owners gain access to a two-year warranty and exclusive recipe updates via the Ninja newsletter. This appliance is not just a tool; it is a comprehensive solution for diverse culinary aspirations.
Search for 67,706 Manuals online


Type-in Brand or Model